
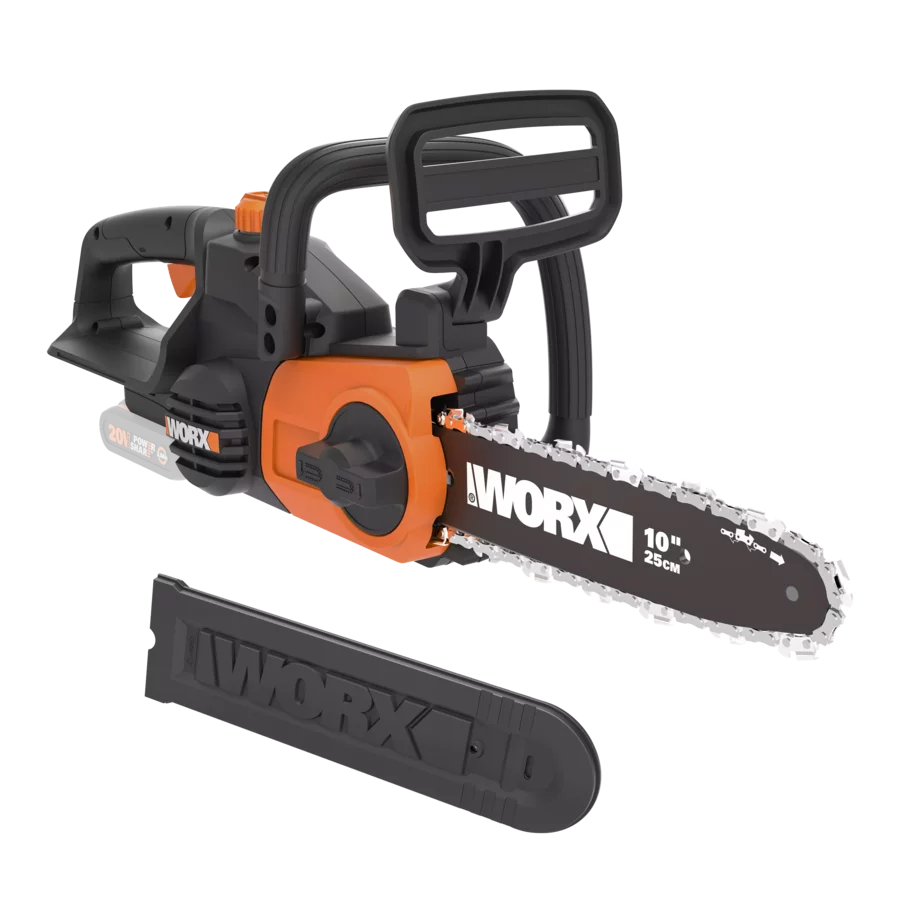
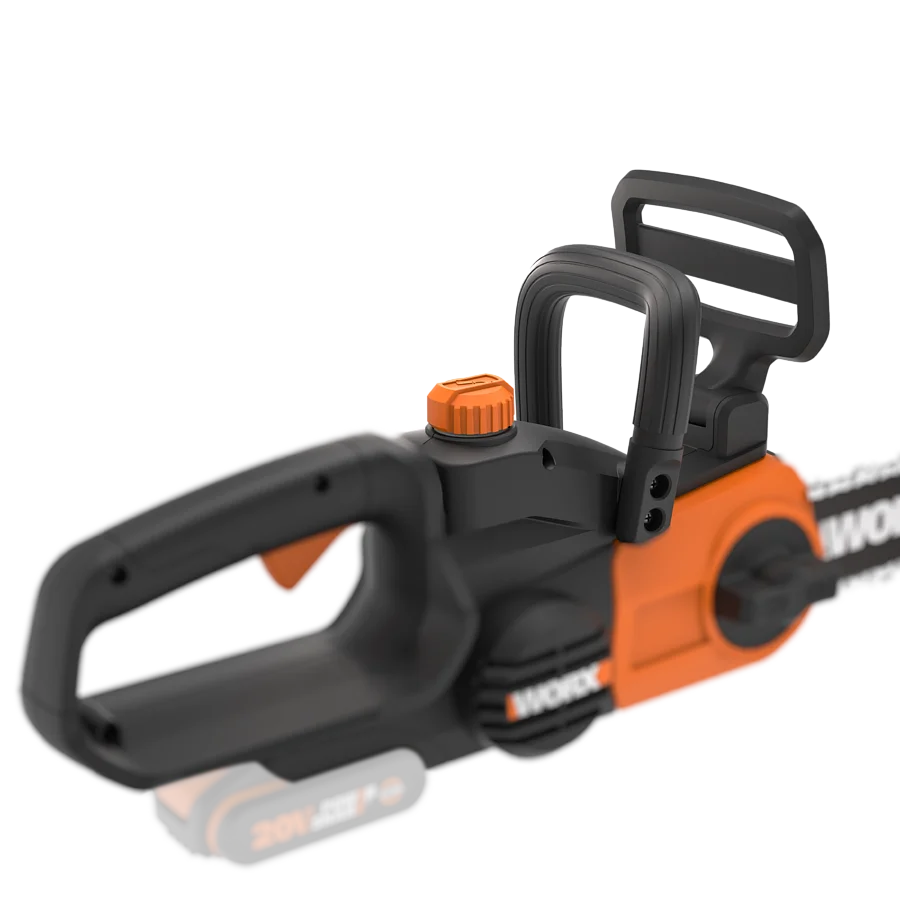
Worx WG322E.9 Manual
PDF manual · 228 Pages
English



Quick check
Incorrect answer, please try again.
Chat with your Worx WG322E.9 manual using AI
Get instant AI answers from your Worx WG322E.9 manual
Ask anything about the Worx WG322E.9. Answers come from this manual, with the pages they are based on.
WG322E.9 Maintenance Schedule
Check for damage, alignment issues, binding parts, or broken components that may affect safety or operation.
Clean all debris with the unit disconnected from the power source to ensure proper function.
Use a wire brush or screwdriver to clear residue from the inner groove and ensure oil passages are clean.
Check for wear, bending, or cracking; replace if damaged to prevent chain damage and difficult cutting.
If rail top is uneven, use a flat file to restore square edges and sides.
New chains stretch; check frequently and tighten if loose to avoid kickback and rapid wear.
Check the Oil Level Window regularly; never operate without oil to prevent extensive damage.
Inject grease into the lubrication hole until it appears at the outside edge of the sprocket tip.
Ask a Question
Do you recommend WG322E.9?
Yes NoFrequently Asked Questions
It is intended for sawing trees, tree trunks, branches, wooden beams, planks, and similar wood materials. The guidance also warns against cutting mineral materials or non-wood items.
Is this answer helpful?
No. The instructions state the chain saw is not filled with oil when supplied. You must fill the bar and chain oil before use and never operate with an empty oil tank, or extensive damage can occur.
Is this answer helpful?
Run the saw and point the guide bar tip toward a piece of cardboard or paper on the ground. If an increasing oil pattern appears, the automatic oiler is working properly. If no oil appears with a full reservoir, contact WORX service.
Is this answer helpful?
Correct chain tension prevents overheating, reduces the chance of kickback causes, and helps avoid chain jumping out of the guide bar groove. New chains may stretch, so tension should be checked frequently at the start and during operation.
Is this answer helpful?
Use a firm two-hand grip, do not overreach or cut above shoulder height, avoid letting the guide bar tip touch anything while running, and only use the manufacturer-specified low-kickback chain and bar. Watch for shifting wood that could pinch the chain.
Is this answer helpful?
The manual warns to use extreme caution when cutting limbs under tension because the wood can spring back when tension releases. Plan your cuts to manage spring-back and avoid positions where you could be struck.
Is this answer helpful?
Charge the Li-ion battery before the first use, using the charger specified for the WORX 20V PowerShare system. When the battery gets hot after heavy use, allow it to cool before charging. Remove the battery before servicing or adjusting chain tension.
Is this answer helpful?
Advantages and Disadvantages
Advantages

- Automatic chain lubrication with a 130 ml oil tank helps maintain cutting performance.
- Low-kickback chain and reduced kickback guide bar are designed to reduce kickback risk.
- Cordless 20V Max PowerShare platform is convenient for pruning and wood cutting.
- Includes practical features like chain tensioning with a ratchet mechanism for proper setup.
Disadvantages

- Must use recommended bar and chain oil and refill before it runs low to avoid damage.
- Chain tension must be checked frequently; a loose chain can jump and increase kickback risk.
- 25 cm bar length can limit cutting capacity for larger jobs.
- Safe results depend on correct technique, PPE, and stable footing.
Product Specification
Type
Chainsaw
Battery
20V, Li-Ion
Bar length
9.84in
Chain speed
12.47ft/s
Chain pitch
3/8"
Chain oil tank
4.40fl oz
Special features
Auxiliary handle, tool-free chain tensioning, automatic chain lubrication, chain brake, bucking spike
Vibration level
8.20ft/s^2
Noise level
96dB(A)
Weight
5.29lb
Scope of delivery
without charger and battery
Product Description
Worx WG322E.9 20V PowerShare Cordless Chainsaw Solo
Tackle everyday cutting tasks with the Worx WG322E.9 20V PowerShare cordless chainsaw. Built around the 20V Max platform and designed for mobile work, it is intended for sawing trees, tree trunks, branches, and common wood materials like beams and planks. With a 25 cm bar and a 3/8 chain pitch, it targets clean, controlled cuts for pruning and general landscaping.
Power comes from a WORX 20V PowerShare battery system (the WG322E.9 is presented as a solo model, so battery and charger inclusion can vary by bundle). The chain speed is 3.8 m/s, helping the tool reach full cutting performance quickly, while an automatic oiler keeps lubrication consistent during use. The oil tank holds 130 ml, and you can monitor levels through the oil level window and refill as needed.
For safer handling, the saw is equipped with low-kickback features, including a reduced kickback guide bar and a low-kickback chain. Still, kickback can occur under certain conditions, so the guidance emphasizes firm two-hand control, proper stance, avoiding overreaching, and never letting the guide bar tip touch anything while the chain is moving. The manual also stresses that correct chain tension and lubrication are essential to prevent chain jumping, overheating, and rapid wear.
Key results
- 25 cm bar and 20V Max cordless design for trimming trees, branches, and wood beams with no cord management.
- Automatic chain lubrication (130 ml tank) for smoother cutting and longer chain life when oil is correct.
- Low-kickback chain and reduced kickback guide bar to reduce the risk of sudden reactions during cutting.
- Tool-focused maintenance and chain tension checks (especially after first use) to avoid overheating and kickback causes.
Pros and cons
Pros
- Automatic oiler helps keep cutting performance consistent.
- Low-kickback chain and reduced kickback guide bar improve safety during routine cuts.
- Adjustable, ratcheting chain tension process supports proper fit.
- Suitable for a wide range of wood cutting tasks as described in the intended use.
Cons
- Requires correct bar and chain oil (and never running dry) to prevent damage.
- Chain tension must be checked regularly; loose chain increases kickback and wear.
- 25 cm bar limits reach and capacity compared with larger saws.
- Full safe operation depends on PPE, stance, and technique.
Notes
- For complete guidance, follow the Worx WG322E.9 20V PowerShare Cordless chainsaw solo Manual, including kickback prevention, lubrication, and storage steps.
Search for 67,706 Manuals online


Type-in Brand or Model