
Worx WG157E.9 Manual
PDF manual · 132 Pages
English



Quick check
Incorrect answer, please try again.
Chat with your Worx WG157E.9 manual using AI
Get instant AI answers from your Worx WG157E.9 manual
Ask anything about the Worx WG157E.9. Answers come from this manual, with the pages they are based on.
WG157E.9 Maintenance Schedule
Visually inspect the machine for damaged, missing or misplaced guards before every use. Do not operate if damaged.
Always remove the battery pack after use. Store the tool in a dry place protected from damage.
Wipe clean with a dry cloth. Never use water or chemical cleaners. Keep motor ventilation slots clear of debris.
Ask a Question
Do you recommend WG157E.9?
Yes NoFrequently Asked Questions
Yes. It is a 2-in-1 grass trimmer/edger intended to cut grass and weeds under bushes, along slopes, and for edges that are hard to reach with a lawn mower. Edging is handled by rotating the trimmer head as described in the operating steps.
Is this answer helpful?
The manual specifies 1.65 mm diameter cutting line only. Using other line sizes may cause the line to feed improperly, reduce cutting performance, or lead to unsafe operation or damage to the cutting head.
Is this answer helpful?
Yes. When switched on initially, the tool feeds a short length of line. A normal clattering sound can occur as the line contacts the line cutter, then the line is trimmed to the correct length. If you cannot hear cutting noise, allow the tool to stop fully and restart at full speed before feeding more line.
Is this answer helpful?
Follow the steps for removing the cap, then replacing the trimmer line and spool. The manual also includes guidance for manually winding the line. If you encounter feeding problems, check that the line is wound well and not tangled.
Is this answer helpful?
Charging time is listed as approximately 3 hours (model dependent). Battery safety instructions emphasize using only the specified charger, avoiding short-circuits, keeping terminals clean and dry, and removing the battery from the tool after use.
Is this answer helpful?
Common causes include broken or worn line, insufficient battery charge, grass entangled around the cutting head, or a spool that is not wound correctly. The troubleshooting guidance suggests checking for entanglement, ensuring full charge, and rewinding the spool correctly.
Is this answer helpful?
Advantages and Disadvantages
Advantages

- Cordless 20V Max lithium trimmer/edger for grass and weeds in tight areas
- 2-in-1 edging capability for cleaner borders where mowers miss
- Automatic line feed plus manual line feeding when you want precise control
- 25 cm cutting diameter with required 1.65 mm line for effective trimming
- Guard, auxiliary handle, and lock-off design support safer operation and control
Disadvantages

- Requires 1.65 mm cutting line; other line sizes may not feed or cut properly
- Performance can drop if the battery is not fully charged or runs low during cutting
- Cutting in dense grass may require multiple passes or trimming in stages
- Line spools must be wound correctly; poor winding can reduce cutting time or feed
- Always needs safety practices such as eye protection and keeping hands away from the head
Product Specification
Type
Grass trimmer
Battery
20V, Li-Ion
Working width
9.84 in
Cutting system
Line
Line feed
Fully automatic
Line diameter
0.07 in
Line length
118.11 in
Features
Auxiliary handle
Noise level
94dB(A)
Weight
4.19 lb
Scope of delivery
without charger and battery
Product Description
Worx WG157E.9 20V PowerShare Cordless Lawn Trimmer Solo (Manual)
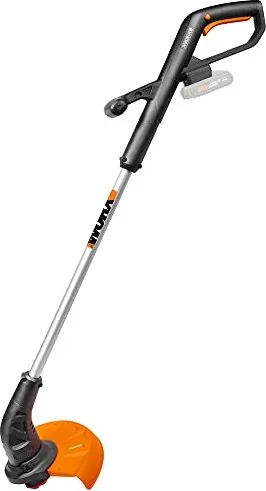
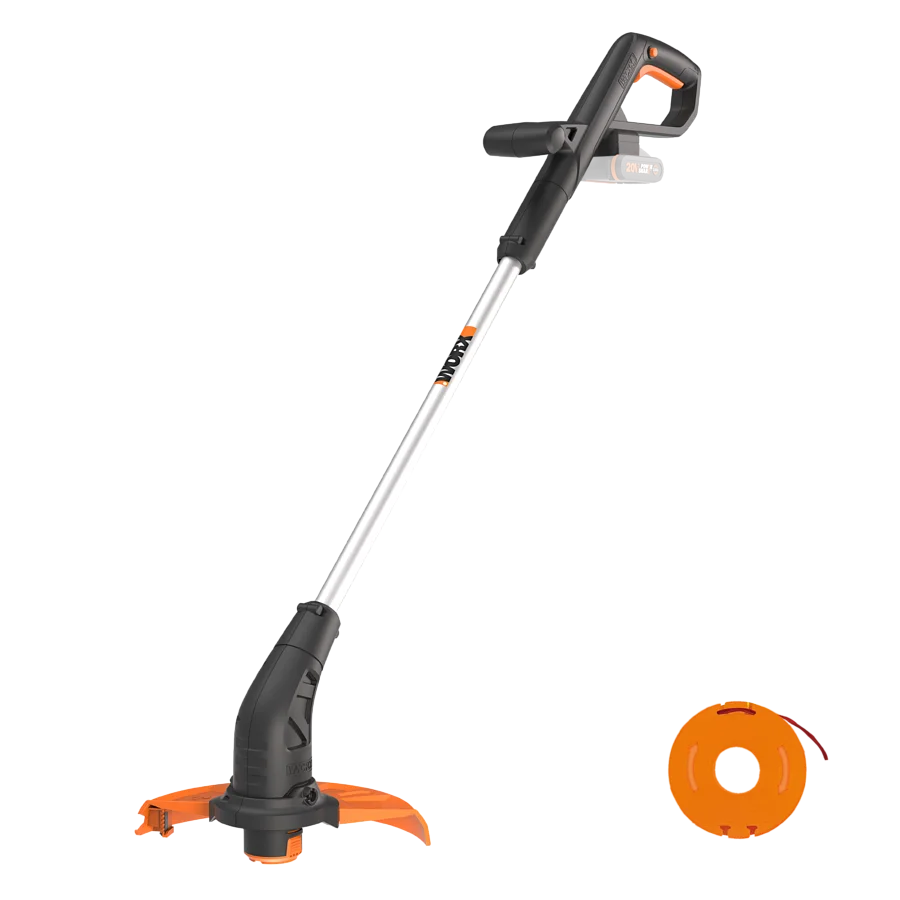
Keeping grass tidy near paths, edges, and under bushes is often where a mower struggles. The Worx WG157E.9 20V PowerShare Cordless lawn trimmer solo is designed for that exact in-between work: trimming grass and weeds in tight spots, then switching to edging for crisp border lines. It is a cordless line trimmer/edger that targets soft vegetation, slopes, and areas that a lawn mower cannot reach.
With a 20V Max lithium platform, the trimmer runs at up to 8500/min (no-load) and uses a 25 cm cutting diameter with 1.65 mm cutting line. You get practical convenience features like an automatic line feed system that extends the line when needed at startup, plus an option for manual line feeding if you want more control. For edging, the trimmer head rotates in one direction, letting you refine the look of sidewalks, driveways, and garden boundaries.
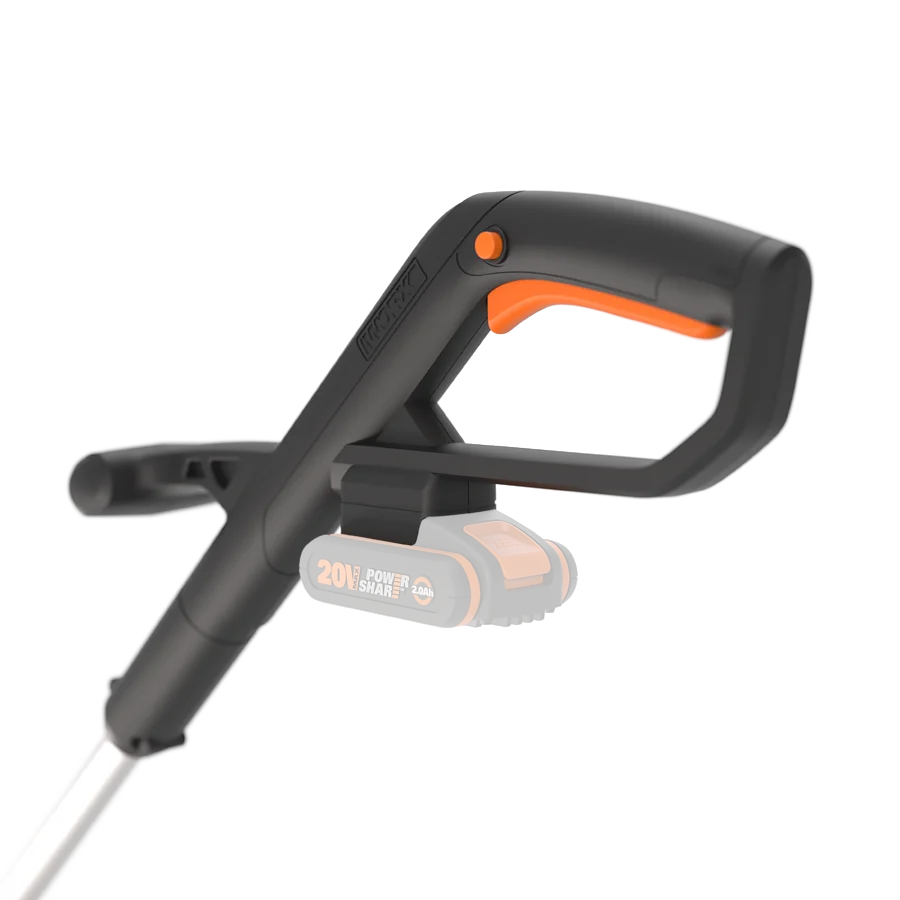
Ergonomics and control matter for backyard tools, so this model includes an auxiliary handle, a safety guard, and a lock-off approach to help reduce accidental starts. The manual guidance also emphasizes safe handling: wear eye protection, keep the tool below waist level, and let the cutting head fully stop after switching off before setting it down.
Line changes and spool management are straightforward, but they are an important part of ownership. The tool includes instructions for removing the cap, replacing the line and spool, and manually winding line when required. If the trimmer does not cut well, common causes in the troubleshooting guidance include broken line, insufficient battery charge, grass entangled around the cutting head, or a poorly wound spool.
Key results (what matters most)
- Cordless 20V Max lithium line trimmer built for edging and hard-to-reach lawn areas
- 25 cm cutting diameter with 1.65 mm line for consistent soft-weed trimming
- Automatic line feed plus manual line feed for quick adjustments during work
- Safety guard, lock-off, and recommended PPE to support safer trimming sessions
- Low-maintenance operation: no user lubrication required, clean with a dry cloth
Notes
- Always use 1.65 mm cutting line; other sizes may not feed correctly.
- Battery runtime depends on grass height and cutting approach; trim in stages for best results.
- Store the tool and battery in a dry place, and remove the battery after use.
Search for 67,706 Manuals online


Type-in Brand or Model