
NAD C 399 Manual
PDF manual · 22 Pages
English



Quick check
Incorrect answer, please try again.
Chat with your NAD C 399 manual using AI
Get instant AI answers from your NAD C 399 manual
Ask anything about the NAD C 399. Answers come from this manual, with the pages they are based on.
C 399 Maintenance Schedule
Unplug the product from the wall outlet before cleaning. Do not use liquid or aerosol cleaners; use a damp cloth only.
Replace the two AA batteries in the SR 9 remote when necessary. Ensure they are inserted with correct polarity as indicated on the base of the compartment.
Ask a Question
Do you recommend C 399?
Yes NoFrequently Asked Questions
Download the BluOS Controller app on your smartphone or tablet. Open the app and select Add a Player. Follow the prompts to select your home Wi-Fi network and enter the password. You can also use a wired Ethernet connection by plugging a cable directly into the LAN port on the rear panel.
Is this answer helpful?
Yes, but you must install the optional MDC HDM-2 module first. Once installed, connect the HDMI ARC port on the C 399 to your TV. Ensure both devices support HDMI Control and that the TV is set to output audio in PCM format for the ARC feature to work correctly.
Is this answer helpful?
Restoring factory defaults will delete all configured settings, including custom source names, volume levels, and IR channel assignments. The unit will return to its original state as it left the factory. Always save your preferred settings before performing this action.
Is this answer helpful?
Yes, it delivers 180 watts per channel into 4 ohms and has a high damping factor exceeding 150. This power and control make it capable of handling demanding speaker loads effectively across a wide range of frequencies.
Is this answer helpful?
First, ensure the Bluetooth antenna is connected at the rear. Set the Bluetooth Mode to Sink in the settings menu. Then, go to your phone's Bluetooth settings, scan for the device ID starting with C399BT, and select it to pair. Note that this mode is unavailable if the BluOS module is installed.
Is this answer helpful?
Advantages and Disadvantages
Advantages

- Modular Design Construction allows for future hardware upgrades via MDC slots
- Includes Dirac Live limited bandwidth correction for superior room acoustic optimization
- Versatile connectivity with HDMI ARC, Bluetooth, and multiple digital inputs
- High power output of 180 watts per channel into 4 ohms for dynamic sound
- Dedicated Moving Magnet phono stage for vinyl enthusiasts
Disadvantages

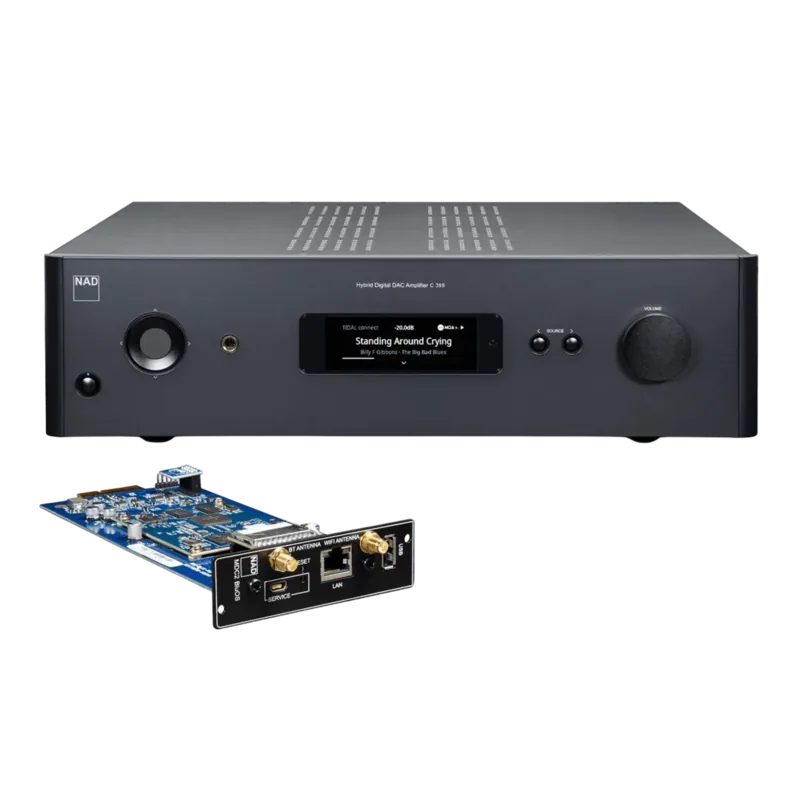
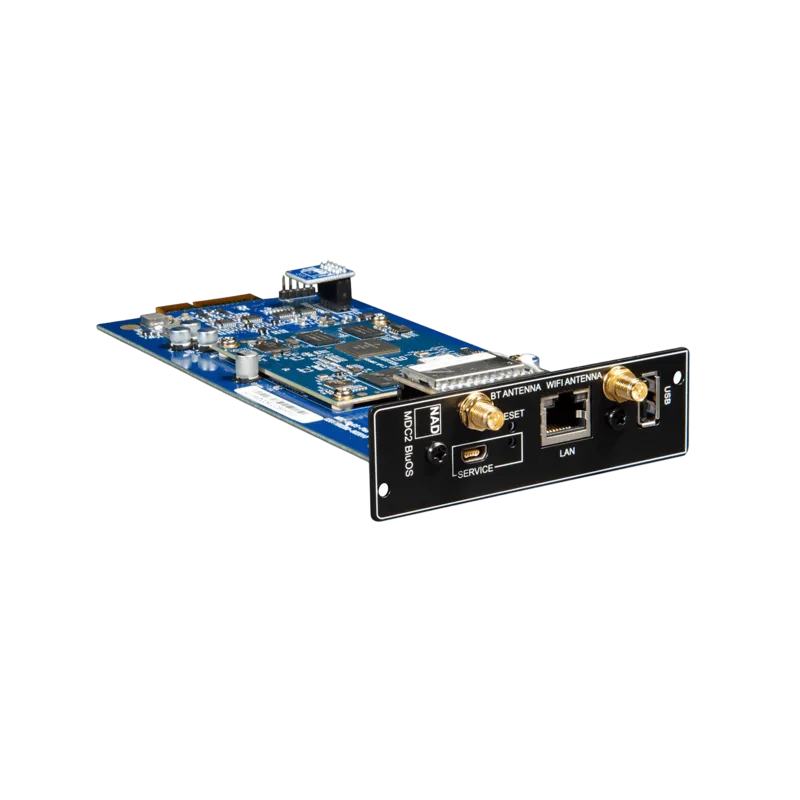
- Bluetooth functionality is disabled if the MDC2 BluOS D module is installed
- HDMI ARC requires external devices to be set to PCM audio format only
- No video output capability at the HDMI ARC port
- Remote control library codes must be manually configured for some older NAD models
- Factory reset deletes all saved configurations and custom settings
Product Specification
Channels
2
Power per channel
180W (8Ω), 180W (4Ω)
Audio connections
2x Digital Audio In (coaxial), 2x Digital Audio In (optical), 2x Stereo Line In (RCA), Phono In (RCA), Pre Out (RCA), 2x Sub Out (RCA), Headphones (6.35mm jack)
Other connections
HDMI
Wireless
Bluetooth, aptX, aptX HD
D/A converter
32bit/384kHz
Features
A/B speaker outputs
Color
black
Dimensions
17.13x4.72x15.35in (WxDxH)
Weight
24.69lbs
Product Description
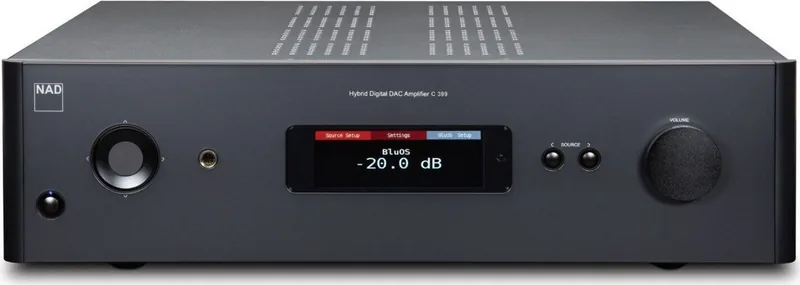
NAD C 399 Hybrid Digital DAC Amplifier Overview
The NAD C 399 is a sophisticated hybrid digital DAC amplifier designed for audiophiles who demand high fidelity and modern connectivity. This unit seamlessly blends analog power with digital processing, offering a versatile solution for home audio systems. It features a robust chassis that ensures reliable operation while maintaining excellent ventilation to prevent overheating during extended listening sessions.
One of the standout features of the C 399 is its Modular Design Construction (MDC) slots. These allow users to upgrade the device with optional modules like the MDC HDM-2 for HDMI switching or the MDC2 BluOS D for advanced network streaming capabilities. The inclusion of Dirac Live technology further enhances sound quality by correcting room acoustics automatically. Whether you are connecting turntables via the dedicated MM phono input or streaming wirelessly, the C 399 handles various sources with precision.
Setup is straightforward, supported by the SR 9 remote control which offers intuitive navigation through menus. The front panel display provides clear visual feedback on volume levels, source selection, and system status. Users can customize settings such as tone controls, balance, and auto standby functions to suit their preferences. The amplifier also supports CEC and ARC over HDMI, allowing for simplified control when paired with compatible televisions.
Safety instructions emphasize proper placement to ensure adequate airflow around the unit. It is crucial to keep the device away from water sources and direct sunlight to maintain longevity. The package includes detachable power cords, a remote control, and Bluetooth antennas, ensuring you have everything needed to start your high-quality audio journey immediately.
Key Notes
- Ensure at least 10 cm of space around all panels for ventilation.
- Use only the supplied or recommended mounting accessories.
- Update firmware regularly via the BluOS app for optimal performance.
Search for 67,706 Manuals online


Type-in Brand or Model