
Zalman T5 Manual
PDF manual · 2 Pages
English



Quick check
Incorrect answer, please try again.
Chat with your Zalman T5 manual using AI
Get instant AI answers from your Zalman T5 manual
Ask anything about the Zalman T5. Answers come from this manual, with the pages they are based on.
Ask a Question
Do you recommend T5?
Yes NoFrequently Asked Questions
The text indicates support for Micro ATX and Mini ATX-style boards. That makes the case suitable for compact builds where space-saving design matters.
Is this answer helpful?
Up to three 2.5-inch SSD placement options are shown. This gives users flexibility when building a system with multiple fast storage drives.
Is this answer helpful?
Yes. The instructions specifically say to remove the bezel before installing the HDD, so access to the drive area is easier during setup.
Is this answer helpful?
The guide says part "A" should face the back side, and in some installation steps it should face downward. Follow the bracket instructions carefully for the correct orientation.
Is this answer helpful?
The text recommends checking the motherboard manual for power and I/O port connections. This helps ensure the front panel leads are connected correctly.
Is this answer helpful?
The listed items include cable ties, stand-offs, rubber feet, A bolts, B bolts, and a user manual. These parts help support installation and cable management.
Is this answer helpful?
Advantages and Disadvantages
Advantages

- Supports multiple storage setups, including one 3.5-inch HDD and up to three 2.5-inch SSD positions.
- Includes the basic mounting hardware needed for a smoother first-time build.
- Front I/O offers practical everyday connections like audio, USB, reset, and USB 3.0.
- Clear installation guidance helps users mount the motherboard, PSU, and graphics card correctly.
Disadvantages

- HDD installation requires removing the bezel, which adds an extra step.
- Cable connection instructions depend on the motherboard manual, so beginners may need outside guidance.
- The case focuses on essentials, so it may not suit users seeking premium features.
- Specifications can change without notice, which may affect long-term expectations.
Product Specification
External
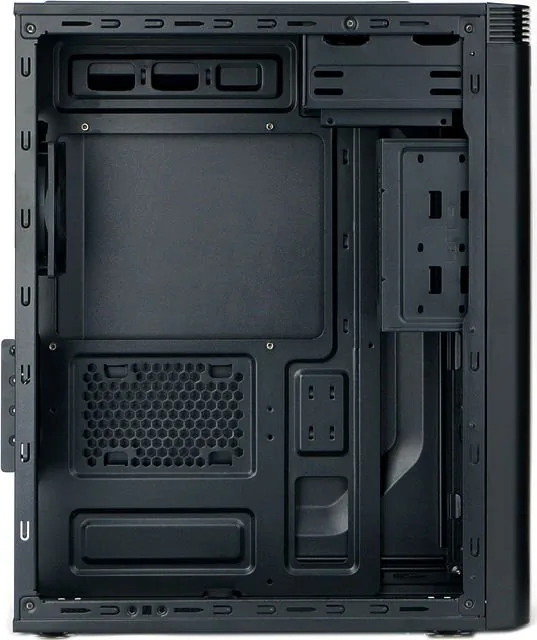
1x 5.25"
Internal
2x 3.5", 3x 2.5"
Connectors
1x USB-A 3.0 (5Gb/s), 1x USB-A 2.0 (480Mb/s), 1x 3.5mm jack (Line-Out), 1x 3.5mm jack (Line-In)
PCI slots
4
Fan (front)
1x 4.72" (optional)
Fan (rear)
1x 3.62"
Fan (left)
2x 4.72" (optional)
Fan (right)
N/A
Fan (top)
N/A
Fan (bottom)
N/A
Fan (other)
N/A
Motherboard
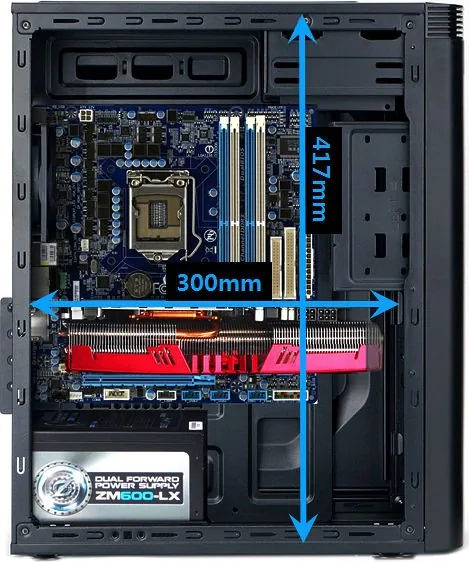
up to mATX
Supported motherboards
mATX (9.6"x9.6")
Power supply
ATX
Power supply position
bottom
CPU cooler
max. 5.51" height
Graphics cards
max. 11.81"
Color
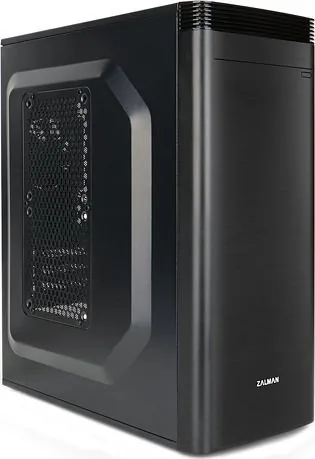
black, interior black
Lighting
without lighting
Dimensions (WxHxD)
6.69x16.81x13.70"
Volume
6.67 gal
Case type
Mini-Tower
Front
closed
Top
closed
Bottom
partially closed, rear fan grill, dust filter
Left
partially closed, central fan grill
Right
closed
Rear
partially closed, top right fan grill, PCI slots (4x horizontal)
Front I/O position
Case side: top, Height: Front, Position: central
Features
Cable management, dust filter
USB format
Link
Product Description
Zalman T5 Manual: A Compact Case Built for Straightforward PC Assembly
The Zalman T5 is a practical chassis for users who want a clean, compact build with simple installation steps and dependable everyday use. The Zalman T5 Manual emphasizes a direct approach to assembly, helping builders install storage, power, and expansion hardware without unnecessary hassle. It is designed for people who value function, order, and a layout that keeps the build process easy to follow.
One of the strongest points is its storage flexibility. The case supports a 3.5-inch HDD on a dedicated bracket, and 2.5-inch SSDs can be placed in three different positions. That gives builders room to combine large-capacity storage with faster solid-state drives, making the system more versatile for work, gaming, or general home use. The removable front bezel also makes HDD installation more convenient, especially when you need direct access to the drive area.
The Zalman T5 is also built with component installation in mind. The manual-style instructions explain how to mount the motherboard using stand-offs, install the VGA card, and secure the PSU with screws. This makes the case feel approachable even for first-time builders. Its layout is aimed at Micro ATX and Mini ATX style boards, which makes it a good fit for compact systems where space efficiency matters.
For cable and front-panel setup, the case keeps the essentials within reach. Power, reset, audio, USB, and USB 3.0 connections are all part of the front I/O layout, while the text reminds users to consult the motherboard manual for proper power and port connections. That guidance is useful because it helps prevent mistakes and encourages a cleaner, more organized build.
Another practical advantage is the included hardware and support information. The package mentions cable ties, stand-offs, rubber feet, bolts, and a user manual, which covers the basics needed for installation. The warranty notes also suggest one year of coverage with clear service rules, adding extra reassurance for buyers who want a budget-friendly case with predictable support.
Notes
- Remove the bezel before installing the HDD.
- Place the HDD bracket so part "A" faces the rear or downward, as instructed.
- Use the motherboard manual for power and I/O cable connections.
- Product design and specifications may change to improve quality and performance.
Search for 67,706 Manuals online


Type-in Brand or Model
ikubiak28
7 months ago
How easy is it to remove the front panel and install a 5.25-inch optical drive? I read the clips are stiff and the eject button/door can be unreliable.
Manual.ly
7 months ago
Front panel removal can be a bit stiff on this model. Many users report you may need firm, careful pressure and sometimes a tool to release the plastic clips without damaging them. For an optical drive, double-check cable clearance: some pre-routed USB/IO wiring can limit how much space you have near the top edge of the 5.25-inch bay. When first installed, the drive door/eject button may feel tight; make sure the spring/door mechanism is seated correctly and try the eject button a few times. If the eject button does not move at all or the door will not stay open after several attempts, the mechanism may be defective, and you should reach out to support for a replacement part.