
Xilence Performance A+ LiQuRizer LQ360PRO.ARGB Manual
PDF manual · 11 Pages
English



Quick check
Incorrect answer, please try again.
Chat with your Xilence Performance A+ LiQuRizer LQ360PRO.ARGB manual using AI
Get instant AI answers from your Xilence Performance A+ LiQuRizer LQ360PRO.ARGB manual
Ask anything about the Xilence Performance A+ LiQuRizer LQ360PRO.ARGB. Answers come from this manual, with the pages they are based on.
Ask a Question
Do you recommend Performance A+ LiQuRizer LQ360PRO.ARGB?
Yes NoFrequently Asked Questions
It supports LGA1200, LGA115X, LGA1700, and LGA20XX for Intel. It also supports AM4 and AM5 for AMD systems.
Is this answer helpful?
Yes, there is one unit of thermal grease included in the box for application on the CPU.
Is this answer helpful?
The kit includes one LGA1200/115X backplate and one LGA1700 backplate for installation.
Is this answer helpful?
The AM4 standoffs are red in color to make them distinct from other socket hardware.
Is this answer helpful?
No, fan mounting screws are provided in the kit to secure fans onto the radiator.
Is this answer helpful?
Turn the motherboard forward, place LGA1700 standoffs, put the bracket on, and secure by tightening nuts.
Is this answer helpful?
You need a standard screwdriver to tighten the nuts and screws properly during assembly.
Is this answer helpful?
Advantages and Disadvantages
Advantages

- 1. Wide compatibility with Intel and AMD sockets including LGA1700 and AM5.
- 2. Includes thermal grease for immediate use without extra cost.
- 3. Color-coded parts like blue washers and red standoffs for identification.
- 4. Comprehensive kit with brackets and screws included in box.
Disadvantages

- 1. Complex installation steps for first time PC builders.
- 2. Specific washer colors must be remembered for correct mounting positions.
- 3. Requires careful handling of backplates and brackets during assembly.
- 4. Plastic retention frames must be removed from motherboard first.
Product Specification
Type
internal (closed system)
CPU Block
CPU, Copper
Compatibility
1150, 1151, 1155, 1156, 1200, 1700, 2011, 2066, AM4, AM5
Radiator
14.17 inches (Radiator Size), 0.98 inches (Radiator Height), Aluminum
Fans
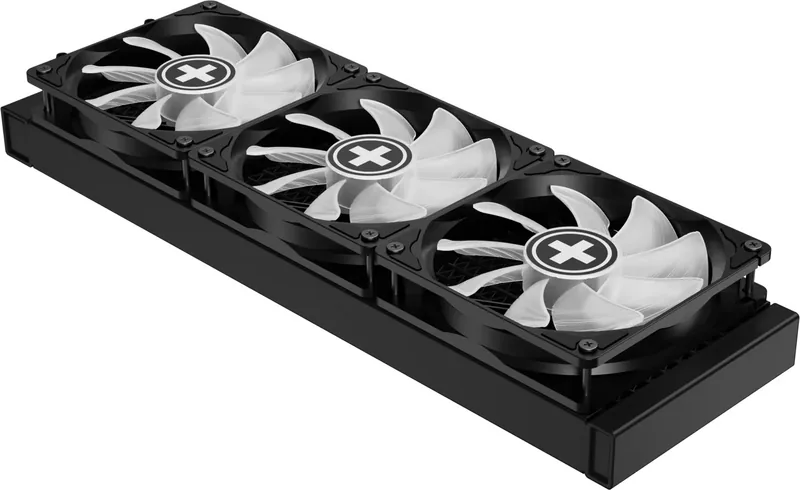
3x 4.72x4.72 inches, 700-1800rpm, 77.39 CFM, 18-32dB(A)
Reservoir
N/A
Connectors
N/A
TDP Class
350W
Lighting
LED (RGB)
Product Description
Welcome to the Xilence Performance A+ LiQuRizer LQ360PRO.ARGB Review
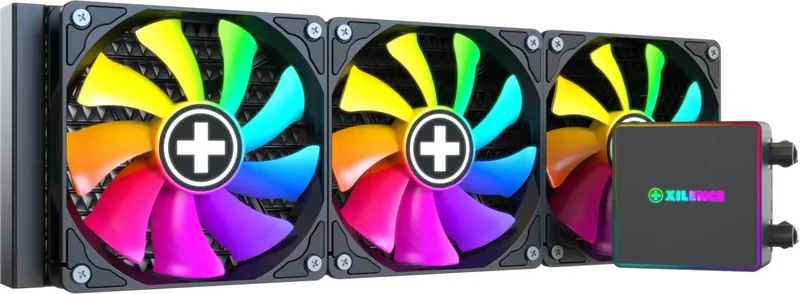
The Xilence Performance A+ LiQuRizer LQ360PRO.ARGB represents a robust choice for computer enthusiasts seeking superior cooling solutions for their desktop systems. This liquid cooling system is engineered to handle high thermal loads effectively across various hardware configurations found in modern gaming rigs. Users benefit from a comprehensive installation kit included within the packaging box. The manual provides step-by-step guidance to ensure proper attachment of the cooler to your hardware without errors or damage. It is essential to read the documentation before beginning the project.
Compatibility is a major strength of this product line as it adapts to many different processors. It supports multiple Intel and AMD processor sockets reliably including LGA1200, LGA115X, LGA1700, and LGA20XX for Intel systems. AMD compatibility covers AM4 and AM5 platforms widely used today. The kit contains specific backplates and brackets for each socket type to ensure stability. Color coding on washers helps distinguish between different models during assembly tasks quickly. For instance, LGA1700 washers are blue while LGA1200 washers are white. AM4 standoffs feature a red color while AM5 use grey standoffs for distinction.
Installation requires precision and attention to detail to work correctly. The process begins with mounting the backplate to the motherboard carefully. Standoffs are then inserted into designated holes on the board. Thermal paste application must be uniform and thin to maximize heat transfer efficiency between chip and block. The pump head connects directly to the CPU surface and is secured firmly with tightening nuts. Radiator mounting follows next, utilizing specific screws provided in the box for fans and mounting. Fans are attached to secure airflow over the cooling fins for better dissipation.
Proper setup prevents noise and vibration issues over time while running loads. The included thermal grease simplifies the initial build process for first time users. Users do not need to source extra materials for basic installation steps alone. However, keeping the instructions available is recommended for future reference or repairs. Regular maintenance ensures optimal performance throughout the lifespan of the unit effectively. This cooler is designed for longevity and reliability in demanding environments consistently. Building a PC requires careful consideration of each component chosen. This cooling unit addresses heat management efficiently across all supported models. It fits well in standard cases with the included radiator screws for side mounting. Overall, it offers a solid solution for gamers and content creators looking to maintain low temperatures. The detailed instructions help avoid common mistakes during the initial assembly phase significantly.
Maintenance and Notes
Keeping track of screws for future upgrades is vital. Loose parts can lead to mounting failures later on. Store all unused hardware safely for any potential motherboard changes. Clean the unit periodically to remove dust accumulation.
Search for 67,706 Manuals online


Type-in Brand or Model
Jonas Miller
5 months ago
Does this cooler work well with a Ryzen 7 7800X3D and is it loud enough to bother you?
Manual.ly
5 months ago
Yes, this AIO cooler cools the Ryzen 7 7800X3D effectively without issues. While there are quieter models available, they usually cost significantly more. For this price segment, the noise levels are acceptable while maintaining strong thermal performance.