
Wiha Z 62 0 06 Manual
PDF manual · 1 Pages
English


Quick check
Incorrect answer, please try again.
Chat with your Wiha Z 62 0 06 manual using AI
Get instant AI answers from your Wiha Z 62 0 06 manual
Ask anything about the Wiha Z 62 0 06. Answers come from this manual, with the pages they are based on.
Ask a Question
Do you recommend Z 62 0 06?
Yes NoFrequently Asked Questions
The tool is intended for wire-end sleeve crimping in conductor cross-sections from 0.08 to 16 mm2.
Is this answer helpful?
Close the handles through the crimping cycle. Once the cycle is completed, the tool opens automatically so the finished crimp can be removed.
Is this answer helpful?
Strip the wire to the length appropriate for the sleeve, insert the conductor into the wire-end sleeve until it stops, then place the prepared assembly in the correct crimping profile.
Is this answer helpful?
Yes. The locator can be moved to the required position for the application. To change it, loosen its screw, remove the locator carefully, install the required position on the rear side, and tighten the screw fully.
Is this answer helpful?
Lightly squeeze the handles to relieve the locking lever, then push the ratchet release lever upward. The tool will open automatically. Do not use a crimp produced after premature release.
Is this answer helpful?
Keep the pliers clean, handle them like a precision tool, and oil the moving parts from time to time. Use the tool only for its intended purpose and inspect it before use.
Is this answer helpful?
Advantages and Disadvantages
Advantages

- Supports wire-end sleeve crimping across a broad 0.08 to 16 mm2 conductor range.
- Automatic opening after the crimping cycle supports efficient, repeatable operation.
- Adjustable locator helps position sleeves consistently for different applications.
- Made in Germany and designed for precision-tool care and long-term use.
Disadvantages

- Requires correct wire stripping and sleeve insertion for dependable results.
- A crimp made after premature ratchet release must not be used.
- Locator changes require care to avoid losing the small black rubber ring.
- Moving parts need occasional oiling and the tool should be kept clean.
Product Specification
Handle
Plastic
Stripping capacity
AWG 28-5
Overall length
8.27 in
Features
for ferrules, capacity AWG 28-5
Weight
1.2 lb
Product Description
Wiha Z 62 0 06 Automatic 210mm Crimping Pliers - Read, Download & Print Free
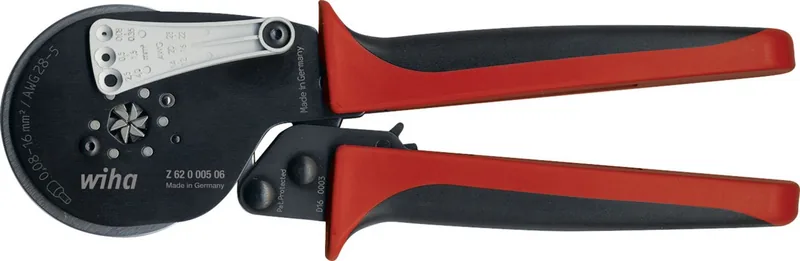
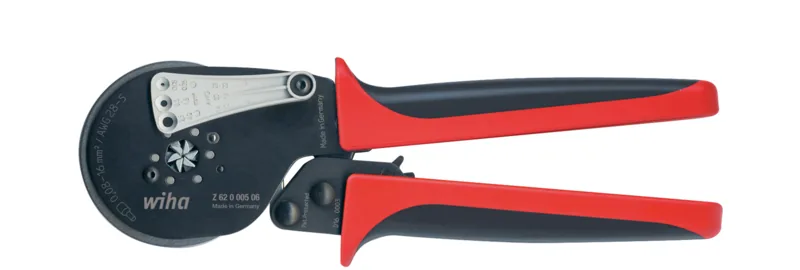
The Wiha Z 62 0 06 Automatic 210mm Crimping Pliers are designed for dependable crimping of wire-end sleeves in professional electrical work. Made in Germany, this precision hand tool supports conductor cross-sections from 0.08 to 16 mm2, making it suitable for many panel-building, installation, repair, and wiring tasks. Its automatic mechanism helps deliver a consistent crimping cycle while reducing uncertainty during repetitive work.
Automatic crimping for controlled connections
A key feature of these crimping pliers is the automatic opening action. After the handles are closed through the crimping cycle, the tool opens on its own, allowing the finished contact to be removed efficiently. This operation supports an orderly workflow and helps users recognize when the cycle has been completed.
For use, the wire should be stripped to match the sleeve, then inserted fully into the wire-end sleeve. The prepared wire and sleeve are placed in the correct profile before the handles are closed until the automatic opening action occurs. A properly crimped connection can then be removed from the tool.
Adjustable locator for practical wire preparation
The tool includes a locator that can be moved to suit the application. This feature helps position the wire-end sleeve consistently before crimping. When a different locator setting is needed, the locator screw is loosened, the component is removed, and the replacement is fitted on the rear side before the screw is tightened fully.
Care is required during this process because the black rubber ring associated with the locator should not be lost. Accurate setup is important for producing repeatable results and for keeping wire preparation aligned with the selected contact style.
Safety and maintenance notes
The pliers should only be used for their intended crimping purpose and kept in technically sound condition. If the ratchet is released prematurely, the resulting crimp should not be used. To open the tool early, lightly press the handles together to relieve the locking lever, then move the ratchet release lever upward.
For a long service life, keep the tool clean and treat it as a precision instrument. The moving parts should be oiled occasionally. Regular care can support smooth operation, protect the mechanism, and help maintain reliable performance over time.
Notes
- Use wire-end sleeves matched to the conductor and selected crimping profile.
- Complete the automatic cycle before accepting a crimped connection.
- Inspect the tool and locator before work, especially after adjustment or maintenance.
Search for 67,706 Manuals online


Type-in Brand or Model