Manual.ly Logo

Vitavia Freya Manual

0.0 · 0 Ratings

PDF manual · 40 Pages

English

M: QW-35-FL
page

/ 40

Loading...
b5e7c67602f6168892e69dfe410a71ca1e5d page 7
7
(4201) into the bolt channel in roof middle bars
(4256) (4.21).
Loosely connect the end horizontal bar (4275)
to roof glazing bars (4254 / 4256) and both
roof corner bars (4239 / 4240, 4245 / 4246)
(4.22).
Adjust the greenhouse until it is completely
square and tighten all bolts.
Please do not over tighten. (max. 3Nm)
5L and 5R. DOORS
Attention: Do not stand the assembled
doors on the door gliders (1014) to avoid
damaging them.
Push the door gliders (1014) onto both ends of
door bar (1360) (5.1).
Assemble the doors as shown in diagram 5.
Bolt door bar (1362) to upper bar (1359) (5.3)
and slide door seals (2021) into door bars
(2058) (5.5). Slide bolts (1500) into the bottom
of the bolt channel holding brush seals (2021)
and x it in place using nut (1515) (5.6). Cut
the door seals (2021) to length. Please ensure
that for the inside side bar the part (2098) is
used on the left in (5L) and (2099) on the right
in (5R).
Connect door rollers (1015) to the door bar
(1362) using bolt (1304), washer (1009) and
nut (1007) (5.4).
Connect door runner bar (1347) onto
horizontal bar (4234) (5.7). Connect spacers
(4208) (5.9L), (4209) (5.9R) and (4210) (5.8)
as shown.
Connect bolt (2001) at the join between both
(1347) as shown (5R).
Now slide the door rollers into the door runner
bar (1347) (5.10). Please ensure that the door
gliders are also running on the bottom track
(5.11). Once the doors are correctly in place,
connect nuts and bolts into the ends of both
door runner bars (1347), as door stoppers.
Adjust the doors so that they move freely.
6. VENTS
Note: Warm window seal (6034) to room
temperature! Press seal (6034) centrally onto
the top edge of glass pane (8) (6.1). Do not
stretch.
Make a cut into the seal at the corner (6.2) and
then press the seal onto the side and bottom
edges of pane (8), cutting to t around each
corner.
Fit vent bottom bar (6024) over the seal
(6.3) and then side bars (6020) and (6021).
Connect these at the corners using screws
(1008) (6.4).
Finish pressing the seal onto the top edge and
cut to length in the middle. Fit the top vent bar
(6025) and connect to side bars (6020) and
(6021) with screws (1008) (6.5).
Ensure that the vent is totally square before
tightening all screws.
Slide top vent bar (6025) into hinge bar (4247)
(6.6).
Loosely connect hinge bar (4247) between
glazing bars (4232) using bolts (2001) and
nuts (1002) (6.7) (6.8).
Loosely connect vent sill (6019) between
glazing bars (4232) using bolts (2001) and
nuts (1002) (6.9).
Lift vent sill bar (6019) and t it to the vent.
When correctly positioned tighten all bolts on
the inside.
Bolt the vent opener (1067) onto bar (6024)
using screws (6062). Connect both vent xers
(6056) onto sill bar (6019) using screws (6062)
(6.10) (6.11).
7. GLAZING – POLYCARBONATE / GLASS
Please note the already mentioned safety
precautions.
On the roof x the polycarbonate glazing
panes in place using the wind xing strips
(6614 / 6615) (7.2).
Note! The 6mm polycarbonate panes must be
assembled without using the glazing list (1020)
on the proles (7.1).
Important! The UV-resistant side is indicated
by the plastic lm and printing at the edge.
This side must face outside. Remove the lm.
Note! Completely remove the lm only after
the pane has been positioned in the
greenhouse. (The panes are cut marginally
shorter to allow for expansion in warm
conditions).
In order to give the Polycarbonate panes extra
stability connect them, in the middle of each
pane, to the eave prole with Z prole (1318)
(7.4) and at the ridge by pushing spacer
(2399) onto the ridge bars (4250) & (4275)
(7.3) (7.5).
Press the glazing seals (1020) onto the side
and door aluminium proles (7.6) and cut to
length.
On the side and doors x the glass panes in
place using the wind xing strips (6601 - 6608)
(7.7).
Note: Please follow the plan to cut the wind
xing strips to t the different positions (7.8).
If you’ve chosen polycarbonate sheets instead
of glass panes, please use the instruction
included in the box with the polycarbonate
sheets.
8. DOWN PIPES
Connect the down pipe parts on both sides of
the house as shown, (8.1) to (8.6). Ensure the
connection (1417) is included between (1408)
and (1402) (8.2).
9. LOUVRE (7600)
In the right eld above the door, connect
louvre sides (4203) and (4204) onto glazing
bars (4267) using bolts (2001) and nuts (1002)
(9.1) (9.3). Connect door strengthener (4206)
using spacer (4207) over louvre side (4203)
(9.1)(9.2).
Slide glass pane (13) into the ridge bar to sit
on louvre sides (4203) and (4204) (9.6) and x
in place using a cut length of the wind xing
strips (9.4) (9.5).
Open the louvre holders (9.6) and slide panes
(14) into the holders on both sides (9.7). Bend
the aluminium ends to x the panes in place
(9.8).
FINISHING
If desired, it is possible to seal the greenhouse
at the edges using neutral silicone. Silicone is
not in cluded.
Place the warning label inside the house.
A full range of accessories is available to help
you make the most of this product. Please
contact your local stockist for details.
SAFETY NOTICE
In the event of high winds, close all doors and
vents.
In the event of heavy snowfall, clear the roof of
the building or take suitable measures to
support the roof. Heat the building in winter.
COMMENTS
For the complete protection of your new
greenhouse, we advise you to include it in
your house insurance. Please take note of
possible building rules relating to the position-
ing of greenhouses.
Please stick the included greenhouse model
label onto the door bar (1362) after
successfully assembling this product. This
information is important in the event that
replacement parts are later required.
Please keep these Assembly Instructions in a
safe place, for future reference!
Our policy is one of continuous improvement
and we reserve the right to change the
specications without prior notice.
069.01.2007

Chat with your Vitavia Freya manual using AI

Get instant AI answers from your Vitavia Freya manual

Ask anything about the Vitavia Freya. Answers come from this manual, with the pages they are based on.

Freya Maintenance Schedule

Occasionally
Wash the greenhouse with gentle detergent

Thoroughly wash the greenhouse occasionally using a mild detergent that does not react aggressively with aluminium or glass fixing clips.

Regularly
Clean upper and lower door tracks

Ensure that the upper and lower door tracks are cleaned regularly to avoid a build up of debris.

As needed
Clear roof snow in heavy snowfall

In the event of heavy snowfall, clear the roof of the building or take suitable measures to support the roof.

M: qwen/qwen3.8-flash

Ask a Question

0/1000

Do you recommend Freya?

Yes No

Frequently Asked Questions

A

Always select a sunny position sheltered from the wind as much as possible. Avoid placing near tall buildings or trees where turbulence might occur during storms.

Is this answer helpful?

A

You will need screwdrivers, socket spanners, a knife, measuring stick, spirit level, saw, and an accu-drill with adjustable torque settings.

Is this answer helpful?

A

The uv resistant side is indicated by a plastic film and printing at the edge. This side must face outside. Remove the film only after positioning the pane.

Is this answer helpful?

A

Yes, the greenhouse must always be anchored. If located in windy spots, drill through the profile and steel base and connect them with nuts and bolts.

Is this answer helpful?

A

Ensure upper and lower door tracks are cleaned regularly to avoid a build up of debris. This prevents obstruction and wear on moving parts.

Is this answer helpful?

A

No, the product is intended only for growing plants. When used for other purposes we take no responsibility for liability issues.

Is this answer helpful?

A

If something is missing please contact your retailer immediately. Do not attempt to use the greenhouse without completing the full kit.

Is this answer helpful?

M: QW-35-FL

Advantages and Disadvantages

Advantages

  • Robust aluminum frame resists rust and provides structural stability over many years
  • Flexible glazing options allow selection of glass or polycarbonate sheets easily
  • Ridge ventilation windows provide effective airflow to reduce overheating in summer
  • Sliding doors save space compared to traditional hinged designs outside
  • UV resistant panels protect plants from harsh sun damage effectively
VS

Disadvantages

  • Requires a perfectly level and square foundation base for correct assembly
  • Two people are highly recommended to handle the aluminum profiles safely
  • Gutters and downpipes must be installed separately to manage rainwater runoff
  • Maximum tightening torque must be respected to avoid damaging threads
  • Base anchoring is mandatory for safety in locations exposed to strong winds
M: QW-35-FL

Product Specification

Frame

Aluminum

Door

Double-Sliding Door

M: QW-35-FL

Product Description

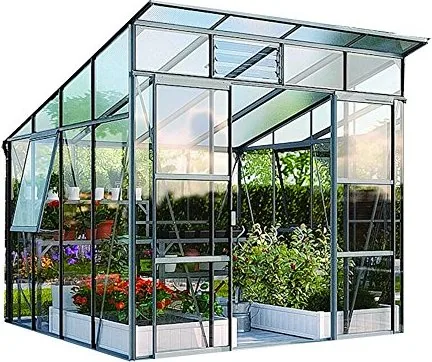
Discover Gardening Excellence with the Vitavia Freya Greenhouse Manual

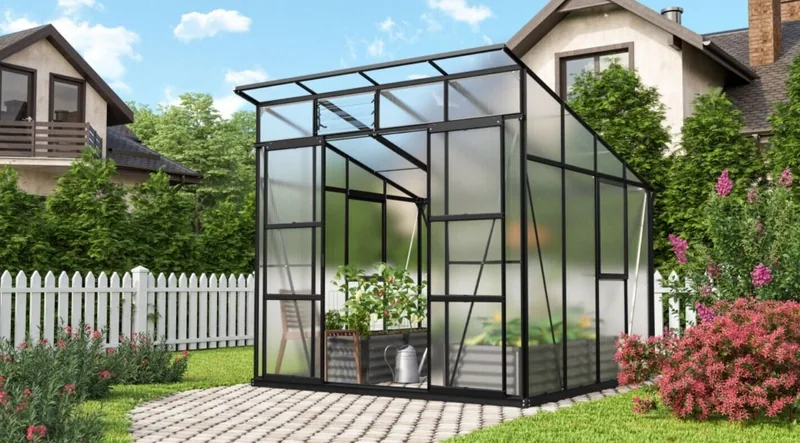
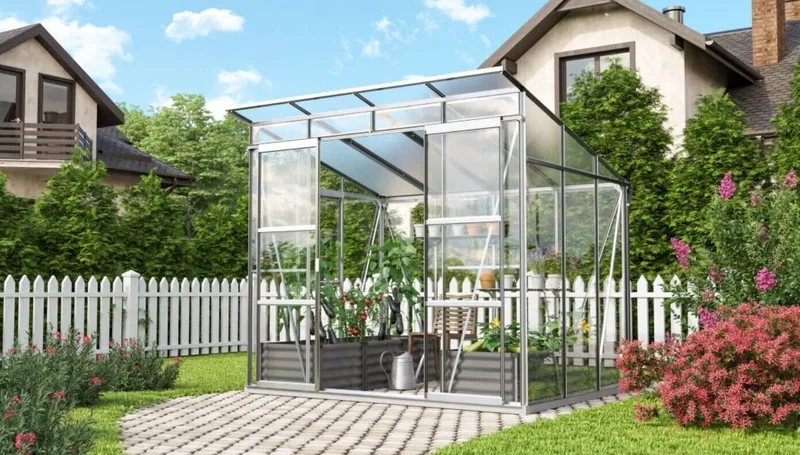
Creating a thriving garden oasis starts with the right equipment. This robust greenhouse offers a perfect environment for cultivating plants throughout every season. Designed for both amateur and experienced growers, it provides ample space and light control essential for success. The aluminum frame ensures stability while allowing flexibility for various site conditions. Many users appreciate the sleek design that complements outdoor spaces beautifully.

Installation Overview

Proper setup is crucial for long term performance. Select a sunny location protected from strong winds to protect delicate foliage. A solid foundation is required and must be level and square before proceeding. While assembling the separate elements, it helps to have two people handle the aluminum profiles safely. Check all parts against the inventory list before opening packaging bundles. Loose connections are normal initially until final alignment occurs. Tighten bolts carefully without applying excessive force beyond the specified limits.

Material Quality and Options

Choose between polycarbonate panes or glass depending on your preference. Polycarbonate offers lighter weight and better insulation properties in colder climates. Glass provides clarity and classic aesthetics for traditional garden setups. Regardless of choice, ensure the uv resistant side faces outward during installation. Remove protective films only after positioning each pane correctly. Glazing bars secure the sheets firmly against wind loads naturally. Ventilation windows on the ridge allow hot air to escape efficiently during summer heat waves.

Care and Maintenance Strategies

Regular upkeep keeps your structure functioning optimally for years. Wash the frame occasionally using mild detergent solutions to remove dirt buildup. Clean door tracks frequently to prevent debris accumulation that hinders movement. Inspect seals periodically to maintain watertight integrity inside the enclosure. Clear snow from the roof promptly in winter months to avoid collapse risks. Heating may be necessary when temperatures drop significantly below freezing levels.

Additional Considerations

Accessory options enhance functionality significantly. Shelving and watering systems can be added later locally. Insurance policies covering garden structures are wise investments. Keep model labels attached to doors for identification needs. Continuous improvements mean newer versions may appear soon.

M: QW-35-FL

© Copyright 2026 Manual.ly
