
Vitavia Dione Manual
PDF manual · 36 Pages
English



Quick check
Incorrect answer, please try again.
Chat with your Vitavia Dione manual using AI
Get instant AI answers from your Vitavia Dione manual
Ask anything about the Vitavia Dione. Answers come from this manual, with the pages they are based on.
Dione Maintenance Schedule
Thoroughly wash the greenhouse occasionally using a gentle detergent that does not react aggressively with aluminium or glass fixing clips.
Ensure that the upper and lower door tracks are cleaned regularly to avoid a build-up of debris which can hinder operation.
In the event of heavy snowfall, clear the roof of the building or take suitable measures to support the roof to prevent damage.
Ask a Question
Do you recommend Dione?
Yes NoFrequently Asked Questions
Two people are recommended for safe and efficient assembly according to the manufacturer instructions. Working alone can lead to difficulties aligning the heavy profiles correctly without assistance from another person ensuring the structure is stable.
Is this answer helpful?
You will need screwdrivers including crosshead PH2, a 10 mm socket spanner, knife, measuring stick, spirit level and accu-drill with adjustable torque. Having these ready speeds up the building process significantly for the user.
Is this answer helpful?
You must clear the roof regularly during heavy snowfall to prevent structural damage. Taking suitable measures to support the roof is necessary to avoid collapse under extreme weather conditions occurring in winter climates.
Is this answer helpful?
No a zinc coated steel base is sold separately as an accessory. You can also build your own stone or concrete foundation ensuring it is square and level below the frost level for stability.
Is this answer helpful?
Protective glasses gloves shoes and headgear are required due to sharp edges on aluminium profiles and glass. Broken glass is a hazard so always clear up immediately and dispose of with care to prevent injury.
Is this answer helpful?
Upper and lower door tracks should be cleaned regularly to avoid a build-up of debris. Using a gentle detergent occasionally on the frame helps maintain the aluminium condition without aggressive chemical reactions damaging the finish.
Is this answer helpful?
Please check that the detergent used does not react aggressively with aluminium or the glass fixing clips. Avoid harsh chemicals that might degrade the materials over time affecting the lifespan of the structure significantly.
Is this answer helpful?
Advantages and Disadvantages
Advantages

- Sturdy aluminium frame resists corrosion and provides long term durability
- Comprehensive multilingual assembly instructions included for easier understanding
- Adjustable roof vents regulate internal temperature effectively for plants
- Sliding double doors allow easy access for gardening tools and carts
- Available in multiple sizes to suit various garden spaces and needs
Disadvantages

- Assembly requires at least two people for safety and efficiency
- Anchoring to ground is mandatory for stability against wind
- Glazing handles sharp edges requiring protective gear during install
- Window seals may require additional purchase later for full weatherproofing
- Torque settings must be precise to avoid damage to aluminium frames
Product Specification
Frame
Aluminum
Door
Double Sliding Door
Package Contents
Steel Foundation
Product Description
Discover the Perfect Garden Companion
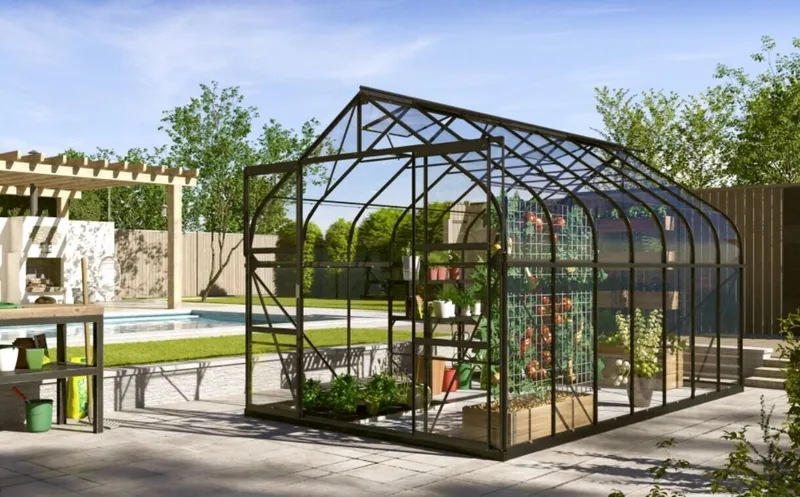
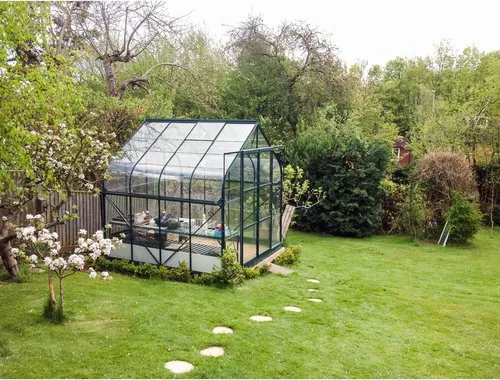
If you are looking for a reliable structure for your garden the Vitavia Dione Greenhouse offers an excellent solution for plant enthusiasts. This comprehensive manual guides you through the assembly process to ensure your greenhouse stands strong against the elements. Designed with durability in mind the frame utilizes high quality aluminium profiles that resist corrosion while maintaining a sleek appearance in your outdoor space. It is built to accommodate various growing needs whether you intend to start seeds or overwinter tender plants.
Assembly Made Easy for Beginners
While the instructions state that two people are strongly recommended for construction the layout simplifies what could otherwise be a complex project. You will need basic tools such as standard screwdrivers and a socket wrench to handle the bolts efficiently. It is vital to follow the torque specifications marked clearly in the documentation provided with every kit. Specifically nuts should not exceed 3Nm to prevent damage to the threads or frames. Pay close attention to the sequence provided for connecting side elements and gable ends to maintain square alignment.
Foundation and Site Selection
Choosing the right location impacts your success immensely. Aim for a sunny spot that remains sheltered from strong winds as much as possible before starting work. The base must be exactly square and level to prevent structural issues later on. A zinc coated steel base is available as an accessory for all greenhouse models to enhance stability. If constructing your own stone or concrete foundation please ensure it extends down below the frost level for protection during colder months.
Features and Functionality
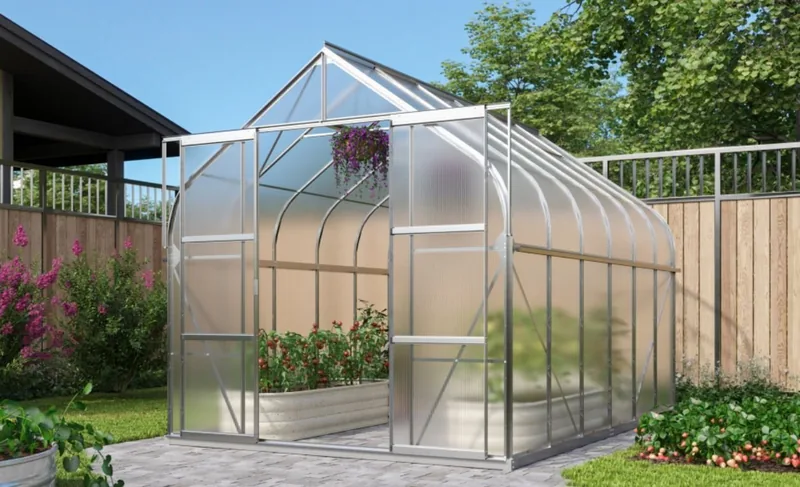
Once assembled you will appreciate the practical design choices incorporated in Dione series. The inclusion of roof vents allows for passive ventilation which regulates temperature during hot summer days. For accessibility most models come equipped with sliding double doors that facilitate easy movement of carts and pots inside. Whether you choose polycarbonate panels or clear glass for glazing the structure protects your crops effectively from rain and hail. The windows can be positioned to open automatically to manage heat buildup.
Safety and Maintenance Tips
Regular maintenance ensures longevity throughout the seasons. Wash the frame occasionally using a gentle detergent that does not react aggressively with the aluminium components. Clear up any debris from the upper and lower door tracks immediately to prevent jamming mechanisms. During winter remember to clear heavy snowfall from the roof to avoid structural stress on the bars. Always anchor the greenhouse securely to the ground to withstand high winds safely. By adhering to these guidelines your greenhouse will provide years of gardening success.
Final Thoughts
Purchasing this unit comes with detailed international instructions covering multiple languages. This global approach means spare parts availability remains high for years to come. Keep your identification sticker visible inside for future reference when ordering replacements. With proper setup you enjoy a climate controlled environment for your hobby plants year round. Enjoy your time nurturing nature within this sturdy shelter designed for growth.
Search for 67,706 Manuals online


Type-in Brand or Model