
Streacom LH6 Manual
PDF manual · 7 Pages
English


Quick check
Incorrect answer, please try again.
Chat with your Streacom LH6 manual using AI
Get instant AI answers from your Streacom LH6 manual
Ask anything about the Streacom LH6. Answers come from this manual, with the pages they are based on.
Ask a Question
Do you recommend LH6?
Yes NoFrequently Asked Questions
It is an expansion kit for the Streacom DB4 that adds a second cooling path through an additional side panel. The goal is to improve passive heat dissipation while keeping the case compact and quiet.
Is this answer helpful?
With correct assembly and suitable conditions, the kit can help the DB4 system reach up to 105W of total heat dissipation. Actual performance depends on the CPU, motherboard layout, and installation quality.
Is this answer helpful?
No. The kit needs a compatible CPU location and motherboard layout. It is designed for specific routing and spacing, so checking the build guide before purchase is important.
Is this answer helpful?
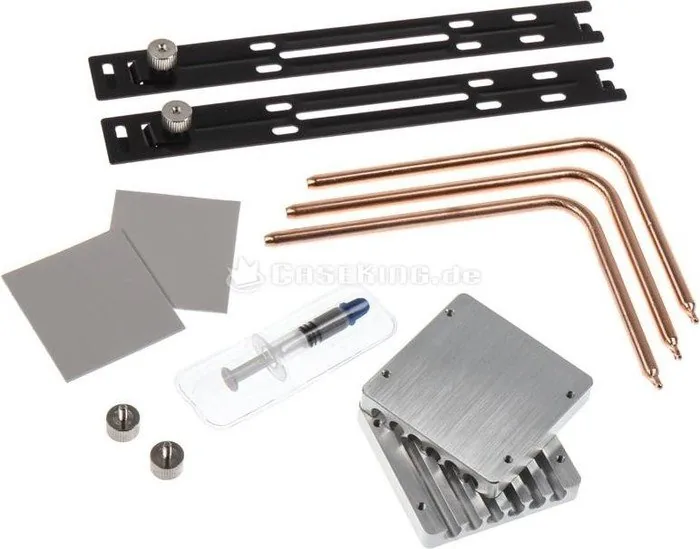
The kit includes LH6 heat pipes, heat sink mounts, universal brackets, M3x6 thumbscrews, and thermal pads. These parts work together to transfer heat across both side panels.
Is this answer helpful?
Usually yes. If you are adding it to a built system, you may need to remove the top panel, side panels, and part of the cooler assembly so the new heat pipe layout can be installed properly.
Is this answer helpful?
Make sure the thermal pads are used with both protective films removed, follow the recommended pipe configuration, and adjust the drive height carefully if your build uses a button-driven optical drive.
Is this answer helpful?
Advantages and Disadvantages
Advantages

- Expands the DB4 cooling path from one side panel to two, improving thermal headroom without changing the case size.
- Can reach up to 105W dissipation in suitable conditions, making it a strong passive-cooling upgrade.
- Includes the main mounting hardware and thermal materials needed for a complete installation.
- Preserves the DB4’s clean, minimalist design while adding more cooling capacity.
Disadvantages

- Requires a compatible CPU position and motherboard layout, so it is not a universal fit.
- Upgrading an existing system can take time because the cooler assembly may need to be removed and rearranged.
- Installation depends on careful pipe placement and correct thermal pad handling for best results.
- Drive height may need fine adjustment to keep the top-panel button comfortable to use.
Product Specification
Type
Other
USB Notation
Link
Product Description
Streacom LH6 Heatpipe Kit for DB4 Manual
The Streacom LH6 Heatpipe Kit for DB4 is a focused upgrade for builders who want to extract more cooling performance from the DB4 without losing the case’s compact, refined character. Instead of relying on a single side panel for thermal transfer, the LH6 system spreads the load across two side panels, creating a broader path for heat to move away from the CPU. In the right build and under suitable conditions, that approach can raise total dissipation to as much as 105W, which is a meaningful step up for a passive mini-ITX setup.
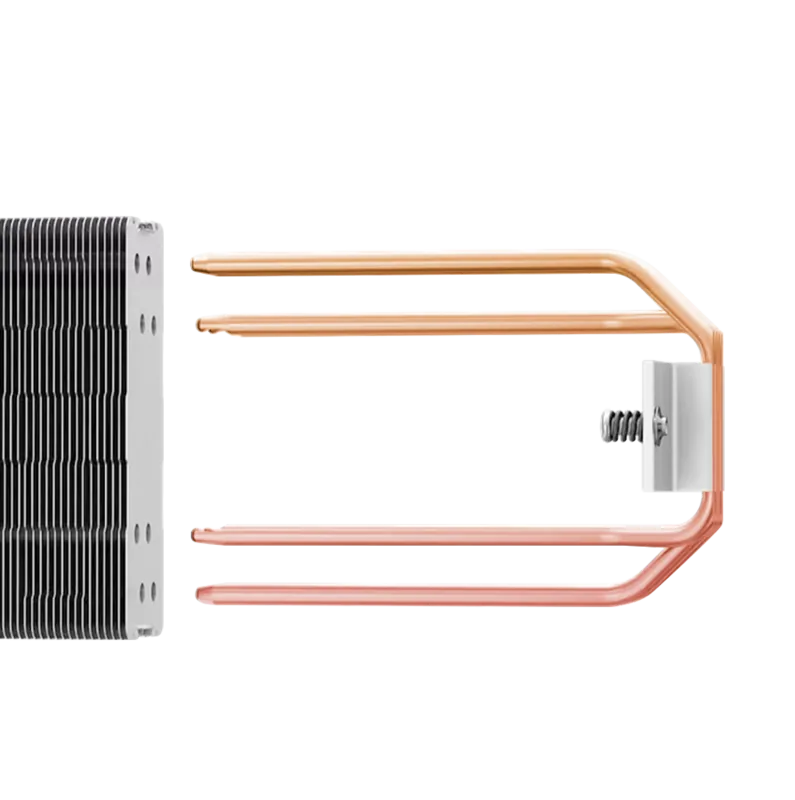
At its core, the kit is about efficient heat distribution. It includes six 6 mm heat pipes, heat sink mounts, universal brackets, M3x6 thumbscrews, and thermal pads to help create solid contact between components. The design keeps the installation visually tidy while supporting the DB4’s minimalist look. For enthusiasts who value quiet operation, this is especially appealing because improved thermal capacity can reduce stress on the system without adding fans or extra noise.
The kit is also practical, but it expects careful planning. The LH6 arrangement is not universal in the same way as the stock DB4 heat pipe setup, so the CPU position and motherboard layout need to be compatible. That means the best results come from checking the build guide before starting, especially if you are aiming for a clean and stable fit. The manual’s layout guidance matters because alternating the pipes correctly helps the cooling structure work as intended.
If you are upgrading an existing DB4 build, the process is a little more involved. Panels need to come off, the cooler assembly may need to be removed, and some of the original heat pipes must be repositioned. New builds are simpler, since the additional pipes can be installed during the initial assembly. Either way, the key is patience: proper mounting pressure, clean thermal pad placement, and correct pipe routing all influence the final result.
One detail that stands out is the drive-height adjustment. The DB4 uses top-panel flex to interact with the drive button, so the gap must be tuned carefully for comfortable operation. If the drive has no button, setup is easier, but it still needs to sit below the top panel. Done properly, the result is a more capable cooling system that stays true to the DB4’s elegant, low-profile design.
Notes
- Verify CPU and motherboard compatibility before buying.
- Remove both protective films from the thermal pads.
- Follow the recommended pipe arrangement for best performance.
- Test the drive button feel before final assembly.
Search for 67,706 Manuals online


Type-in Brand or Model