-W przypadku awarii zasilania lub przeniesienia nadajnika w inne
miejsce, kod nadal jest przechowywany w pamiæci.
DANE TECHNICZNE
Zasilanie: 230V~ 50Hz
Maks. moc urzàdzenia
podùàczonego do gniazda: 2300 W
Czæstotliwoúã robocza: 433,92MHz
Zasiæg: aý do 50 m
Temperatura robocza: -10 ~ 50°C
Inbouw wandcontactdoos met ontvanger
De huisautomatiseringsysteem maakt het eenvoudig
draadloos on/off schakelen op afstand van lampen en andere
elektronische apparatuur mogelijk. De zenders kunnen
worden gebruikt om individuele schakelaars te bedienen. De
draadloze communicatie tussen de componenten gaat via
een gecodeerd signaal. De verschillende componenten van
het systeem als een set, of apart worden verkocht. Lees deze
handleiding zorgvuldig door voordat u begint met de
installatie en programmering van alle onderdelen.
INHOUD VAN DE VERPAKKING (1)
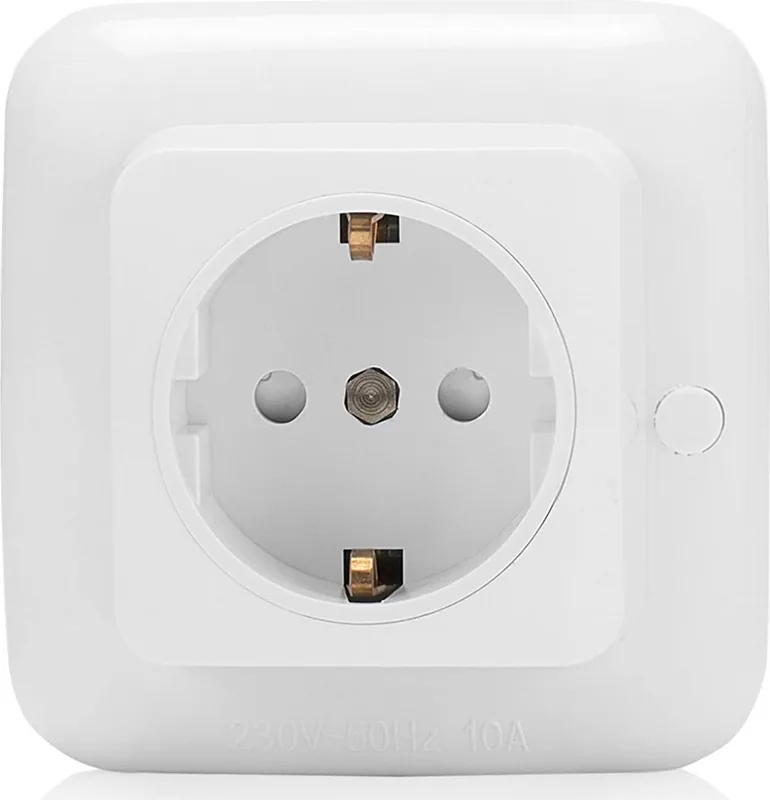
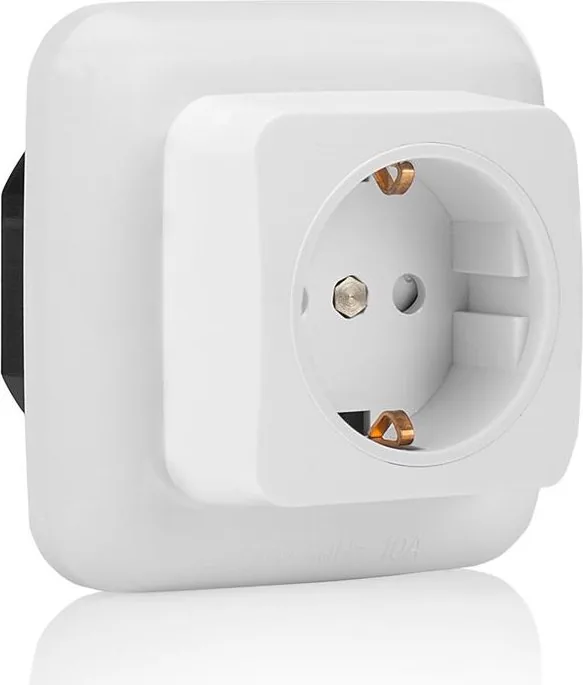
a.Inbouw wandcontactdoos
INSTALLATIE VAN DE INBOUW WANDCONTACTDOOS
- Schakel het lichtnet uit.
- Verwijder voorzichtig de bestaande schakelaar
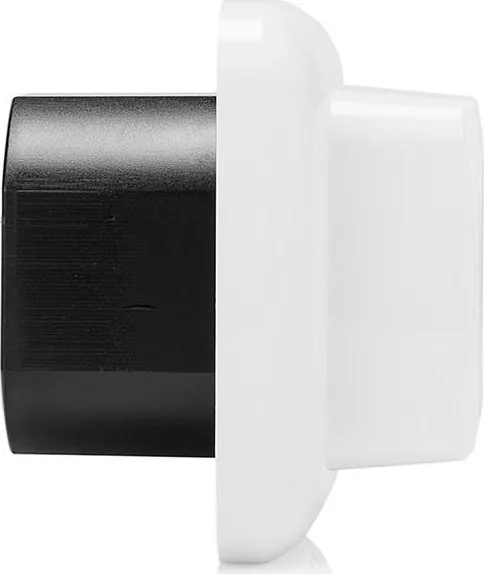
- Verwijder voorzichtig de behuizing van de inbouw schakelaar (2)
- Sluit de elektriciteitsdraden op de schakelaar aan zoals getoond in
het schema (3):
L-pin naar fase = fasedraad (bruin)
Aardingspin naar aarde = aardedraad (groen-geel)
N-pin naar de nul = nuldraad (blauw)
- Bevestig de inbouw schakelaar op de behuizing (4)
- Schakel vervolgens het lichtnet weer in
PROGRAMMEREN
- De rode LED moet branden (5a). Druk op en houd de “Learn”-
knop 2 seconden (5b) ingedrukt en laat dan los, de LED zal gaan
knipperen (5c).
- Druk op en houd de “ON”-knop op uw afstandsbediening (5d)
ingedrukt, houd ingedrukt totdat de LED op de ontvanger uit gaat.
RESETTEN
- De rode LED moet branden, druk dan op en houd de “learn”-knop
ingedrukt 6 seconden lang ingedrukt totdat de LED begint te
knipperen (6a). Laat de knop los en druk er nogmaals kort op
(6b), de LED gaat uit. Alle opgeslagen informatie in deze
ontvanger is nu verwijderd.
- Laat de knop los en druk er nogmaals kort op (6b), de LED gaat
uit. Alle opgeslagen informatie in deze ontvanger is nu verwijderd.
- U kunt ook een enkele afstandsbediening uit het geheugen van de
ontvanger wissen. Gebruik dezelfde procedure als voor het
programmeren, maar in plaats van de “On”-knop te gebruiken,
wordt de “Off”-knop op uw afstandsbediening gebruikt.
GEBRUIK
- Druk op de “ON”-knop op de afstandsbediening om de inbouw
wandcontactdoos in te schakelen
- Druk op de “OFF”-knop op de afstandsbediening om de inbouw
wandcontactdoos uit te schakelen
TIPS
- De zendafstand neemt af wanneer het signaal vloeren of muren
moet overbruggen.
- Meerdere schakelaars kunnen met dezelfde knoppen op de
afstandsbediening worden bediend.
- Metalen behuizingen hebben een negatieve invloed op de
zendafstand.
- In geval van stroomuitval of het verplaatsen van de zender blijft
het geheugen de code bewaren.
SPECIFICATIES
Spanning: 230V~ 50Hz
Max. uitgangsvermogen van de schakelaar: 2300W
Werkfrequentie: 433,92MHz
Werkafstand: maximaal 50m
Bedrijfstemperatuur: -10 ~ 50°C
Prise intégrée avec récepteur
Le système domotique permet d'allumer et d'éteindre à
distance les lampes et les autres appareils électriques
facilement et sans fil. Les émetteurs peuvent servir à
contrôler des interrupteurs individuels. La communication
sans fil entre les composants fonctionne par signal codé. Les
différents composants du système sont vendus groupés ou
individuellement. Veuillez lire ce manuel avec attention
avant de commencer l'installation et la programmation des
composants.
CONTENU DE L'EMBALLAGE (1)
a.Prise intégrée
INSTALLATION DE LA PRISE INTÉGRÉE
-Coupez l'alimentation secteur.
-Retirez prudemment la prise existante
-Retirez délicatement le boitier de la prise intégrée (2)
-Connectez les câbles de l'alimentation secteur à l'appareil selon le
diagramme (3):
Broche L à la phase = fil sous tension (marron)
Broche de terre à la terre = fil de terre (vert-jaune)
Broche N au zéro = fil neutre (bleu)
-Fixez la prise intégrée au boitier (4)
-Remettez l'alimentation secteur
APPRENTISSAGE
-La DEL rouge doit être allumée (5a). Maintenez le bouton
d'apprentissage enfoncé pendant 2 secondes (5b), puis relâchez-
le, la DEL doit clignoter (5c).
-Appuyez et maintenez le bouton ON de votre télécommande (5d),
continuez d'appuyer jusqu'à ce que la DEL du récepteur soit
éteinte.
RÉINITIALISATION
-La LED rouge doit être allumée, maintenez le bouton
d'Apprentissage enfoncé pendant 6 secondes jusqu'à ce que la DEL
clignote. (6a). Relâchez le bouton et appuyez une nouvelle fois
brièvement dessus (6b), la DEL s'éteint. Toutes les informations
enregistrées dans ce récepteur sont à présent supprimées
-Relâchez le bouton et appuyez une nouvelle fois brièvement
dessus (6b), la DEL s'éteint. Toutes les informations sauvegardées
dans ce récepteur sont à présent supprimées.
-Vous pouvez également supprimer une seule télécommande de la
mémoire du récepteur. Suivez la même procédure que pour le
bouton d'apprentissage mais, plutôt que d'utiliser le bouton On,
utilisez le bouton Off de votre télécommande
UTILISATION
-Appuyez sur le bouton ON de votre télécommande pour allumer la
prise intégrée
-Appuyez sur le bouton OFF de votre télécommande pour éteindre
la prise intégrée
CONSEILS
-La portée de la transmission diminue si le signal doit traverser des
planchers ou des murs.
-Il est possible de contrôler plusieurs interrupteurs avec les mêmes
boutons de la télécommande.
-Les boitiers en métal auront une influence négative sur la portée
de la transmission.
-En cas de coupure de courant, ou si l'émetteur est déplacé, la
mémoire de l'émetteur conservera les codes.
SPÉCIFICATIONS
Tension: 230V~ 50Hz
Sortie max. de l'interrupteur : 2300W
Fréquence opérationnelle : 433,92MHz
Distance opérationnelle: jusqu'à 50m
Température de fonctionnement: -10 ~ 50°C
Enchufe empotrado con receptor
El sistema de automatización en casa permite un fácil
encendido y apagado inalámbrico de lámparas y otros
aparatos electrónicos a distancia. Los transmisores pueden
utilizarse para controlar interruptores individuales y . La
comunicación inalámbrica entre los componentes se produce
con una señal codificada. Los diferentes componentes del
sistema se venden como un conjunto o por separado. Lea por
favor este manual detenidamente antes de empezar la
instalación y la programación de todas las piezas.
CONTENIDO DEL PAQUETE (1)
a.Enchufe empotrado
INSTALACIÓN DEL ENCHUFE EMPOTRADO
- Apague la alimentación principal
- Quite con cuidado el enchufe existente
- Quite con cuidado la carcasa del enchufe empotrado (2)
- Conecte los cables de la alimentación a la unidad como se muestra
en el esquema (3):
Pin L a la fase = cable activo (marrón)
Pin de tierra a tierra = cable de tierra (verde-amarillo)
Pin N al neutro = cable neutro (azul)
- Sujete el enchufe empotrado en la carcasa (4)
- Encienda la alimentación
APRENDIZAJE
- El LED rojo debe estar encendido (5a). Apriete y mantenga el
botón de aprendizaje durante 2 segundos (5b), a continuación
suelte, el LED debe parpadear (5c).
- Apriete y mantenga el botón ON del mando a distancia (5d),
mantenga apretado hasta que el LED del receptor se apague.
RESTABLECIMIENTO
- El LED rojo debe estar encendido, entonces mantenga apretado el
botón de Aprendizaje durante 6 segundos hasta que el LED
empiece a destellar (6a). Suelte el botón y apriételo otra vez
brevemente (6b), el LED se apaga. Toda la información guardada
en este receptor ahora está borrada.
-Suelte el botón y apriételo otra vez brevemente (6b), el LED se
apaga. Toda la información guardada en este receptor ahora está
borrada.
- También puede borrar un único mando a distancia de la memoria
del receptor. Utilice el mismo procedimiento que para el
aprendizaje pero en vez del botón On, utilice el botón Off del
mando a distancia.
UTILIZACIÓN
-Apriete el botón ON en su mando a distancia para encender el
enchufe empotrado
-Apriete el botón OFF en su mando a distancia para apagar el
enchufe empotrado
CONSEJOS
- La distancia de transmisión disminuye si la señal debe atravesar
suelos y paredes
- Varios interruptores pueden controlarse con los mismos botones
del mando a distancia
- Las envolturas metálicas tendrán una influencia negativa en la
distancia de transmisión
- En caso de fallo del suministro eléctrico o de mover el transmisor
la memoria todavía contiene el código.
ESPECIFICACIONES
Tensión: 230V~ 50Hz
Máxima salida del interruptor: 2300 W
Frecuencia de trabajo: 433,92 MHz
Distancia de trabajo: hasta 50 m
Temperatura de funcionamiento: -10 ~ 50°C
6 sec. reset
SH5-RBS-23A
10.037.39
EN
DU
PL
NL
FR
ES
EN
SPECIFICATIONS
Voltage: 230V~ 50Hz
Max. switch output: 2300W
Working frequency: 433.92MHz
Working distance: up to 50m
Operating temperature: -10 ~ 50°C
/2
%
Quick check
I'm not a robot
Incorrect answer, please try again.
Chat with your Smartwares Built-in Wireless Socket manual using AI
Get instant AI answers from your Smartwares Built-in Wireless Socket manual
Ask anything about the Smartwares Built-in Wireless Socket. Answers come from this manual, with the pages they are based on.
Ask a Question
0/1000
Do you recommend Built-in Wireless Socket?
YesNo
Frequently Asked
Questions
A
Yes, always switch off the main power supply at the breaker box before beginning any installation work. Ensure cables are connected correctly to phase, earth, and neutral terminals. Do not exceed the maximum 2300W load rating to prevent overheating or electrical hazards.
Is this answer helpful?
A
Ensure the red LED is on, press and hold the Learn button for 2 seconds until it blinks. Then press and hold the ON button on your remote until the LED turns off. This confirms successful pairing between the remote and the receiver.
Is this answer helpful?
A
Yes, you can reset all saved information. Turn on the red LED, press and hold the Learn button for 6 seconds until it blinks. Release and press briefly again. All data is deleted. You can also remove single remotes by pressing the Off button during learning.
Is this answer helpful?
A
The maximum switch output is 2300W. This makes it suitable for various electronic appliances and lamps but you must ensure the total load does not exceed this limit to operate safely.
Is this answer helpful?
A
Transmission distance decreases if the signal needs to go through floors or walls. Signal strength is significantly reduced if there are metal housings or other barriers in the path. Best performance is achieved with a clear line of sight.
Is this answer helpful?
A
Yes, in case of power failure or moving the transmitter, the memory still contains the code. You can continue using the remote control without relearning once power is restored.
Is this answer helpful?
A
The working frequency is 433.92MHz. This standard frequency allows for reliable wireless communication with compatible transmitters and ensures minimal interference with other household devices.
Is this answer helpful?
M: qwen/qwen3.5-flash-20260224
Advantagesand
Disadvantages
Advantages
Simple wireless control for lamps and appliances via remote
High power capacity allows up to 2300W load safely
Memory retains settings even after power failure events
Clear LED indicators show status during installation and pairing
Supports multiple switches controlled by same remote buttons
VS
Disadvantages
Signal distance decreases when passing through floors and walls
Metal housings negatively influence transmission distance significantly
Requires hardwiring into electrical system rather than plug-in
Max range limited to 50m without direct line of sight
Does not support smartphone app integration based on text
M: qwen/qwen3.5-flash-20260224
Product
Specification
Type
Actuator
Standard
Radio bus (434 MHz), open wire
Function
Switch outlet (on/off)
Features
App-controlled (iOS, Android)
M: qwen/qwen3.5-flash-20260224
Product
Description
Welcome to Wireless Light Control
Transforming your living space into a modern smart home environment has never been easier with the Smartwares Smart Home Built-in Smart Socket 2300W Smart Socket Manual guidance. This built-in socket allows for seamless integration into your existing electrical infrastructure. Imagine controlling lamps and electronic appliances from a distance without the hassle of complex setup procedures or extra wiring runs. The system relies on encoded wireless signals to ensure secure communication between your transmitter and the receiver unit. It is designed for those who value convenience and safety in their home management systems.
Installation and Safety Protocols
Proper installation is crucial for safety and long-term performance. Before you begin any work, always switch off the main power supply at the breaker box. Carefully remove your existing socket to make room for the new unit. The wiring process connects the phase, earth, and neutral cables specifically marked with color codes like brown for live, green-yellow for earth, and blue for neutral. Once connected, secure the socket firmly within the housing before switching the power back on. The red LED indicator provides visual confirmation of the unit status during the learning process, ensuring you know when it is ready to pair.
Remote Operation and Pairing
Control is simplified through a dedicated remote control included in the system. You can turn devices on or off with a single press using the dedicated buttons. The learning process involves holding specific buttons for defined durations until the LED flashes indicating success. This ensures that only your authorized remote pairs with the receiver safely. Even if power cuts out unexpectedly, the memory retains the code for convenient use upon restoration. You can also delete single remotes from memory if needed.
Technical Specifications and Usage
This unit operates on 230V at 50Hz with a maximum switch output of 2300W. The working frequency is 433.92MHz, allowing for a working distance of up to 50m in open spaces without obstruction. It functions within temperatures ranging from -10 to 50 degrees Celsius, making it suitable for various indoor environments. Be aware that metal housings and thick walls can negatively influence transmission distance significantly. Signal strength decreases if the signal needs to go through floors and walls.
Maintenance and Tips
For optimal performance, ensure no metal obstructions block the signal path between the remote and the receiver. Multiple switches can be controlled by the same buttons on your remote to manage different zones. If you need to reset the memory, follow the specific button combination instructions provided to start fresh. Enjoy the freedom of automation today and upgrade your electrical convenience. This solution fits perfectly into homes looking for a touch of modern technology without breaking the bank.