Manual.ly Logo

sera UVC-Xtreme 800 Manual

0.0 · 0 Ratings

PDF manual · 90 Pages

English

M: OA-GPT-54-NAN
page

/ 90

Loading...
781d6a9054693a344975a2f7322d15035812 page 11
17
Maintenance and care
Cleaning (every 4 – 12 weeks)
Over time and depending on biological load, food amount and aquarium
volume, mechanical and biological lter media get clogged more or less
quickly. Due to increasing sedimentation, the turnover through the lter
is reduced.
For cleaning, please rst pull the barrel plug from the lter head (6.5)
and then close the valves by turning the taps by 90° perpendicular to
the ow direction (6.4).
Now open the 4 holder clips (8.1 – 8.2). This leads to pressure release,
and you can now unscrew the valves from the lter head without water
running out (7.6). Now take the lter head off and lay it aside, or put it
back if you wish to carry it to a sink or the location where you wish to
clean the lter media.
You can now take the lter media baskets (1.34) out from above and
wash out the lter materials. It is best to use aquarium water for wash-
ing them out since this, unlike tap water, does not endanger the lter
bacteria. Never replace the lter material entirely but always retain used
lter material. By doing so, the lter bacteria will then spread over the
entire lter material again. Newly setup lters can also be activated by
using used lter material.
Maintenance of the running unit (every 3 – 9 months)
Please check the bottom side of the lter head whether the running unit
can move freely. To do so, please remove the two 90° elbows and the
pump chamber cover. Turn the rotor with your ngers. You should be able
to turn it without suspicious resistance. Rinse the openings thoroughly
with a water beam, depending on deposits and biolm, and re-assemble
the lter (4.1 – 4.7).
Possible problem sources and solution
Problem Possible cause Possible solution
E1 Suction pump does not ll up the
lter
E1.1 Are “IN” and “OUT” valves/hoses mixed up?
Check if bubbles are coming out of the intake strainer while suction
pump is in operation.
Yes, switch “IN” and “OUT” valves/hoses.
Make sure that the valve marking corresponds with the valve connector marking
(7.3).
No, see item E1.2
E1.2 Are “IN”/“OUT” valves still closed? Yes, open taps (6.4) of the “IN”/“OUT” valves.
No, see item E1.3
E1.3 Did you forget to insert the lter head seal (1.31)?
Yes, insert the lter head seal.
No, see item E1.4
E1.4
Are hoses laid out in a loop?
Yes, lay the hoses out without loops, shorten them if applicable.
No, see item E1.5
E1.5 Is the lter in operation for the rst time? Yes, ll the lter canister with water by two thirds. Then press “S”.
No, see item E1.6
E1.6
Dirt particles in the outlet valve?
Yes, remove the valve, clean it, and re-assemble.
No, see item E1.7
E1.7 Too low water level of the tank (e.g. terrapin tank)? Yes, press “S” button (2) repeatedly after suction is completed, or raise the
performance setting by pressing the “+” button. The setting can be adjusted as
desired once the air trapped inside the lter has escaped.
No, see item E1.8
E1.8 Is the spray bar too deep underneath the water surface? Yes, install the spray bar parallel to water surface, 15 cm (6 in.) underneath it at the
maximum (7.1).
No, see item E5, or please contact your retailer.
E2 Pump does not work E2.1 Power supply interrupted? Check mains and 5.5 mm (0.2 in.) barrel
plugs.
Yes, connect to power supply.
No, see item E2.2
E2.2 Are the valves still closed? Yes, open valve taps (6.4).
No, see item E2.3
E2.3 Is the rst LED ashing (green)? Yes, exit standby mode by pressing the “+” button (2).
No, see item E2.4
E2.4 Are the rst and second green LEDs ashing at the same time? Yes,
– disconnect the lter from the mains supply and reconnect it; or
– disconnect the lter from the mains supply, open the lter head (8.1 – 8.2). Clean
the lter head, in particular the rotor (3), so the rotor can rotate freely.
No, see item E2.5
E2.5 Too much air in lter? Yes, see item E5 of the chart.
No, please contact your retailer.
E3 Pump performance has strongly
decreased
E3.1 Are the valve taps (6.4) not in the correct “OPEN” position? Yes, open the valve taps properly so both handles are parallel to the longitudinal axis
of the valves.
No, see item E3.2
E3.2 Hoses bent, polluted or covered with biolm layers? Is there an
obstacle in the tubing?
Yes, clean/brush hoses and tubing, remove biolm inside the hoses by means of a
hose brush. Remove obstacles in the tubing.
No, see item E3.3
E3.3 Intake strainer or outlet clogged? Yes, clean strainer or outlet and remove coarse dirt.
No, see item E3.4
E3.4 Too much air trapped inside the lter? Yes, press “S” key (2) until pump works properly, repeat as required.
No, see item E3.5
E3.5 Too many devices connected to lter? Yes, prelters, T pieces, UV-C lamps etc. additionally connected to the intake or
outlet reduce the ow rate. The UVC-Xtreme lter already contains a suitable UV-C
lamp.
No, see item E3.6
Replacing the UV-C lamp (every 1 – 1.5 years)
Should the blue LED indicator lamp stay off, or if the UV-C lamp is
1.5 years old at the maximum, it needs to be replaced. First switch off
the lter head for replacing the lamp. Pull the barrel plug from the lter
head (6.5). Then you can disconnect the head from the lter (8.1 – 8.2).
Unscrew the union nut of the UV-C intake nozzle after having removed
the magnetic contact (1.18, 9.1/9.2), then pull the two 90° elbows at-
tached to the nozzles (9.3).
Now the union nut of the UV-C nozzle can be unscrewed (9.4). Pull the
nozzle off upwards. The quartz glass cylinder is located underneath.
It can now be pulled off, granting access to the lamp (9.5). The UV-C
lamp can be removed from the socket by pulling it gently. It can now be
replaced with a suitable replacement lamp. Then re-assemble the lter
in reverse order (9.6 – 9.1).
Switch-off protection: UV-C radiation is dangerous. Irradiation of
eyes and skin must be strictly avoided. The lters are constructed
according to latest safety standards in a way that a magnetic switch
switches off the UV-C lamp as soon as the lamp casing is opened.
Prior to every maintenance measure, the magnetic contact should
be removed rst before removing the two clickable 90° elbows, as
this will prevent possible eye or skin damage caused by UV-C radia-
tion being released from the now opened connection of the two 90°
elbows at the UV-C tube, in case disconnecting the device from the
mains supply was forgotten.
000000-00_sera UVC Xtreme 800_1200_INT_GBI.indd 17 07.09.2017 08:12:35

Chat with your sera UVC-Xtreme 800 manual using AI

Get instant AI answers from your sera UVC-Xtreme 800 manual

Ask anything about the sera UVC-Xtreme 800. Answers come from this manual, with the pages they are based on.

UVC-Xtreme 800 Maintenance Schedule

Remind me when maintenance is due
Every 4 weeks
Clean filter media

Wash mechanical and biological filter materials using aquarium water to preserve bacteria. Do not replace all material at once.

Show in the manual (page 17)
Every 6 months
Maintain running unit

Check if the rotor rotates freely by hand and rinse openings with a water stream to remove biofilm or deposits.

Show in the manual (page 17)
Every 9 months
Replace UV-C lamp

Change the amalgam lamp after 1.5 years maximum to ensure full function, even if the indicator light is still on.

Show in the manual (page 17)

Free maintenance reminders

Timed to your purchase date. Always free, unsubscribe anytime.

By submitting you agree to the privacy policy. Unsubscribe with one click in any email.
M: QW-35-FL

Ask a Question

0/1000

Do you recommend UVC-Xtreme 800?

Yes No

Frequently Asked Questions

A

The UV-C unit is intended for pathogen reduction and floating-algae reduction by irradiating water after it passes through the filter media. The system is not designed to sterilize an aquarium, and beneficial bacteria on the media remain largely unaffected.

Is this answer helpful?

A

Start with a medium performance level and adjust based on your tank size and algae or pathogen pressure. Lower circulation increases the time water spends in the UV-C unit, which can improve reduction. If air is trapped or flow seems weak, increase briefly.

Is this answer helpful?

A

During the first run, trapped air can reach the rotor area and increase noise. Use the suction-pump function to remove air under the filter head. After a few minutes, noise typically decreases once airflow stabilizes.

Is this answer helpful?

A

Mechanical and biological media should be checked and cleaned approximately every 4 to 12 weeks, depending on bioload, feeding, and aquarium volume. If circulation decreases, clean only what is needed and avoid replacing all media at once.

Is this answer helpful?

A

Lamp life depends on switching cycles, but service guidance indicates roughly 1 to 2 years. The lamp should be replaced after about 1.5 years to ensure full performance, especially if the UV-C indicator no longer shows normal operation.

Is this answer helpful?

A

Check that IN/OUT valves are fully open, hoses are not kinked, and media baskets are not clogged. Also verify that the rotor can move freely and that there is not excessive trapped air. If the issue persists, inspect the outlet path and contact a retailer.

Is this answer helpful?

M: OA-GPT-54-NAN

Advantages and Disadvantages

Advantages

  • Integrated switchable UV-C with amalgam lamp for stabilized performance and higher emission potential
  • Low-voltage, low-noise motor with multiple settings to tune flow, energy use, and UV exposure time
  • Electric suction pump helps purge trapped air after setup or maintenance for quiet operation
  • 360-degree rotatable valves and complete connection kit simplify installation and handling
  • Optimized media basket flow path supports mechanical and biological filtration with long service intervals
VS

Disadvantages

  • Requires careful UV-C safety handling and only original replacement amalgam lamps
  • Performance drops if filter media or hoses clog or if airflow is blocked
  • Correct sealing, upright placement, and proper IN/OUT connections are critical to prevent leaks and air issues
  • Service tasks (rotor and UV-C maintenance) involve disassembly that should be done carefully
M: OA-GPT-54-NAN

Product Specification

Type

External filter with UV-C clarifier

Flow volume

221.95 gal/h

Aquarium size

26.42-211.34 gal

Power consumption

24 W

Features

UV-C lamp, incl. inlet/outlet set

M: GO-GEM-FL-25

Product Description

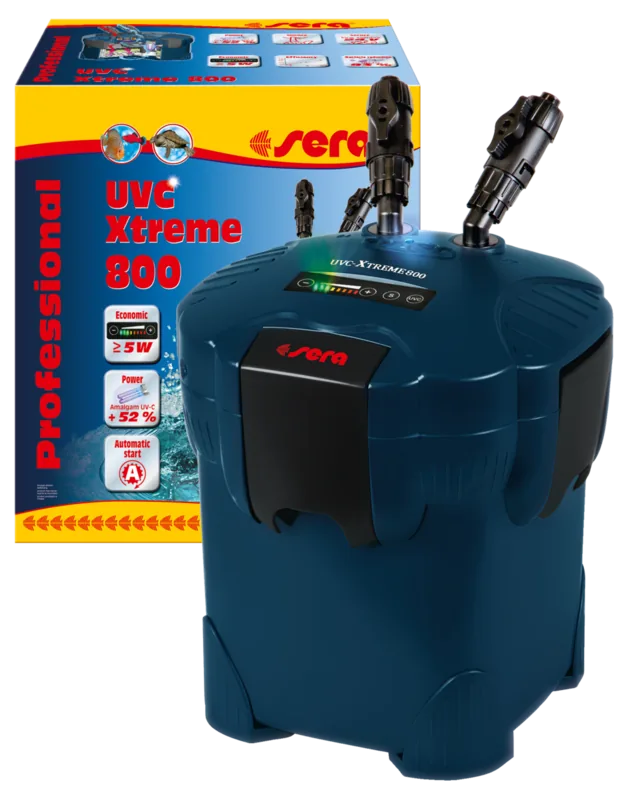
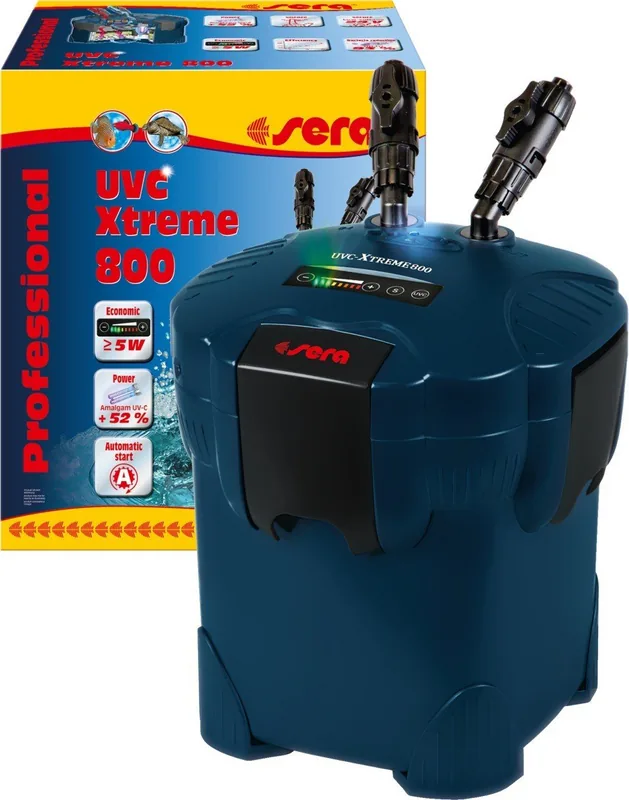
sera Professional UVC-Xtreme 800 External Filter

The sera Professional UVC-Xtreme 800 External Filter brings UV-C support and electronic control into an efficient, low-noise external filtration system built for freshwater aquariums. Designed for flexible installation, it uses a modern low-voltage motor with multiple performance levels, letting you match water circulation to tank size, bioload, and your desired UV-C treatment intensity. In energy-saving mode, it can run with low wattage while still delivering strong circulation when needed.

What sets the Xtreme series apart is the integrated UV-C unit that is switchable from the control panel. The UV-C amalgam lamp provides stabilized output in its operating temperature range and is intended to reduce pathogens and floating algae more effectively than many conventional UV-C lamps. Rather than aiming for true sterilization, the system focuses on pathogen reduction while preserving beneficial filter bacteria that live primarily in the filter media.

Water flows through optimized media baskets from top to bottom. A ridged sponge helps catch coarse particles, while fine and biological media selections (for example, ceramic biomedia) support mechanical and biofiltration. After passing the media, the mechanically and biologically pre-treated water is drawn to the UV-C zone, then returned to the aquarium via the OUT valve. The system also includes an electric suction pump that helps remove trapped air after setup or maintenance, supporting quiet, reliable operation.

For safe, correct use, consider the sera Professional UVC-Xtreme 800 External Filter Manual when setting up the ballast, positioning the filter, and handling UV-C components. The unit is intended for indoor use, requires sufficient water flow, and includes safety measures to prevent UV-C exposure during maintenance.

Key results

  • UV-C enabled external filtration with switchable control for pathogen and floating-algae reduction
  • Multiple motor performance levels to balance circulation, UV exposure time, and energy use
  • Integrated air removal routine for smoother startups after cleaning
  • Optimized flow path and media baskets to support long service intervals
  • Easy 360-degree valve orientation and included connection kit for flexible setup

Notes

  • Favor partial media cleaning and reuse of established media to protect beneficial bacteria.
  • UV-C amalgam lamps are typically replaced on a service cycle (about 1 to 2 years depending on switching), following the unit guidance.
  • Ensure proper sealing, upright placement, and correct IN/OUT plumbing to maintain flow and efficiency.
M: OA-GPT-54-NAN

© Copyright 2026 Manual.ly