
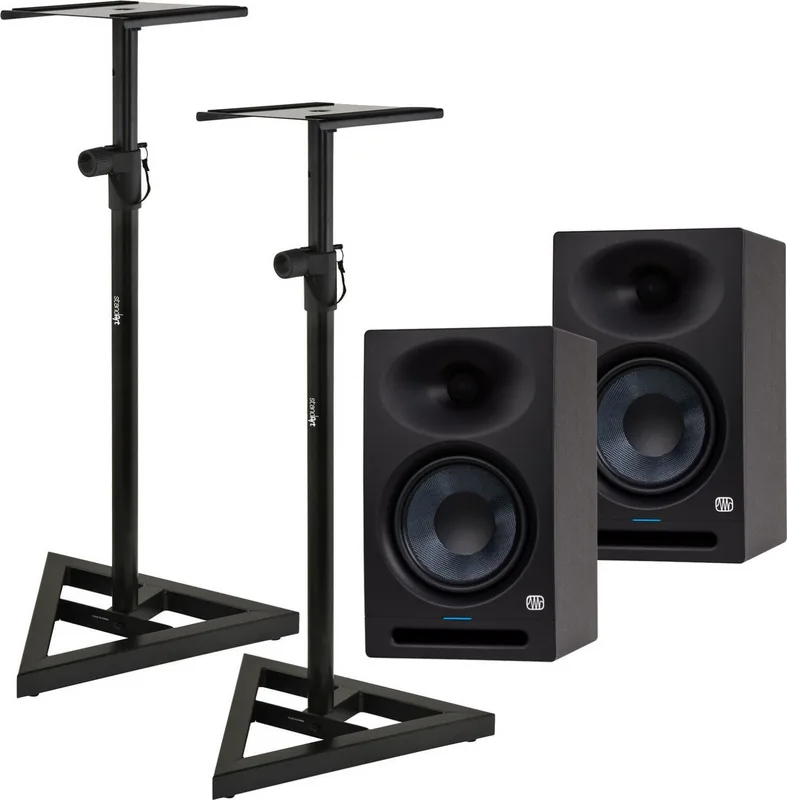
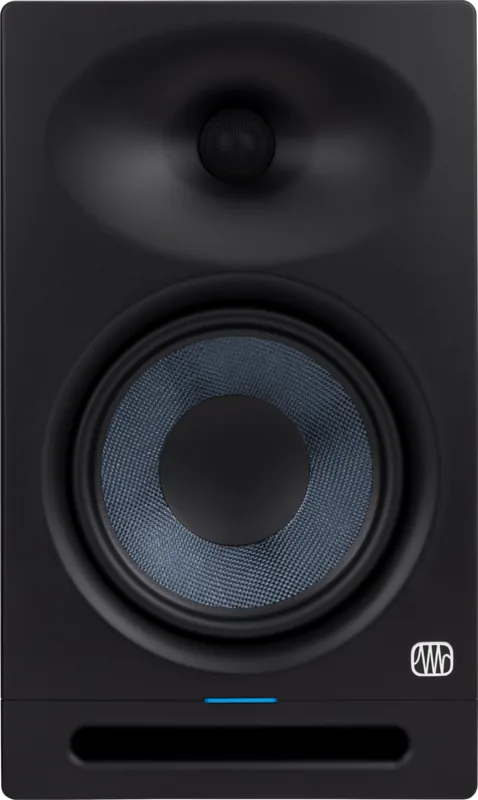
PreSonus Eris Studio 8 Manual
PDF manual · 17 Pages
English



Quick check
Incorrect answer, please try again.
Chat with your PreSonus Eris Studio 8 manual using AI
Get instant AI answers from your PreSonus Eris Studio 8 manual
Ask anything about the PreSonus Eris Studio 8. Answers come from this manual, with the pages they are based on.
Ask a Question
Do you recommend Eris Studio 8?
Yes NoFrequently Asked Questions
Calibration involves connecting an audio source and placing an SPL meter at your listening position. Play pink noise at 0 dB, set unity gain, and adjust the input sensitivity of each speaker until the left speaker reads 82 dB SPL. Then power down the left speaker, adjust the right speaker to 82 dB SPL, and turn the left back on. Both speakers should read 85 dB when playing together simultaneously.
Is this answer helpful?
The Eris Studio-Series monitors offer three line-level input types. You can choose between a balanced XLR connector, a balanced ¼-inch TRS jack, or an unbalanced RCA input. For the best audio quality, it is recommended to use balanced connections as they resist noise induced by electromagnetic interference.
Is this answer helpful?
The Acoustic Space control cuts frequencies below 800 Hz to compensate for bass boost caused by placing speakers near walls or corners. If your monitors are in a corner, set this to -4 dB. If near a wall, set to -2 dB. If placed away from boundaries, leave it at 0 dB to maintain the natural frequency response.
Is this answer helpful?
Hum is usually caused by a ground loop. Ensure all equipment is connected to the same power source. Using a power conditioner, balanced cables, or a direct box with a ground-lift switch can often resolve this issue. Keep audio cables away from power cables to prevent electromagnetic interference from entering your signal path.
Is this answer helpful?
No, the Eris Studio-Series monitors have a focused EBM waveguide design that must be placed in their vertical orientation. Laying them horizontally will alter the dispersion pattern and reduce the effectiveness of the waveguide designed for vertical setup.
Is this answer helpful?
First ensure the monitor is plugged in and the power conditioner is on. Check the fuse on the back panel. Disconnect the power cable and inspect the fuse. Use the correct fuse type listed below the inlet for your voltage input. If the fuse blows again, contact PreSonus support for repair instructions.
Is this answer helpful?
Advantages and Disadvantages
Advantages

- Balanced XLR, TRS, and RCA inputs provide flexible connection options.
- High Frequency and Mid Frequency knobs allow precise EQ adjustments.
- Acoustic Space control compensates for bass boost near walls or corners.
- Power saver saves energy by engaging standby mode after 40 minutes of silence.
- Class A and AB amplifiers deliver powerful output with headroom.
Disadvantages

- Speakers must be placed in vertical orientation for correct dispersion.
- Requires external SPL meter for accurate calibration to 85 dB standard.
- Low cut filter only rolls off at 80 or 100 Hz limiting deep bass control.
- Unbalanced inputs are susceptible to noise if cable runs are too long.
- Larger dimensions of Studio 8 require significant desk or stand space.
Product Specification
Principle
2-Way
Tweeter
1x 1.25" / 1.25"
Woofer
1x 8" / 8.00"
Frequency Range
35Hz-20kHz
Power
65W / 75W RMS (High Frequency / Low Frequency)
Max SPL
106dB
Dimensions
9.84x16.50x11.73 in (WxHxD)
Weight
22.27 lbs
Product Description
Welcome to Precision Audio Monitoring
Welcome to the world of precision audio monitoring with the PreSonus Eris Studio 8. These studio monitors are designed to deliver superb high-frequency response and extended low-end performance that ensures your mixes translate well from the studio to the stereo. Understanding the specific features and setup requirements is crucial, which is where a detailed resource like the PreSonus Eris Studio 8 Manual becomes invaluable for new users. You will find helpful Power User Tips that can quickly make you an Eris expert so you can get the most out of your investment. If this is your first pair of studio monitors, paying attention to the section on monitor placement and acoustic space settings is essential for optimal performance. The monitors feature adjustable EQ controls including High Frequency, Mid Frequency, and Low Cut to mitigate any problem acoustics in your mix environment. You can boost or cut frequencies above 10 kHz or around 1 kHz to tailor the sound to your specific room.
Acoustic Space settings allow you to cut bass frequencies to compensate for boundary bass boost when placing speakers near walls. Connectivity is versatile with balanced XLR, balanced ¼-inch TRS, and unbalanced RCA inputs available. Using balanced inputs reduces induced noise from electromagnetic interference. Power management includes a standby mode that activates after forty minutes of silence. Calibration to 85 dB SPL is recommended to ensure your metered audio level equals a predetermined sound pressure level in your studio environment. Proper gain staging and using balanced cables help avoid noise in the audio signal. Keep your cables away from power sources to avoid buzzing or humming. The Eris monitors feature a focused EBM waveguide design ensuring wider horizontal coverage.
The tweeters should be at ear level for accurate high-frequency tracking. This setup ensures a wide sweet spot where the speakers overlap for the best stereo image. Whether you are calibrating using pink noise or simply setting initial levels, accuracy matters. The product registration through My.PreSonus is encouraged to track orders and access software. Troubleshooting guides help resolve issues like hum or no power quickly. Technical specifications show the Studio 8 has 8-inch woven composite LF drivers and 1.25-inch silk-dome HF drivers with significant amplifier power. Total weight and dimensions are substantial ensuring stability on stands. High-frequency content is much more directional than low frequency content. You can more accurately hear what is happening if high frequencies are directed at your ear. Once you have created the sweet spot, sit down and make sure that your ears are level with center of tweeter.
If your mixes lack low end when played away from your mix environment, try adjusting the Acoustic Space to create more even frequency response. The Eris Studio-Series monitors ensure that your mix translates from the studio to the stereo. You can engage standby when audio is not playing for long periods. Always use the shortest cable length possible to minimize risk of induced noise. Refer to the guide for instructions on how to connect your audio interface. It is also useful to note the different power settings available for international use. Ensure you do not remove the center grounding prong as this could result in electrical hazards. The manual offers extensive support for setting up your system for best performance.
Search for 67,706 Manuals online


Type-in Brand or Model