

Plustek ePhoto Z300 Manual
PDF manual · 42 Pages
English



Quick check
Incorrect answer, please try again.
Chat with your Plustek ePhoto Z300 manual using AI
Get instant AI answers from your Plustek ePhoto Z300 manual
Ask anything about the Plustek ePhoto Z300. Answers come from this manual, with the pages they are based on.
Ask a Question
Do you recommend ePhoto Z300?
Yes No
Isaac Chapman
9 months ago
Does scanning at 600 dpi really improve photo quality compared to 300 dpi, or does it mostly just use more storage?

Manual.ly
9 months ago
In most cases, 300 dpi is the best choice. 600 dpi can increase detail only if the original photo contains enough fine detail and you plan to make larger prints or strong zoom crops. Otherwise the higher setting mainly increases file size and scan time, without a noticeable quality gain. Also make sure photos are flat and clean: the software auto-crops based on detected edges, and dirty or uneven edges can cause artifacts like black borders. If you see that, reposition the photo closer to the guides or use the software crop tool. For TV viewing, albums, and sharing, 300 dpi is usually sufficient.
Frequently Asked Questions
It is best suited for quickly scanning printed photos and similar flat materials, especially when you want a simple workflow with easy software support and basic image cleanup tools.
Is this answer helpful?
Yes. The guide includes installation steps for Windows and Mac systems, with support for several common versions on each platform.
Is this answer helpful?
Yes. The Plustek ePhoto application is part of the setup and provides the main scanning, editing, and saving functions.
Is this answer helpful?
Calibration helps keep colors accurate and reduces color shifts that can appear over time. It is especially useful if whites look tinted or scans differ from the original.
Is this answer helpful?
Keep the feed path clean, use the correct power and USB cables, align items carefully, and scan in a dry indoor environment to avoid feeding or image issues.
Is this answer helpful?
Yes. The text notes that driver updates can be checked through the official website or from inside the ePhoto software, depending on the version you have installed.
Is this answer helpful?
Advantages and Disadvantages
Advantages

- Fast scanning makes it ideal for digitizing photo collections quickly.
- Simple setup on Windows and Mac helps users get started with less hassle.
- ePhoto software adds editing, organizing, and export tools in one place.
- Compact design and USB connection make it convenient for desk use.
Disadvantages

- Best performance depends on careful alignment and occasional calibration.
- Regular cleaning is needed to prevent dust or roller buildup from affecting scans.
- Advanced features may feel limited for users who want full professional editing.
- Some functions depend on supported software versions and driver updates.
Product Specification
Type
Document scanner (CCD)
Resolution
300x300dpi
Speed
12/12 ppm (B&W/Color)
Paper/Film format
A4
Paper/Film feed
Single sheet
Connections
1x USB 2.0
Wireless
N/A
Display
N/A
Software
OCR software
Dimensions
11.42x6.22x6.34in
Weight
3.26 lb
Special features
LED lighting
Product Description
Plustek ePhoto Z300: A Compact Scanner Built for Fast Photo Archiving
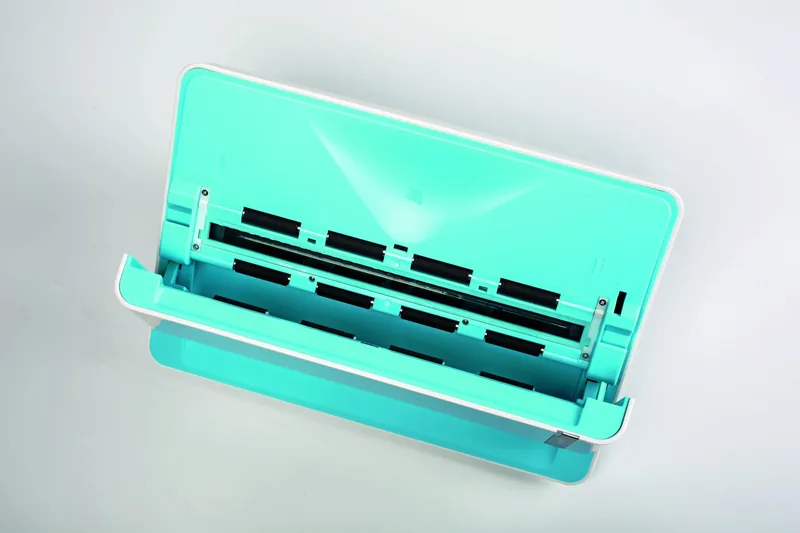
The Plustek ePhoto Z300 is designed for people who want a simple, efficient way to digitize printed memories and everyday paper materials without a long learning curve. It combines a compact footprint with a straight-through feed design, making it easy to keep on a desk and ready for quick scanning sessions. For home users, family historians, teachers, and small offices, it offers a practical balance of speed, convenience, and image-focused features.
What makes the Z300 appealing is how little effort it takes to get started. The setup process is straightforward on both Windows and Mac systems, and the included ePhoto software adds a friendly workspace for scanning, organizing, and lightly editing images. The interface supports useful tools such as auto crop, deskew, quick fix options, color adjustments, rotation, and export choices, so scanned results can be cleaned up before saving or sharing.
Speed is another strong point. The scanner is built for fast single-pass handling, and the manual highlights quick capture times for common photo sizes. That makes it a good fit for users who need to process stacks of old prints, family albums, or frequently handled materials. The LED status indicator also helps users understand whether the device is powered on, ready, or actively scanning.
The Plustek ePhoto Z300 Manual emphasizes proper alignment, careful maintenance, and calibration to keep output looking consistent over time. It also explains how to clean the feed roller and glass, which matters for preserving quality and reducing feeding issues. With its clear guidance, the device is approachable even for users who are new to dedicated scanners.
Beyond performance, the Z300 reflects a practical everyday design. It supports standard USB connectivity, includes the necessary accessories in the box, and offers maintenance tips that help extend its lifespan. If you are looking for a scanner that focuses on ease of use, dependable operation, and quick photo digitization, the Z300 is a smart option worth considering.
Notes
- Best results come from proper alignment and regular calibration.
- Keep the scanner clean to avoid dust-related image issues.
- Store the calibration sheet for future maintenance.
- Use the official software and driver updates for smoother performance.
Search for 67,706 Manuals online


Type-in Brand or Model
Benedikt Pfeffer
9 months ago
Does the 600 dpi scan really look better than 300 dpi, and how can I avoid black borders when the scanner auto-crops my photos?
Manual.ly
9 months ago
In most cases you will not see a big quality difference between 300 dpi and 600 dpi. Reviewers report that 600 dpi mainly increases file size and scan time, while 300 dpi is sufficient for TV viewing and typical photo digitization. To avoid black borders, make sure the photo has clean, straight edges when placed on the scanner glass, since the software auto-crops based on where it thinks the photo ends. If you do get a black side strip on some images, reposition the photo closer to the edge and use the software's cropping tools. Very dark photos, uneven instant photos, or sharply cut shapes may require a few tries in different orientations. Regularly cleaning the scanning area also helps.