智能设备通过单个 USB 2.0 接口连接到您的计算机。要想控制智能设备,请从 camwebapp.com 下载并安装 NZXT CAM。
智慧裝置透過一個內部的 USB 2.0 連接器連接至電腦。若要控制智慧裝置,請至 camwebapp.com 下載並安裝 NZXT CAM。
Интеллектуальное устройство подключается к ПК через внутренний портUSB2.0 Для управления интеллектуальным устройством
загрузите и установите NZXT CAM с сайта camwebapp.com.
El dispositivo inteligente se conecta a tu PC mediante un único conector USB 2.0 interno. Para activar el control del dispositivo
inteligente, descarga e instala NZXT CAM desde camwebapp.com.
SMART DEVICE V2
ACCESSORY BOX
CAJA DE ACCESORIOS
BOITE D'ACCESSOIRES
ZUBEHÖRSET
КОРОБКА С ПРИНАДЛЕЖНОСТЯМИ
SCATOLA DEGLI ACCESSORI
CAIXA DE ACESSÓRIOS
악세사리 박스
部品箱(説明書入り)
配件盒
零件盒
LED CONNECTOR
/2
%
Quick check
I'm not a robot
Incorrect answer, please try again.
Chat with your NZXT H510 manual using AI
Get instant AI answers from your NZXT H510 manual
Ask anything about the NZXT H510. Answers come from this manual, with the pages they are based on.
Ask a Question
0/1000
Do you recommend H510?
YesNo
Frequently Asked
Questions
A
Connect the Smart Device via a single internal USB 2.0 connector. Download and install NZXT CAM software from the official website to enable control of the device.
Is this answer helpful?
A
The case supports ATX, Micro-ATX, and Mini-ITX motherboard sizes. Ensure your specific model fits within the clearance specifications listed in the manual.
Is this answer helpful?
A
Yes, the bottom panel can mount D5 or DDC pumps using M4 screws. The cable bar accommodates reservoirs up to 150mm tall. Check radiator mount compatibility before ordering.
Is this answer helpful?
A
Parts are generally covered for two years from the date of purchase. Proof of purchase is required for warranty service and RMA requests.
Is this answer helpful?
A
The panel includes USB 3.1 Gen 2 Type-C and USB 3.1 Gen 1 Type-A ports. Connect these to the corresponding headers on your motherboard following the diagram in the guide.
Is this answer helpful?
M: QW-35-FL
Advantagesand
Disadvantages
Advantages
Vertical GPU mount allows for unique display configurations and better airflow management.
Pre-installed Aer RGB 2 140mm fans reduce setup time and provide immediate lighting.
Dedicated cable bar simplifies wire management for a cleaner interior aesthetic.
VS
Disadvantages
Mixing PWM and 3-pin fans on the same channel is not recommended by the manufacturer.
BIOS CPU fan warnings must be disabled if the Smart Device handles the primary fan.
Only two RGB channels are included which may require splitters for expansion.
Partially closed, rear fan grille, external dust filter
Left
Closed, mostly glass
Front I/O Position
Chassis Side: Top, Height: Front, Position: Right
USB Labeling
Left
M: QW-35-FL
Product
Description
NZXT H510 Build Guide Overview
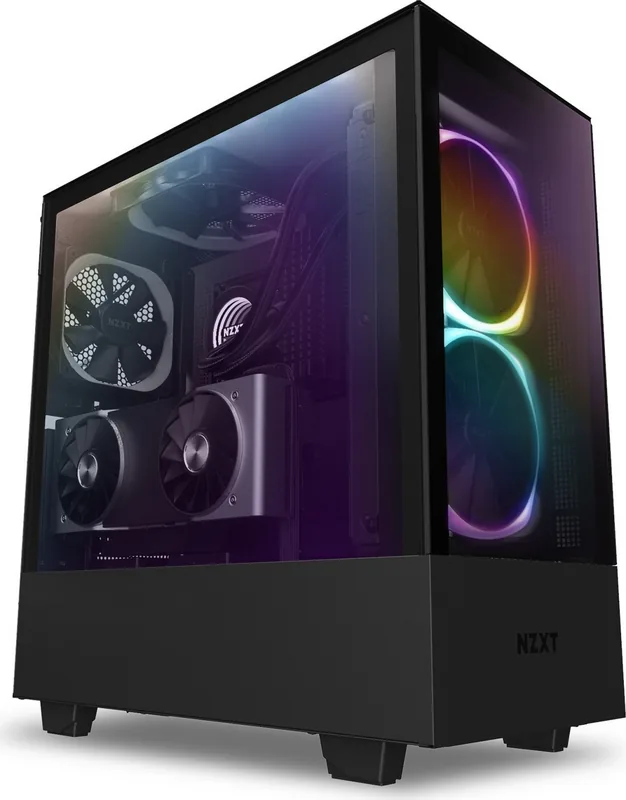
Welcome to the world of high-performance building with the NZXT H510. This mid-tower case offers a perfect blend of aesthetics and functionality for your next gaming rig. When you start your build journey, reviewing the NZXT H510 Manual is essential to ensure every component fits perfectly. The case supports ATX, Micro-ATX, and Mini-ITX motherboards within a spacious interior. One standout feature is the vertical GPU mount capability. This allows you to display your expensive graphics card horizontally or vertically.
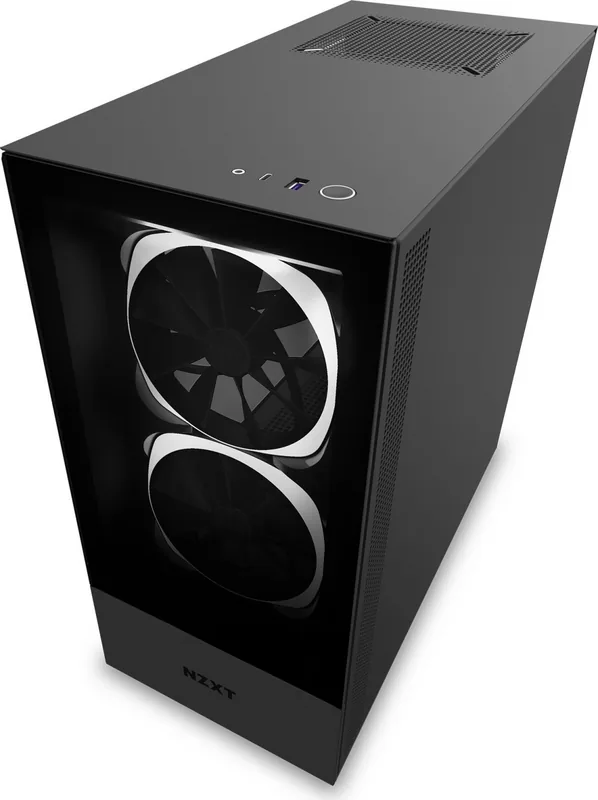
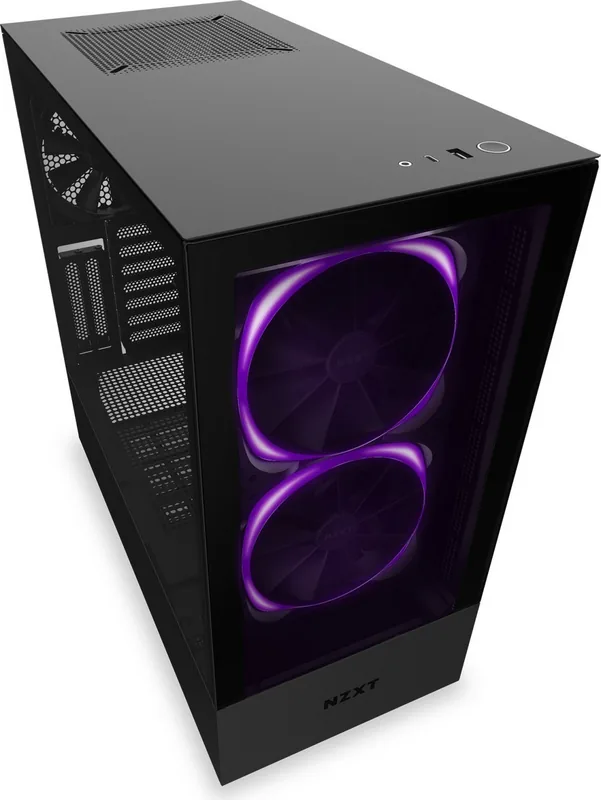
Cable management is streamlined with a dedicated cable bar. This helps keep wires hidden and improves airflow significantly. Inside, you will find two 140mm Aer RGB fans pre-installed. These connect directly to the Smart Device V2. This device unifies fan and lighting control through a single USB 2.0 connection. You must use the NZXT CAM software for full functionality.
Storage and Dust Protection
Storage options are abundant. The H510 includes two 2.5-inch SSD bays and one 3.5-inch HDD tray. Dust filters are placed at the front and top for power supply protection. Tempered glass panels on the left and front showcase your hardware beautifully. When installing components, never connect cables while the power is on to avoid damage.
Smart Device and Cooling
The Smart Device handles fan splitting and lighting strips conveniently. However, note that mixing PWM and 3-pin fans on the same channel is not recommended. The BIOS settings regarding CPU fan warnings might need adjustment if using the Smart Device for primary cooling control. Always consult the installation guide for specific screw sizes. Standoffs and thumb screws are included in the accessory box.
Custom Loop Support and Warranty
In conclusion, this chassis provides excellent value. Whether you prefer a clean look or high-performance cooling, this unit adapts. Remember to verify all clearances for liquid coolers before ordering parts. The vertical mount kit makes showcasing your GPU easier than ever. Enjoy your build process with the proper resources. You can find detailed dimensions online. The front radiator support allows for 240 or 280mm radiators depending on the mount. Ensure your CPU cooler height fits within the limits.
Additional support exists for DIY liquid cooling blocks. The bottom panel can mount D5 or DDC pumps using M4 screws. The cable bar accommodates reservoirs up to 150mm tall. This flexibility makes it great for enthusiasts building custom loops. The warranty covers manufacturing defects for two years on parts. Shipping costs vary depending on your location and proof of purchase. Contact support nzxt.com for RMA instructions. The front I/O panel includes USB 3.1 Gen 2 Type-C. This ensures fast data transfer for modern devices. Overall this case is a solid choice for mid-tower builders worldwide. The manual details all safety precautions required for proper installation. It is important to read safety warnings regarding power connections strictly. It is a good idea to check clearance before buying CPU coolers as well.
Note: Do not connect power while PC is powered on to prevent damage.