
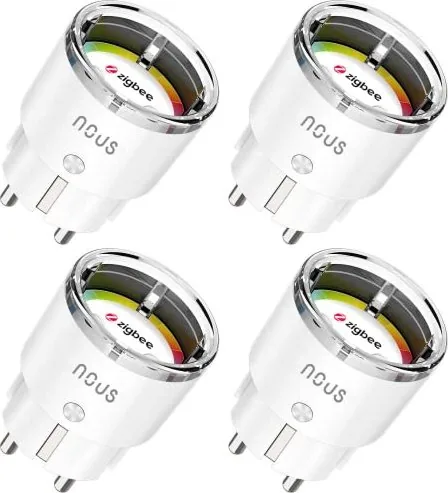
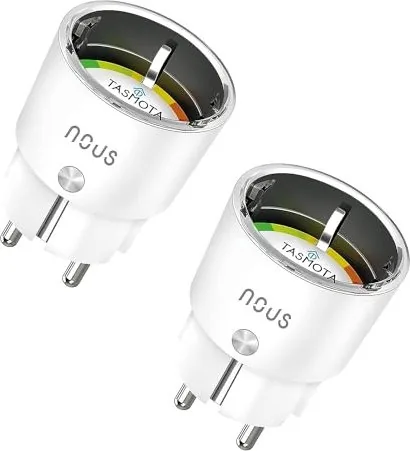
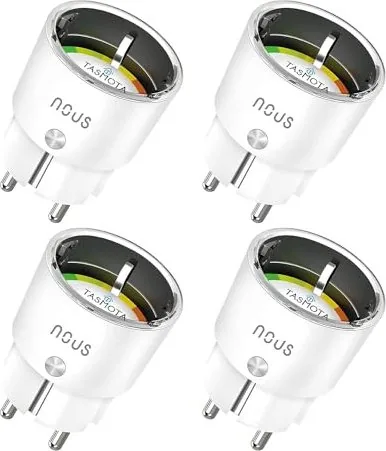
Nous A1 Manual
PDF manual · 5 Pages
English



Quick check
Incorrect answer, please try again.
Chat with your Nous A1 manual using AI
Get instant AI answers from your Nous A1 manual
Ask anything about the Nous A1. Answers come from this manual, with the pages they are based on.
Ask a Question
Do you recommend A1?
Yes NoFrequently Asked Questions
To calibrate voltage, access the web console interface. Enter the command Voltageset followed by your grid value, for example 220 for a 220-volt system. Press enter to confirm. This ensures power readings match your actual grid supply.
Is this answer helpful?
Power the device on and connect to the open Tasmota Wi-Fi hotspot. Access 192.168.4.1 in a browser. Enter your home network credentials. The device confirms connectivity and provides an IP address for future access.
Is this answer helpful?
If a switch exists, hold it for 40 seconds until the light blinks. Without a switch, cycle power on and off six times quickly, leaving it plugged in on the seventh attempt. Alternatively, use the console reset command if accessible.
Is this answer helpful?
Yes. Download the minimal binary and the specific language binary from the Tasmota website. Upload the files in sequence via the firmware update section of the web interface. Restart the device to apply changes.
Is this answer helpful?
It integrates with numerous platforms including Home Assistant, Alexa, Google Home, Homebridge, Domoticz, and Node-Red. The flexible Tasmota firmware allows for broad compatibility across different ecosystems.
Is this answer helpful?
The device will turn on automatically after confirmation. Do not disconnect power during this time as it may take minutes. Disconnection can brick the device. Wait for the normal operation lights to resume before unplugging.
Is this answer helpful?
The GPIO configuration template is available within the web console under the template view. This defines how internal pins connect to functions. You can copy this to ensure correct mapping during configuration.
Is this answer helpful?
Advantages and Disadvantages
Advantages

- Simple Wi-Fi provisioning without external hubs
- Extensive smart home platform integration support
- Manual voltage calibration for accurate monitoring
Disadvantages

- OTA updates require caution during power cycles
- Hard reset procedures can be complex for beginners
- Web interface configuration requires technical knowledge
Product Specification
Type
Actuator, Sensor
Function
Switch Socket (on/off), Power Measurement Function
Product Description
Experience Seamless Control with the Nous Smart A1
Welcome to the future of home automation where convenience meets intelligence. The Nous Smart A1 Manual serves as a guide to unlocking the full potential of this intelligent plug. Designed for modern homes, this device integrates effortlessly into your smart ecosystem. You can control appliances remotely and monitor energy consumption with precision. This smart outlet is built to be reliable and responsive to your daily needs.
Flexible Connectivity Options
Connecting your device is straightforward and user-friendly. The unit features automatic Wi-Fi provisioning designed to simplify your setup. You simply turn on the power and search for an open hotspot named Tasmota. Once connected via a standard web browser, you enter your home network credentials securely. The plug assigns a static IP address, ensuring stable communication within your local environment. This process happens without complex external hubs, making it ideal for smart homes seeking independence from cloud dependencies.
Precision Power Monitoring
Accurate power data is crucial for energy management and cost savings. The system allows for manual voltage calibration through a simple console command within the web interface. If your grid operates at 220 volts, you can specify this value directly to ensure readings match reality. Advanced users can dive deeper into power monitoring calibration to refine metrics for their specific power source requirements. This ensures bills remain accurate and efficiency is maximized over time without guesswork.
Customization and Language Support
One standout feature is the ability to change the interface language to suit your preference. By downloading specific firmware files such as the minimal version followed by the release version for your region, you can tailor the experience exactly. The Tasmota firmware supports hundreds of third-party integrations. You can link it with Alexa, Google Home, Home Assistant, and others like Homebridge or MQTT. This expandability means your setup grows with your technology.
Easy Maintenance and Recovery
Keeping the device running smoothly is vital for uninterrupted service. In case of connection issues or software glitches, a hard reset is available using physical buttons or power cycling. OTA updates occur automatically, but caution is required during the plug-in cycle to prevent corruption. This robust design ensures longevity and reliability for continuous operation in your bedroom, kitchen, or garage.
Template Configuration
Under the hood, the device relies on configuration templates that map GPIO pins for specific functions. This ensures compatibility with various hardware revisions. You can view the template in the console to understand the internal mapping. Adjustments here allow for advanced automation triggers that standard outlets cannot offer. This flexibility empowers users to customize behavior beyond simple on-off control.
Explore the capabilities of your new smart home companion today and transform how you interact with electronics.
Search for 67,706 Manuals online


Type-in Brand or Model