

Free Niimbot Manuals – Read, Download & Print
1 Manuals
Manuals
Categories

Niimbot Manuals A Comprehensive Guide To Operation And Maintenance
Niimbot operates within the expanding landscape of portable labeling technology. These devices provide users with the ability to create custom labels quickly and efficiently. The primary goal of this guide is to outline the critical information found within official Niimbot documentation. Understanding the manual is essential for first time users and existing owners seeking to optimize their workflow. The following sections detail the core components of the user experience including hardware setup, software connectivity, design principles, and device care. By adhering to these guidelines, users can ensure their equipment remains functional for years while producing high quality labels consistently. This resource covers the general principles applicable across most model variants produced by the brand.
Understanding The Device Hardware
The physical unit is designed for portability yet must maintain precise thermal printing capabilities. Each device comes with a battery or requires charging via a micro usb cable depending on the generation. Powering on the machine is usually done through a dedicated button located on the side or top housing. The display screen indicates connection status and ink levels if applicable. Users must familiarize themselves with the paper feed mechanism before attempting to print. Label rolls come in various widths and the device requires correct loading orientation to function properly. The print head is sensitive to dust and must be protected during transport. Proper insertion of the battery ensures continuous operation without interruption during critical labeling tasks. It is vital to handle the device gently to prevent internal component damage. The manual provides diagrams showing the correct path for the paper ribbon to prevent jams.
Connecting The App And Pairing Devices
Most Niimbot models rely on a companion application for design and printing. This application is available for both ios and android platforms. Users must enable Bluetooth permissions on their smartphone before attempting to connect. The manual outlines the specific steps to initiate the pairing process which often involves turning the device on and waiting for the status light to blink. If the connection fails, restarting both the phone and the printer is the standard recommendation. The app interface is user friendly but understanding its layout requires some patience. Features within the app include text entry, image selection, and barcode generation. It is important to update the app to the latest version to ensure compatibility with new printer firmware. The manual often contains troubleshooting tips for Bluetooth connectivity issues which are common in early setup stages.
Designing Effective And Durable Labels
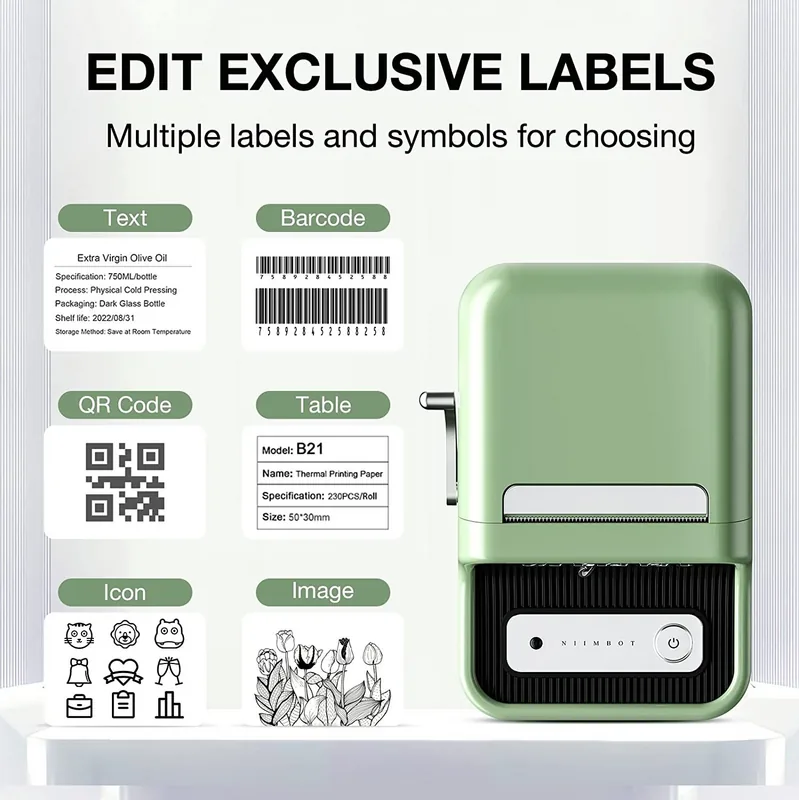
Creating a label involves more than just typing text. The software includes templates for common use cases such as files, boxes, or cables. Users can adjust font sizes to ensure readability over time. High contrast color schemes work best on standard thermal paper. The manual explains how to import custom images or logos into the project space. Users can rotate elements to fit specific physical constraints of the label slot or container. Saving templates in the app allows for reuse without rebuilding the design from scratch. For professional use, aligning text accurately is crucial to maintain a neat appearance. The print engine handles grayscale well which allows for detailed graphics. Customizing the background color is not always an option due to thermal printing limitations but text color can be selected. However, very small text may not print clearly due to the resolution limits of the thermal head.
Printing Procedures And Paper Handling
Loading the tape roll is the most common source of mechanical error. The paper must sit loosely on the axle and pull through the designated guides. Users should tear off the end of the tape to expose the thermal layer for easy alignment. Closing the lid securely triggers the sensor to detect the paper position. Pressing the print button in the app initiates the feeding sequence. The device heats specific areas of the paper to create the image without ink. Once printed, the cutting mechanism engages to separate the label. If the label does not eject, users may need to manually pull the paper gently without excessive force. Using the correct paper type prevents smudging and ensures the adhesive holds properly.
Routine Maintenance And Cleaning
To maintain print quality, the thermal head requires periodic cleaning. Cotton swabs dampened with isopropyl alcohol are the recommended tool for this task. Users should unplug the device before cleaning the print head to avoid electrical damage. Dust accumulation from paper dust can cause black spots on printed labels. Regular cleaning of the sensors inside the printer ensures accurate paper detection. If prints appear faint, checking the paper tension or battery level is the first step. Storing the device in a cool dry place prevents battery degradation over time. Avoid exposing the unit to direct sunlight or extreme cold as this affects the thermal elements inside. Keep the device in its case when not in use to protect against scratches and dirt.
Troubleshooting Common Technical Errors
Connection failures are the most frequent complaint regarding these devices. Rebooting the phone often resolves the handshake issue between the two devices. Updating the firmware through the app settings can fix bugs causing printing errors. If the printer feeds paper but does not print, the print head might be dirty or the tape is expired. Paper jams require opening the cover and ensuring no torn pieces remain inside. The battery might not charge fully if the cable is damaged. Checking the manual for reset procedures can restore factory settings if all else fails. Customer support channels list serial number requirements for warranty claims. Common errors include the printer not feeding paper forward when the button is pressed. This usually indicates a paper jam or dirty sensor. Cleaning the sensor with a lint free cloth resolves this issue. Another common error is the battery draining too quickly during short sessions. This may suggest a faulty battery installation or an aging battery unit. In this case, replacing the battery may be necessary if the device is out of warranty. Contacting support with the failure details helps in receiving replacement parts faster. Always keep a spare power cable handy for travel situations.
Conclusion On Using Niimbot Documentation
Adhering to the guidelines provided in the Niimbot manuals ensures longevity and satisfaction. Learning the proper steps reduces wasted tape and frustration during project work. The integration of hardware and software creates a seamless experience when used correctly. Users who invest time in reading the documentation gain a deeper understanding of their tools. This knowledge translates to more efficient workflows in both household and business environments. Following these recommendations helps maintain the value of the device over time.
Search for 67,706 Manuals online


Type-in Brand or Model