
NAD C 3050 Manual
PDF manual · 16 Pages
English



Quick check
Incorrect answer, please try again.
Chat with your NAD C 3050 manual using AI
Get instant AI answers from your NAD C 3050 manual
Ask anything about the NAD C 3050. Answers come from this manual, with the pages they are based on.
C 3050 Maintenance Schedule
Use a dry soft cloth to clean the unit. If necessary, lightly dampen the cloth with soapy water. Do not use solutions containing benzol or other volatile agents.
Replace the two AA batteries in the remote control when they are depleted. Ensure they are inserted correctly according to the polarity markings.
Ask a Question
Do you recommend C 3050?
Yes NoFrequently Asked Questions
Hold the front panel power button while switching the rear power switch on. Keep holding for over 30 seconds until the VU meter illuminates twice. Release the button once the factory reset is initiated.
Is this answer helpful?
Yes, it supports Bluetooth with aptX HD for wireless audio playback from compatible devices like phones or tablets.
Is this answer helpful?
Yes, there is a SUBW output on the rear panel for connecting powered subwoofers to handle low frequency information.
Is this answer helpful?
It allows installation of upgrade modules like BluOS-D to add network streaming and room correction features.
Is this answer helpful?
Use a damp cloth to clean the surface. Do not use liquid cleaners or aerosol sprays on the equipment.
Is this answer helpful?
Yes, the HDMI input supports eARC, allowing you to pass audio from your TV to the amplifier with control features.
Is this answer helpful?
It will engage protection circuitry, indicated by a red LED. Power off, wait to cool, and check speaker connections.
Is this answer helpful?
Advantages and Disadvantages
Advantages

- High output power of 100 watts for driving demanding speakers
- Built-in Moving Magnet phono input suitable for vinyl records
- HDMI eARC port supports modern television integration
- MDC2 slot allows expansion with network audio modules
- Includes dedicated SR 10 remote control for ease of use
Disadvantages

- Full network features require purchasing an optional module
- Standby power draw varies depending on configuration mode
- Requires adequate ventilation space to prevent overheating
- Remote sensor may not work without clear line of sight
- Reset procedure requires specific button combinations to function
Product Specification
Channels
2
Power per Channel
100W (8 Ohm), 100W (4 Ohm)
Audio Connections
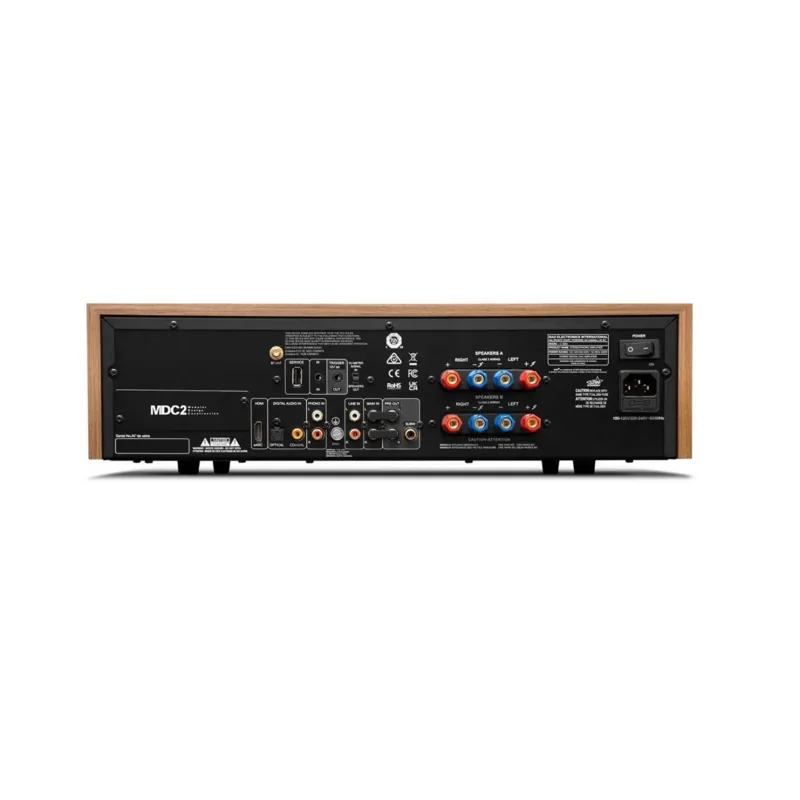
Digital Audio In (coaxial), Digital Audio In (optical), Stereo Line In (RCA), Phono In (RCA), Amp In (RCA), eARC, Pre Out (RCA), Sub Out (RCA), Headphones (0.25 inch jack)
Additional Connections
HDMI
D/A Converter
32bit/384kHz
Power Consumption
0.5W Standby
Features
A/B Speaker Outputs
Color
black, brown
Dimensions
17.60x5.00x13.19 inches (WxHxD)
Weight
22.05 lbs
Product Description
Experience High Fidelity Sound with the NAD C 3050
When exploring high-performance audio equipment, the NAD C 3050 emerges as a sophisticated choice for audiophiles seeking versatility. This stereo amplifier blends classic design elements with contemporary connectivity options. To ensure optimal installation and usage, enthusiasts often refer to the NAD C 3050 Manual for comprehensive guidance on safety and configuration. Understanding these instructions helps prevent electrical hazards and ensures the longevity of the investment.
The core strength lies in its power delivery. It provides one hundred watts of continuous output into an eight-ohm load, driving demanding speakers with ease. A built-in Moving Magnet phono input allows direct connection to vinyl turntables, removing the need for additional preamplification stages. Digital connectivity features optical and coaxial inputs for high-resolution playback. The HDMI eARC port facilitates integration with modern televisions, supporting control functions through the TV remote if enabled.
Connectivity is further enhanced by the MDC2 Upgrade Slot architecture. While Bluetooth streaming is standard for wireless music access via aptX HD, an optional module unlocks the full power of the BluOS system. Integration supports numerous streaming services and multi-room audio. The included SR 10 remote control offers intuitive navigation, allowing users to switch sources, adjust volume, and manage device libraries remotely.
Thermal management is considered during operation. Ventilation slots must remain unobstructed to prevent overheating. The device offers multiple standby states to balance convenience and energy efficiency. Auto Standby turns the unit off after inactivity, minimizing power draw. Users should follow ventilation guidelines strictly, leaving space around the chassis for airflow.
Safety protocols are emphasized throughout the setup process. Power cords should be routed safely to avoid tripping hazards. Grounding options are available for the phono input to reduce hum from turntables. Regular maintenance involves using a damp cloth for cleaning external surfaces. If liquid spills occur, disconnect power and seek service promptly.
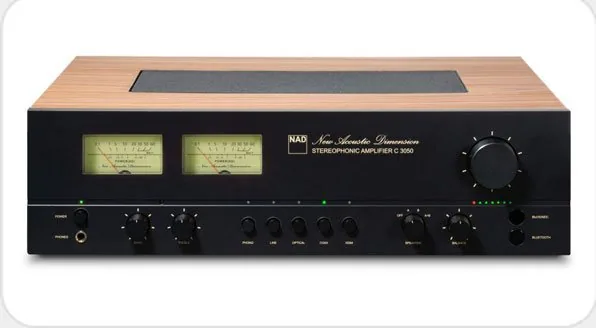
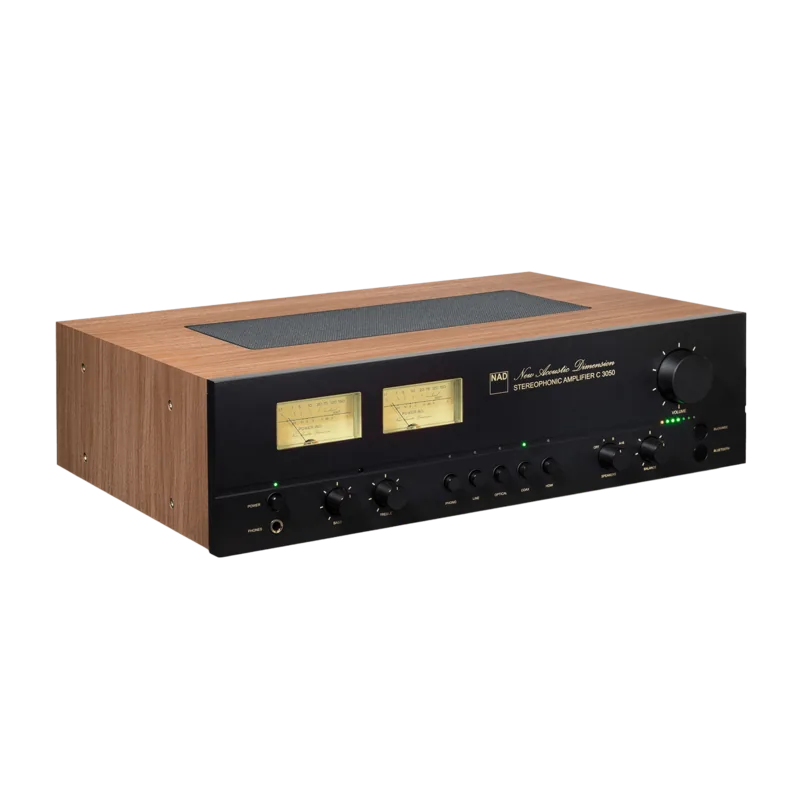
The front panel features a VU meter that provides visual feedback on signal levels. This adds an aesthetic touch while monitoring output. Speaker terminals support two independent pairs of speakers, allowing for whole-house music distribution. Volume and tone controls are precisely calibrated for accurate channel balance.
By combining physical design with digital flexibility, this unit serves as a robust hub for modern audio systems. Proper configuration according to standard guidelines ensures a seamless listening experience for years. Factory reset capabilities allow the unit to recover from malfunctions. If playback hangs, holding the power button while cycling rear power restores default settings. Additionally, the remote can be reset independently if library codes mismatch device requirements. This flexibility minimizes service visits. Network settings can be adjusted to maintain connectivity in standby modes. The unit accepts Gigabit Ethernet for wired connections, reducing latency. Proper grounding of antennas prevents static interference during use. These details highlight the engineering depth found in the user documentation.
Search for 67,706 Manuals online


Type-in Brand or Model