
MOZA CRP Manual
PDF manual · 1 Pages
English


Quick check
Incorrect answer, please try again.
Chat with your MOZA CRP manual using AI
Get instant AI answers from your MOZA CRP manual
Ask anything about the MOZA CRP. Answers come from this manual, with the pages they are based on.
Ask a Question
Do you recommend CRP?
Yes NoFrequently Asked Questions
Secure each pedal to the bottom plate using six screws and gaskets to ensure stability. Install the baffle horizontally with M4 screws connecting it to the base. Insert the throttle line into the brake module Throttle interface and clutch line into the Clutch interface. Connect USB Type-B to the PC and MOZA Pit House.
Is this answer helpful?
You can change the braking force by replacing the spring inside the assembly to alter the resistance curve. Alternatively, replace the rubber damping block inside the pressure sensor housing to change the feel. Adjusting the mounting position of the pedals also changes the resistance characteristics effectively.
Is this answer helpful?
The MOZA Pit House software is required to view the working status of the CRP pedal. It allows you to set the start, end, and travel points for the pedals. It also helps diagnose issues if the device appears gray or unresponsive.
Is this answer helpful?
The warranty covers the base unit, steering wheel, pedals, and display screen for 12 months from purchase. Cable damage, packaging, or screws are not covered under the free warranty plan. Proof of purchase and valid warranty cards are required for service claims.
Is this answer helpful?
Yes, you can adjust the pedal angle. Loosen the face screw with a hexagon screwdriver counterclockwise. Turn the nut manually to set the angle to your preference. Finally, tighten the screw to lock the position in place. This works for accelerator, brake, and clutch pedals.
Is this answer helpful?
To adjust clutch force, replace the rear spring to change the force curve. You can also adjust the mounting position of the clutch pedal. Use the M5 wrench to loosen screws and change the mounting hole position to modify the effort required.
Is this answer helpful?
The pedal system supports a variety of spring types based on the color chart. Yellow springs offer a soft feel, Red springs are medium resistance, and Black springs provide a hard setting. This allows you to select the exact braking force curve that matches your driving style.
Is this answer helpful?
Advantages and Disadvantages
Advantages

- High precision 100kg load cell sensor for realistic braking feedback.
- Aircraft grade aluminum construction ensures durability and premium feel.
- Fully adjustable pedal angles and travel suit all driver sizes.
- ISSUE: Integration with MOZA Pit House software allows digital calibration.
- Professional driver tuning provides balanced force curve immediately.
Disadvantages

- Initial setup requires specific tools and careful screw placement for stability.
- Warranty does not cover cables or packaging materials limiting protection.
- Changing spring components involves disassembly steps that seem complex for novices.
- Pedal spacing adjustments require physical movement of the base to fit setups.
- Software troubleshooting may require reconnecting USB repeatedly if status appears gray.
Product Specification
Type
Pedals
Material
Aluminum
Mounting
Screw-on
Pedals
3 positions
Product Description
Master Your Racing Setup With MOZA CRP Pedals Manual
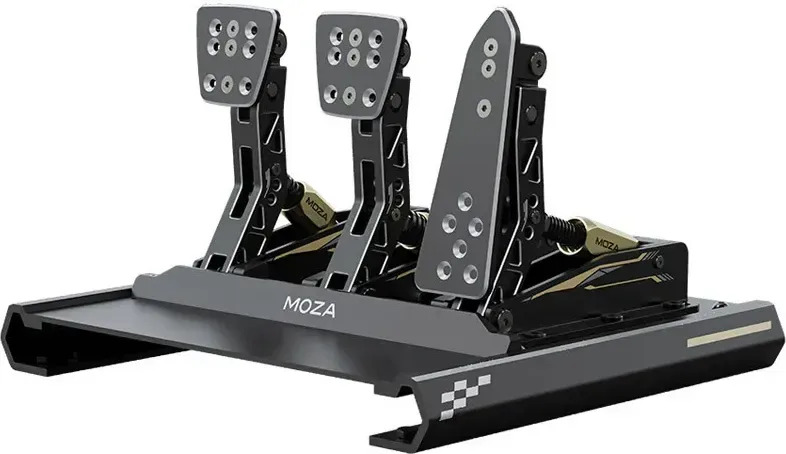
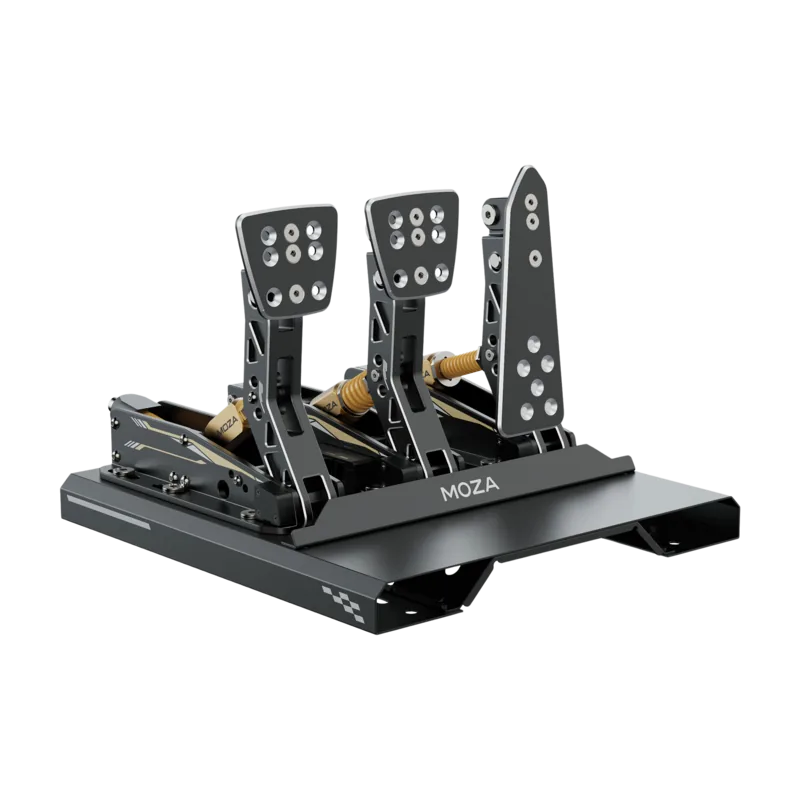
Sim racing is about control and feel. The MOZA CRP Pedals help you master the art of driving. Constructed from aviation grade aluminum, they use CNC processing for precision. A 100kg load cell sensor provides accurate pressure detection during heavy braking maneuvers. This ensures you feel every shift in grip on your tires. The system was tuned by experienced professional drivers to ensure consistency across different racing scenarios. You want every corner to feel correct without guessing. The unit includes a baffle that mounts horizontally to the base.
Customization Options for Every Driver
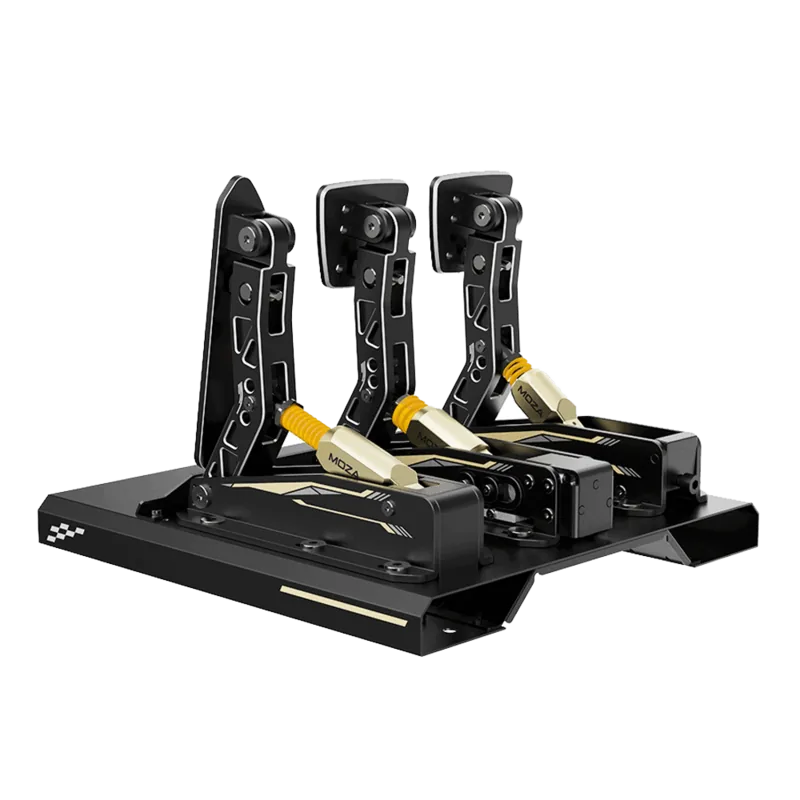
One size does not fit all in racing simulators. These pedals allow you to adjust resistance levels, angle settings, and travel distance. You can swap springs to change brake effort or replace damping blocks for softer stops. The throttle is an organ type, providing smooth acceleration control. Installation involves securing each pedal with six screws for maximum stability. The M4 screws hold the baffle firmly to the base. Connect the USB Type-B cable to your computer for data transfer. Using an included M5 wrench you can loosen and change spring assemblies. This allows you to fine tune the force curve based on seat and preference.
Software Integration and Tuning
The MOZA Pit House software connects to your rig for digital calibration. You can adjust start and end points for travel digitally. If issues arise, simply reconnect the USB and restart the software. Detailed instructions guide you through every adjustment from pedal spacing to spring swapping. Use a hexagon screwdriver to loosen the face screw for angle changes. Turn the nut manually to set the angle then lock it back in. Refer to the spring comparison chart to choose between yellow, red or black levels.
Warranty and Support Information
The warranty covers the main body for twelve months from purchase. This ensures peace of mind. The package includes the warranty card for proof of purchase. Contact MOZA official or authorized dealers if you live outside the home region. Incorrect usage might void the free service coverage options available.
Technical Specifications and Maintenance
Dimensions measure approximately 100 by 142mm. The base is stable when all six screws are tightened correctly. You can adjust pedal spacing by moving the pedal forward or backwards. The rubber damping block sits inside the pressure sensor housing. Replacing it changes the braking feel significantly without changing the main spring. Keep the unit free from dust and debris during long sessions. This maintains the load cell accuracy over time. The manual states that the warranty does not cover cables or packaging materials. Use standard tools for maintenance to avoid voiding the protection plan provided.
Search for 67,706 Manuals online


Type-in Brand or Model