
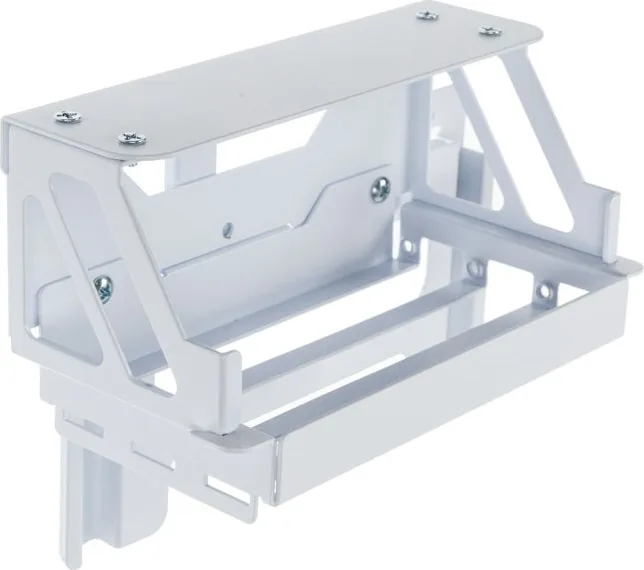
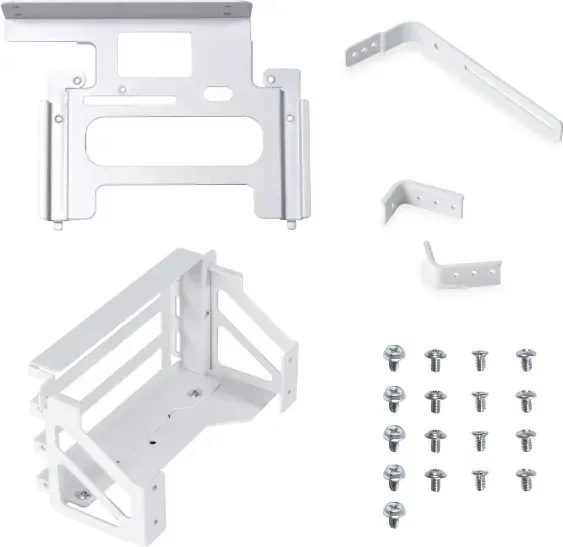
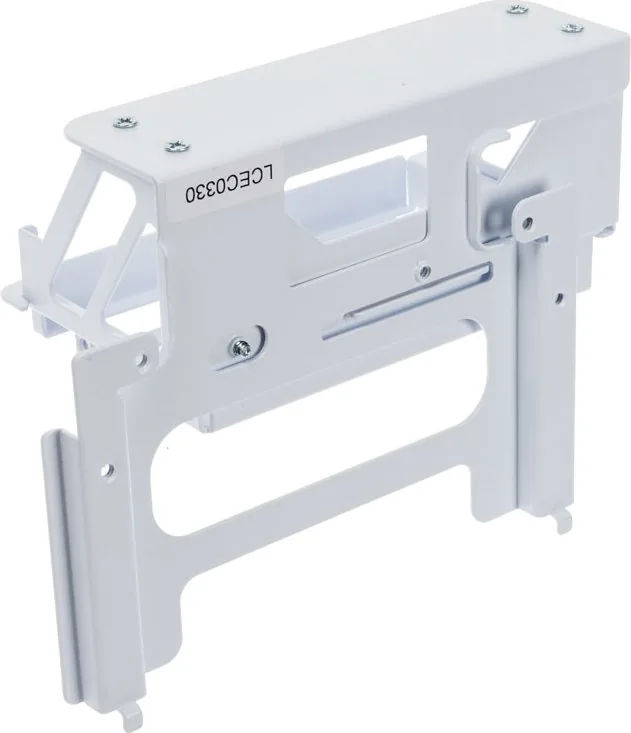
Lian Li O11D EVO Upright GPU Bracket Manual
PDF manual · 2 Pages
English



Quick check
Incorrect answer, please try again.
Chat with your Lian Li O11D EVO Upright GPU Bracket manual using AI
Get instant AI answers from your Lian Li O11D EVO Upright GPU Bracket manual
Ask anything about the Lian Li O11D EVO Upright GPU Bracket. Answers come from this manual, with the pages they are based on.
Ask a Question
Do you recommend O11D EVO Upright GPU Bracket?
Yes NoFrequently Asked Questions
The bracket is designed specifically for Nvidia 40 Series GPUs to support the new power standards.
Is this answer helpful?
Yes, but installing a 120 mm fan blocks certain screw positions and Way 2 and Way 3 installation methods.
Is this answer helpful?
You must route the 12VHPWR cable straight from the power supply unit without using an adapter cable.
Is this answer helpful?
The motherboard width limit is 244 mm to ensure the bracket fits without interference.
Is this answer helpful?
Yes, there are O11DE-9X and O11DE-10X kits with different included components requirements.
Is this answer helpful?
Yes, the L-type support bracket can be installed in reversed mode when using thinner graphics cards.
Is this answer helpful?
Install fans toward the bottom to leave space for bracket installation and cable routing.
Is this answer helpful?
Advantages and Disadvantages
Advantages

- Supports 40 Series GPU upright mounting for better aesthetics.
- Includes height adjustment for various GPU lengths.
- Specifies water block width clearance for compatibility.
- Offers five mounting directions for flexibility.
- Compatible with O11D EVO case chassis design.
Disadvantages

- 120 mm fan installation limits screw options.
- 12VHPWR cable must connect directly from PSU.
- O11DE-10X kit needs extra parts from older kits.
- Motherboard width limited strictly to 244 mm.
- Requires removing the standard mounting tray first.
Product Specification
Type
Mount (Graphics Cards), Bracket (PCI Slot)
Product Description
Building a High Performance System with the O11D EVO Upright Bracket
Building a high-end PC requires strict attention to thermal dynamics and physical structure. The Lian Li O11D EVO Upright Bracket Manual provides essential guidance for mounting graphics cards vertically in your case. This accessory transforms your build by allowing the GPU to stand tall, reducing sag and improving airflow patterns significantly. Installing the bracket involves specific steps regarding the backplate and fan clearance requirements. Users must verify motherboard width compatibility, ensuring it does not exceed 244 millimeters anywhere in the layout. The hardware supports 40 Series GPUs specifically, requiring careful cable management for the new 12VHPWR connection on the power supply. You should route the power cable directly from the power supply unit without using the NVIDIA adapter. This prevents overheating and ensures safety during high performance tasks inside the chassis. Installation options vary based on fan presence, with 120 mm fans blocking certain screw configurations permanently. The bracket supports multiple mounting positions to accommodate different GPU lengths and power connector locations efficiently. Adjusting the height allows for perfect alignment during the setup process for all users. Water block clearance is also a strict factor, with limits at 151 millimeters for the first slot and 158 millimeters for the second slot. Careful planning prevents interference with the motherboard socket placement during the assembly phase. Reviewing the installation diagrams helps visualize cable routing through the fan bracket before you start. This ensures a clean look inside the chassis without messy cables visible from the outside. There are actually five ways to install the big L-type support bracket in two different directions. You must assess the power cable socket and card width to choose the correct method.
Installation and Compatibility Details
Properly securing the back bracket into the fan bracket hole locks everything in place securely. You need to remove the standard mounting tray before beginning any physical installation steps. Many users appreciate the ability to reverse the L-type support bracket for thinner cards easily. The variants available include different part sets for specific model revisions within the case system. For example, the O11DE-9X includes a full range of components listed from A to J. The O11DE-10X requires parts from older versions like O11DE-2X to function correctly. This compatibility detail is crucial for early planning stages before purchasing parts. If you install a 120 mm fan, certain ways to attach the bracket become unavailable for use. Always prioritize structural stability over aesthetic choices when mounting heavy graphics hardware. The output cables must be routed through specific pathways to avoid bending sharp angles dangerously. Following the detailed instructions ensures that all connections remain secure under heavy load stress. Thermal performance benefits significantly when the card sits upright in the dedicated chamber. The process demands patience but rewards enthusiasts with a professional appearance. Ultimately, this solution is ideal for those seeking a modern, space-efficient layout that maximizes vertical space effectively. You must consider cable length when routing the PCIe riser cable as well. Removing rubber grommets may be necessary for a tighter fit. Ensure the tray is in its place before finishing the assembly cycle. Screw D cannot be used if a 120 mm fan is present during this phase of construction. Route the signal cable through the top of the fan bracket as shown in the visual aids. Do not use the specific screw positions marked for Way 2 and Way 3 under 120 mm fans.
Search for 67,706 Manuals online


Type-in Brand or Model