
Jonsbo NC-1 Manual
PDF manual · 1 Pages
English


Quick check
Incorrect answer, please try again.
Chat with your Jonsbo NC-1 manual using AI
Get instant AI answers from your Jonsbo NC-1 manual
Ask anything about the Jonsbo NC-1. Answers come from this manual, with the pages they are based on.
Ask a Question
Do you recommend NC-1?
Yes NoFrequently Asked Questions
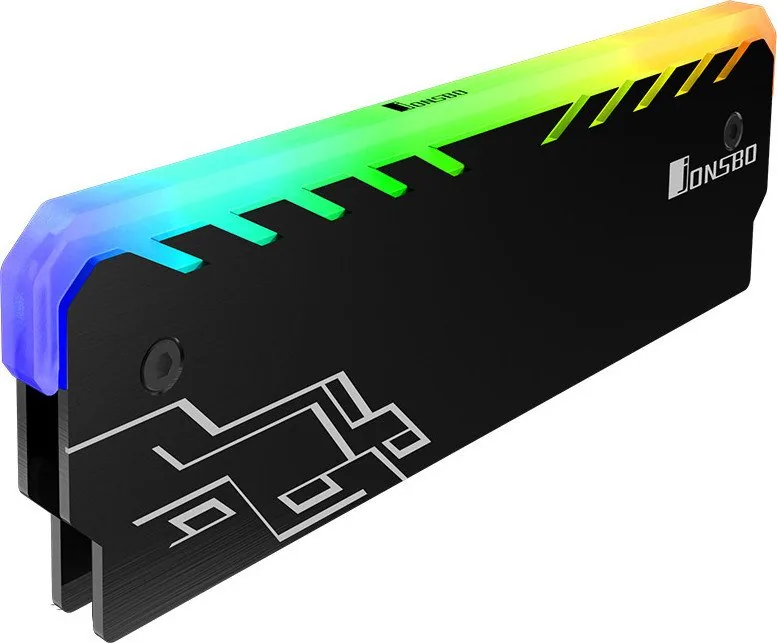
It is a specialized cooler designed to reduce temperatures in computer RAM modules while adding aesthetic LED lighting.
Is this answer helpful?
Yes, but you must use Assembly Method 3 which involves placing a height adapter between the module and the LED bracket.
Is this answer helpful?
Connect the provided LED cables to the SYS or CHA_FAN sockets on your motherboard to control the lighting effects.
Is this answer helpful?
Yes, the package contains pre-applied thermal paste sheets that you place on the inner side of the heat spreaders.
Is this answer helpful?
Yes, the manual provides step-by-step instructions and includes an Allen key and spare screws for easy DIY installation.
Is this answer helpful?
Advantages and Disadvantages
Advantages

- Effective heat dissipation for high-performance memory modules
- Includes multiple assembly methods for various memory types
- Customizable RGB lighting integration via standard fan headers
- Comes with necessary tools like Allen keys and spare screws
Disadvantages

- Requires careful alignment for low-profile memory sticks
- May not fit extremely large heatsinks on some motherboards
- Installation involves handling small thermal components carefully
Product Specification
Type
RAM Cooler
Design
passive
Compatibility
1x DDR4 DIMM, DDR3 DIMM, DDR2 DIMM
Fan
N/A
Connector
3-Pin Molex
Features
RGB illuminated, includes thermal pad
Product Description
Discover the Jonsbo NC-1 Manual: Your Guide to Premium RAM Cooling
The Jonsbo NC-1 represents a significant leap in thermal management for high-performance computing enthusiasts. This manual guides users through the installation of a sophisticated cooling solution designed specifically for memory modules that run hot under heavy loads. By integrating advanced heat spreading technology with customizable LED lighting, the Jonsbo NC-1 ensures your system stays cool while looking spectacular.
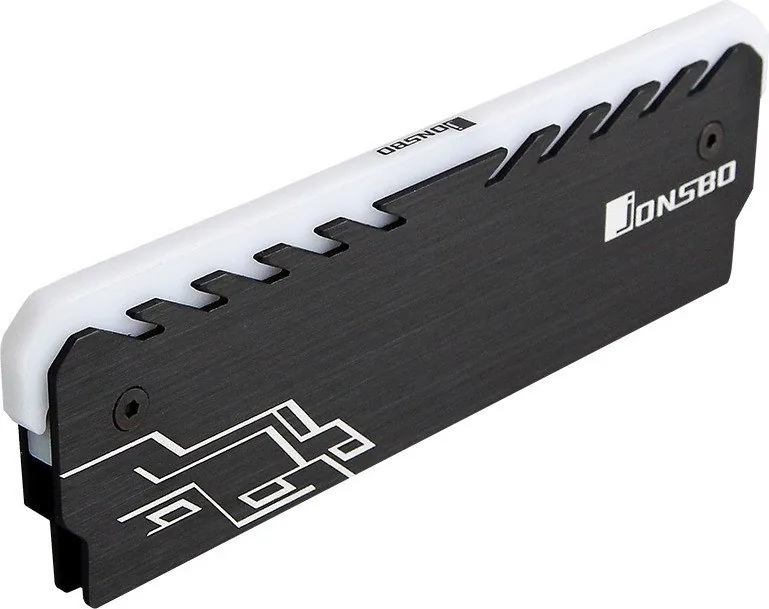
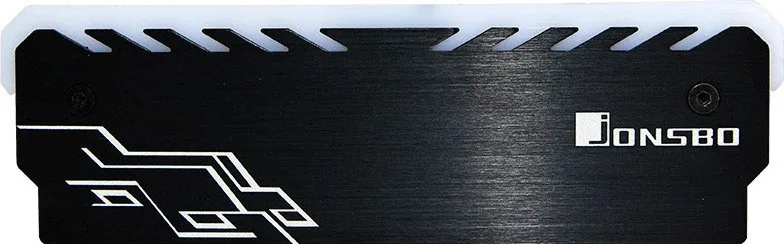
The product features a robust design utilizing dual heat spreaders labeled as A and B. These components are engineered to draw heat away from critical memory chips efficiently. The package includes essential accessories like thermal paste sheets and an Allen key, ensuring that users can achieve optimal thermal contact without needing extra tools. For systems with low-profile memory or chips located on only one side, the manual provides specific adaptation strategies using EVA foam and height adapters.
Installation is straightforward when following the three distinct assembly methods outlined in the documentation. Method one caters to full-height modules with chips on both sides, securing the heat spreaders directly with screws. Method two adjusts this approach for single-sided chip configurations by adding insulating foam where needed. Method three addresses low-profile modules by inserting a height adapter between the memory stick and the LED bracket to maintain proper alignment. Once assembled, connecting the LED cables to the motherboard SYS or CHA_FAN sockets brings the unit to life, allowing for synchronized lighting effects.
This guide emphasizes precision and care during assembly. Proper application of thermal materials is crucial for performance. Users must ensure that the heat spreaders are firmly attached to maximize heat dissipation. The inclusion of spare screws and detailed multilingual instructions makes this accessible to a global audience of PC builders.
Important Notes
Always power down your system before installing hardware. Ensure the thermal paste sheets are applied smoothly to avoid air bubbles. Double-check all screw tightness before powering on the machine to prevent damage to the motherboard.
Search for 67,706 Manuals online


Type-in Brand or Model