
Jonsbo Mod3 Manual
PDF manual · 2 Pages
English



Quick check
Incorrect answer, please try again.
Chat with your Jonsbo Mod3 manual using AI
Get instant AI answers from your Jonsbo Mod3 manual
Ask anything about the Jonsbo Mod3. Answers come from this manual, with the pages they are based on.
Ask a Question
Do you recommend Mod3?
Yes NoFrequently Asked Questions
The case supports up to three 120mm fans or one 360mm radiator at the top. The front panel can also hold three 120mm fans or a single 240mm radiator, providing excellent thermal performance options.
Is this answer helpful?
Place the motherboard in the designated area shown in the manual. Secure it using nine screws provided in the kit, ensuring all standoffs align correctly with the board holes before tightening.
Is this answer helpful?
Yes, the drive tray is compatible with both 3.5-inch hard drives and 2.5-inch solid-state drives. You simply use the appropriate bracket and secure the drive with four screws before inserting it into the rear slot.
Is this answer helpful?
Removing the left or right glass side panel involves unscrewing specific screws located on the frame. Once removed, the glass can be lifted out carefully. Handle with extreme caution to avoid breakage.
Is this answer helpful?
You will need a standard Phillips head screwdriver to attach the motherboard, power supply, graphics card, and storage drives. All necessary screws and rubber pads are included in the package.
Is this answer helpful?
While the primary focus is on component installation, the guide provides general advice on routing cables behind the motherboard tray to maintain a clean interior look and optimize airflow.
Is this answer helpful?
The power supply unit is secured to its fixed mounting plate using four screws. This ensures stability and prevents vibration noise during operation.
Is this answer helpful?
Advantages and Disadvantages
Advantages

- Supports extensive cooling options including 360mm radiators
- Compatible with both 3.5 inch HDDs and 2.5 inch SSDs
- Clear assembly steps reduce build errors significantly
- Modular design allows for flexible component placement
- Secure mounting points ensure stable hardware retention
Disadvantages

- Tempered glass requires careful handling during removal
- Multiple screws needed for each major component increases time
- Rear cable management may be tight for very thick cables
- Initial setup requires precise alignment of mounting brackets
- Large footprint may not fit all standard desk setups
Product Specification
Extern
N/A
Intern
1x 2.5"/3.5", 2x 2.5"
Connections
2x USB-A 3.0 (5Gb/s), 1x 3.5mm Jack (Line-Out), 1x 3.5mm Jack (Line-In)
PCI Slots
7
Fan (front)
3x 4.72in (optional)
Fan (rear)
N/A
Fan (left)
N/A
Fan (right)
N/A
Fan (top)
3x 4.72in (optional)
Fan (bottom)
N/A
Fan (other)
N/A
Radiator sizes
9.45/14.17in top
Motherboard
up to ATX (E-ATX with unknown dimensions possible)
Supported Motherboards
Mini-ITX (6.7"x6.7")/µATX (9.6"x9.6")/ATX (12"x9.6")/E-ATX (unknown dimensions)
Power Supply
ATX (max. 7.68in deep)
Power Supply Position
bottom
CPU Cooler
max. 6.69in height
Graphics Cards
max. 15.75in
Lighting
no lighting
Dimensions (WxDxH)
9.13x24.41x25.47in
Volume
5.68cu ft
Weight
17.64lbs
Chassis Type
Mid-Tower
Front
partially closed, partially open
Top
partially closed, partially open
Bottom
partially closed, partially open
Left
partially closed, partially open, mostly glass
Right
partially closed, partially open, mostly glass
Back
open, PCI slots (7x horizontal)
Front I/O Position
Chassis side: left, Height: middle, Position: Front
Features
Aluminum chassis, semi-open chassis, glass window
Note on E-ATX
Motherboard and chassis manufacturers designate different dimensions as E-ATX. This manufacturer makes no statements about supported E-ATX dimensions. Motherboards with E-ATX/SSI EEB dimensions of 305x330mm or 12"x13" may not be supported.
USB Spelling
Link
Product Description
Jonsbo Mod3: The Ultimate Manual-Driven Build Experience
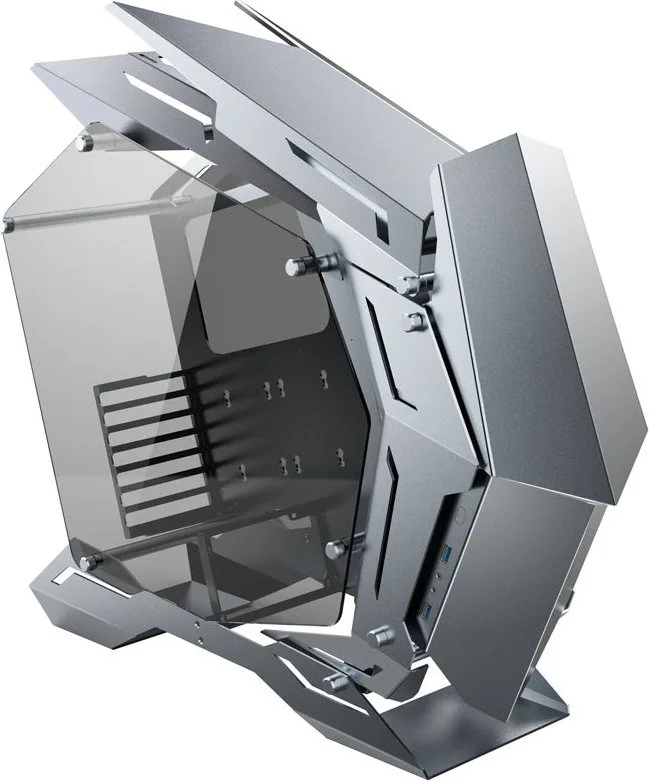
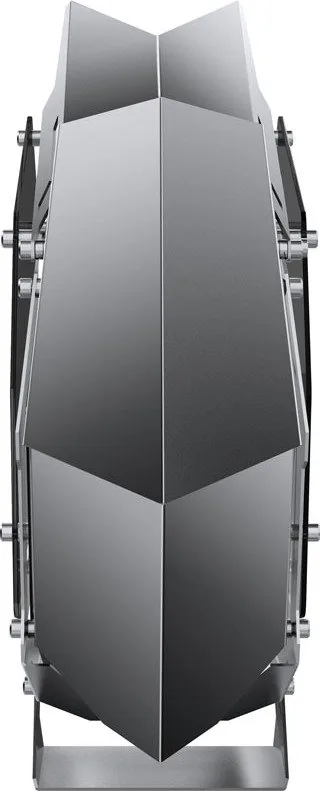
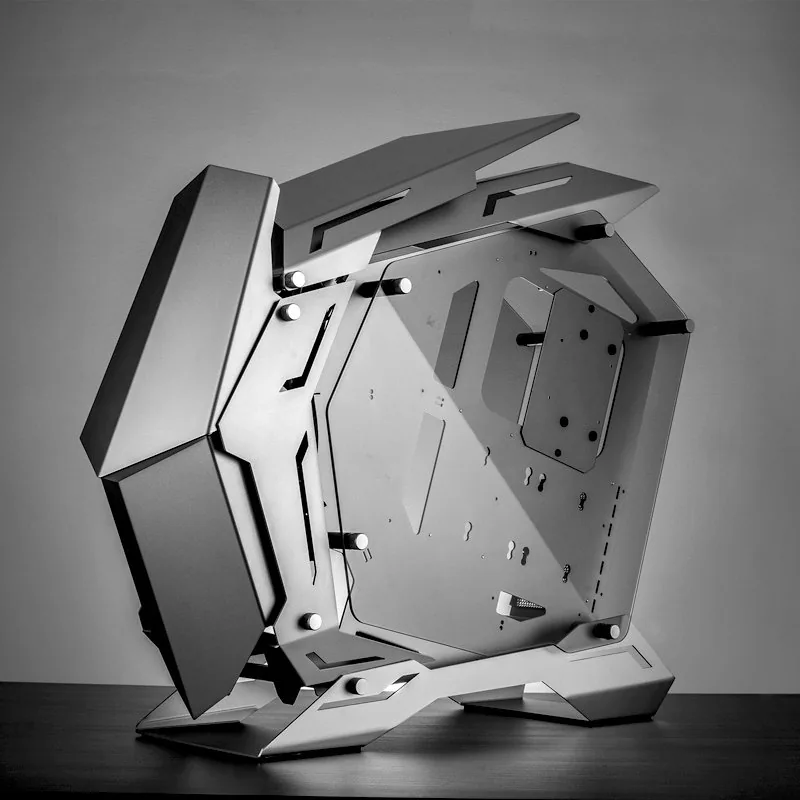
The Jonsbo Mod3 represents a pinnacle of modular PC case engineering, designed for enthusiasts who demand precision and flexibility. This chassis is not just a container for components; it is a canvas for customization, guided by the comprehensive Jonsbo Mod3 Manual. Whether you are a seasoned builder or a first-time assembler, the manual ensures every step is clear, from removing side panels to securing your storage drives.
At the heart of the Mod3 experience is its structural integrity and thermal design. The case supports top-mounted fans up to 120mm in triple configurations or a single 360mm radiator, ensuring your system stays cool under heavy loads. The front panel offers similar versatility with space for three 120mm fans or a 240mm liquid cooling setup. This adaptability makes it perfect for high-performance gaming rigs or workstations requiring intense thermal management.
Assembly is streamlined through thoughtful design features detailed in the documentation. The motherboard installation area is clearly marked, requiring nine screws for secure attachment. Graphics cards slide effortlessly into the designated slots and are locked down with ease. Power supply units find their home on a dedicated mounting plate secured by four screws, keeping cables organized and airflow unobstructed.
Storage solutions are equally robust. The hard drive bay accommodates both 3.5-inch HDDs and 2.5-inch SSDs using a compatible bracket system. Users assemble the drive with provided screws and rubber pads before sliding the unit into the rear slot behind the motherboard tray. This method protects components while maximizing internal space efficiency.
The Jonsbo Mod3 Manual serves as an indispensable companion throughout this journey. It breaks down complex procedures into simple actions, such as unscrewing glass side panels or aligning the GPU correctly. By following these instructions, builders can avoid common pitfalls and achieve a professional finish. The result is a system that looks pristine and performs reliably, embodying the spirit of DIY computing.
Notes:
- Always handle tempered glass panels with care to prevent cracking.
- Ensure all screw holes align before tightening to avoid stripping threads.
- Check cable routing paths early to maintain clean aesthetics.
Search for 67,706 Manuals online


Type-in Brand or Model