

Jonsbo CR-901 RGB Manual
PDF manual · 2 Pages
English



Quick check
Incorrect answer, please try again.
Chat with your Jonsbo CR-901 RGB manual using AI
Get instant AI answers from your Jonsbo CR-901 RGB manual
Ask anything about the Jonsbo CR-901 RGB. Answers come from this manual, with the pages they are based on.
Ask a Question
Do you recommend CR-901 RGB?
Yes NoFrequently Asked Questions
Yes, the cooler comes with specific threaded rods and bracket kits designed for both Intel and AMD socket types. The installation process details separate mounting steps for each platform to ensure compatibility and secure attachment.
Is this answer helpful?
Thermal grease must be applied evenly onto the CPU surface. Apply the new thermal compound to bridge microscopic gaps between the processor and the cooler base metal surface. This ensures maximum heat transfer efficiency from the processor core.
Is this answer helpful?
You will need an open wrench to tighten hex nuts during the mounting process. A screwdriver may also be required to secure brackets. Always ensure the original heatsink mount holder is removed before attaching the new bracket system.
Is this answer helpful?
The RGB capabilities allow users to sync lighting with other system components via software. This ensures a unified aesthetic look across the entire gaming rig while maintaining standard functionality for the cooling fans.
Is this answer helpful?
The fan wire connector needs to be connected to the mainboard header to power the system functions fully. Check fan headers for PWM control if managing cooling speed manually. The unit is operational once power connectors are secure.
Is this answer helpful?
Yes, insulating washers are included and placed between metal parts and motherboard to prevent electrical shorts. Ensure rubber gaskets are installed to block excess vibrations from the case.
Is this answer helpful?
Advantages and Disadvantages
Advantages

- Comprehensive bracket support for multiple socket types including Intel and AMD.
- Customizable RGB lighting for aesthetic enhancement and system harmony.
- Includes insulating washers for electrical safety during installation.
- Robust hardware quality supports long term stability without failure.
- High airflow fans ensure effective heat dissipation under load.
Disadvantages

- Requires manual application of thermal grease for optimal processor contact.
- Installation needs specific tools like an open wrench for nuts.
- Must remove original holder before installing new bracket kit properly.
- Mounting process involves multiple steps for mechanical accuracy.
- Fan connector must be manually identified on mainboard header correctly.
Product Specification
Type
Top-Blow Cooler
Dimensions with Fan
4.72x2.56x4.72in (WxHxD)
Dimensions without Fan
4.72x1.57x4.72in (WxHxD)
Fan
1x 4.72x4.72x0.98in, 1200-2500rpm, 20.3-24.89 CFM, 18-30dB(A)
Weight with Fan
1.00 lbs
Connector
4-Pin PWM
AMD Socket
AM4, AM2/AM2+/AM3/AM3+, FM1/FM2/FM2+
Intel Socket
1150/1151/1155/1156/1200, 775
Lighting
RGB
Product Description
Jonsbo CR-901 RGB Cooling Solution Overview
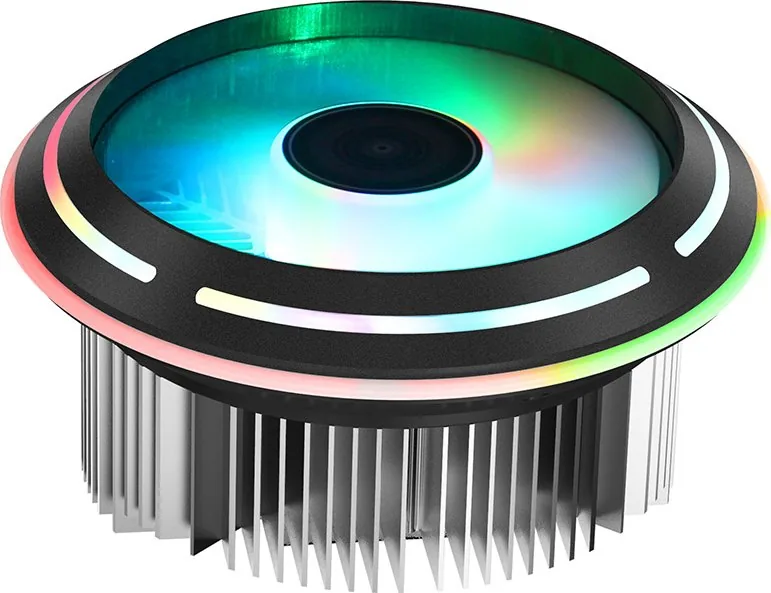
The Jonsbo CR-901 RGB is a high-performance tower cooler designed for enthusiasts seeking reliable thermal management with aesthetic flair. This unit addresses both critical temperature control and customizable lighting needs within a standard chassis. It features a sleek design compatible with various mainboard socket types modern systems use.
This product ensures CPU runs cooler under pressure.
Detailed Installation Process
Setting up this unit requires care for mechanical details during assembly. You must identify correct bracket kit for CPU socket type accurately. For Intel boards, specific threaded rods are inserted into designated holes on cooler base. The mounting nuts face upward to secure the bracket firmly. Similar steps apply for AMD platforms, where bracket mount attaches before securing unit to frame successfully.
Mounting Hardware Details
Before affixing the cooler, ensure original heatsink mount holder is removed. This step clears the way for the new compatible bracket system. Insulating washers are placed between metal parts and motherboard to prevent electrical shorts. The cooler is aligned with mounting points on the board before tightening. Fixers are tightened using provided hex nuts and an open wrench until very secure.
Thermal Application Steps
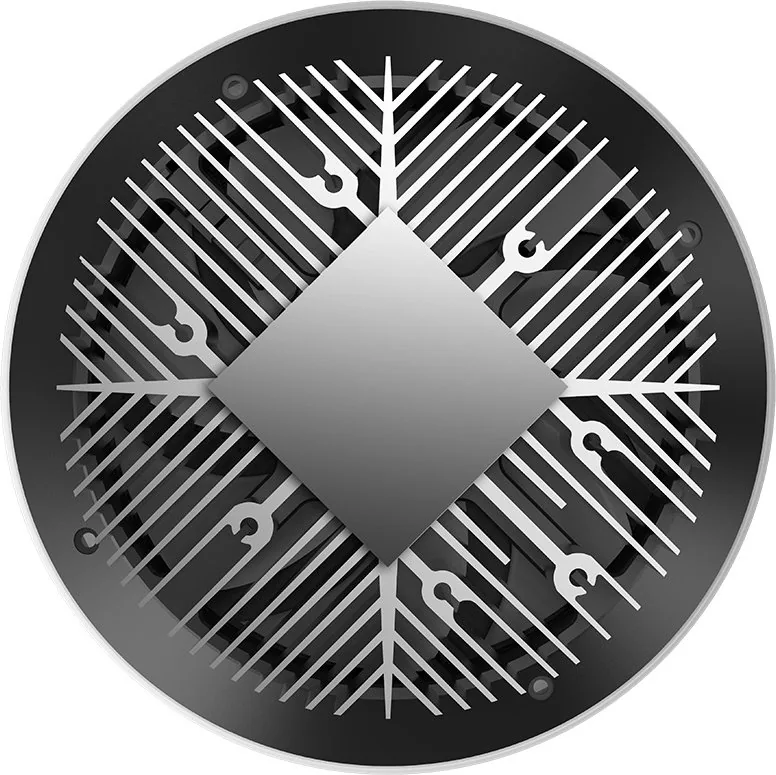
Once physical mounting is complete, thermal grease application is critical for success. Apply the new thermal compound evenly onto the CPU surface to ensure heat transfer efficiency from the processor core. This layer bridges microscopic gaps between the processor and the cooler base metal surface. Afterward, connect the fan wire connector to the mainboard header to power the system functions. The unit is operational once the power connectors are secure and tested.
Performance And Aesthetics
The RGB capabilities allow users to sync lighting with other system components via software. High airflow fans maintain low noise levels while pushing air through heatsink fins during load. This setup ensures stable operation under load conditions during gaming sessions or heavy workloads. The build quality supports long-term stability without requiring frequent adjustments. Lighting looks good.
Note: Always clean the old paste before applying new compound accurately. Check fan headers for PWM control if managing cooling speed manually. Ensure rubber gaskets are installed to block excess vibrations from the case.
Final Thoughts
Investing in a quality cooler protects your hardware investment for longevity. Proper installation prevents unexpected hardware failure. The Jonsbo CR-901 delivers value for serious gamers. Many users find this kit very helpful.
Search for 67,706 Manuals online


Type-in Brand or Model