
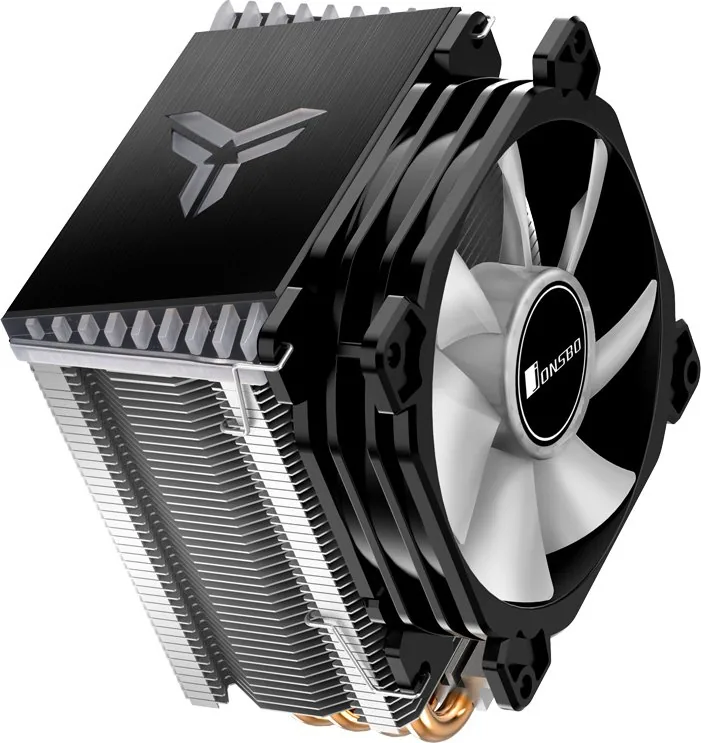
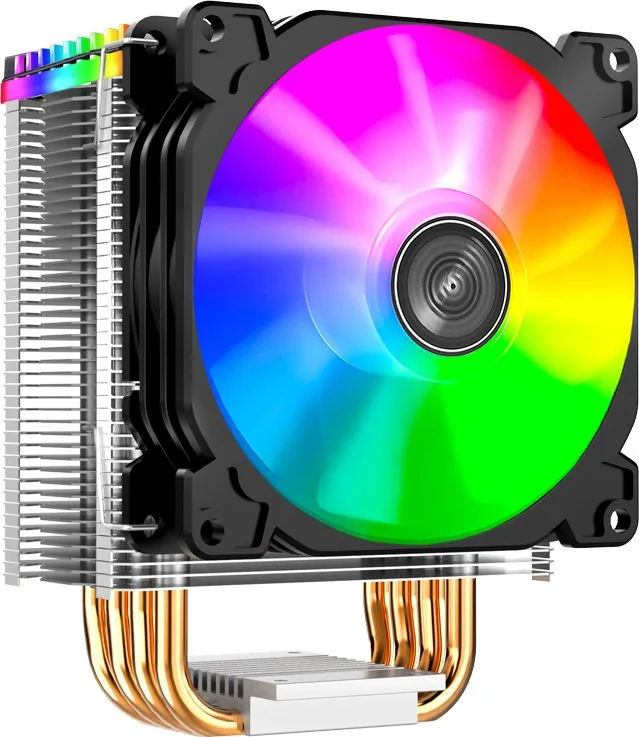
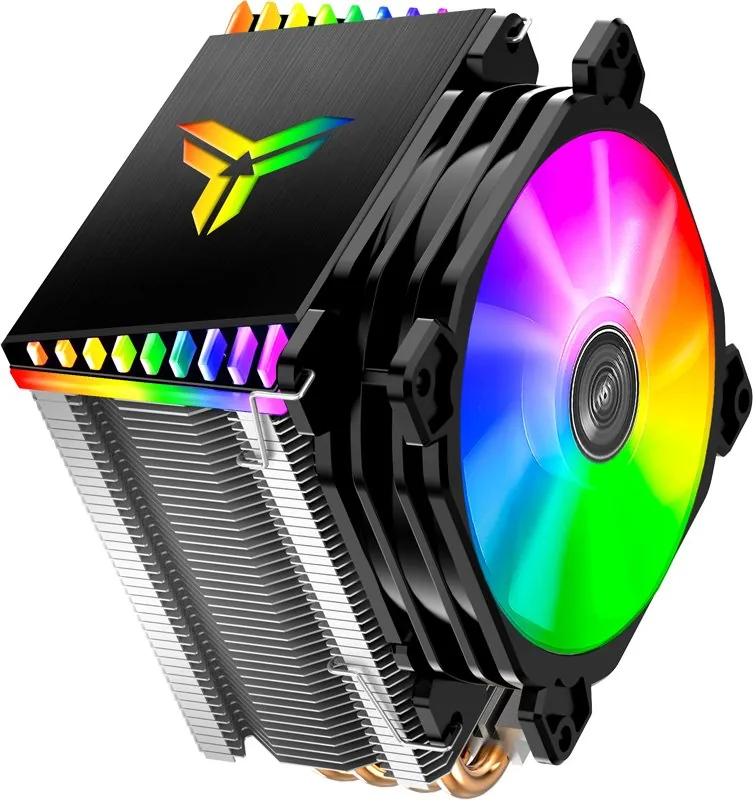
Jonsbo CR-1400 Manual
PDF manual · 2 Pages
English



Quick check
Incorrect answer, please try again.
Chat with your Jonsbo CR-1400 manual using AI
Get instant AI answers from your Jonsbo CR-1400 manual
Ask anything about the Jonsbo CR-1400. Answers come from this manual, with the pages they are based on.
Ask a Question
Do you recommend CR-1400?
Yes NoFrequently Asked Questions
It supports Intel LGA1366, LGA115X, and LGA775. It also supports AMD AM4, AM3+, AM3, AM2+, AM2, FM2+, FM2, and FM1 sockets.
Is this answer helpful?
Yes, the instructions state you must evenly spread the heat sink paste on the surface of the CPU. You must also remove the bottom of the protective film from the radiator base.
Is this answer helpful?
Please remove the original heat sink bracket on the AMD motherboard first. Move the backplane slider to the position according to the socket type. Secure the bracket screw to the base of the original cooling rack.
Is this answer helpful?
Yes. You must connect the RGB LED conductor to the motherboard. Ensure proper voltage matching and alignment for the fan conductor as well to complete the setup.
Is this answer helpful?
Yes, it is non-negotiable. The instructions say to remove the protective film. Skipping this step traps heat and can lead to poor conductivity and overheating issues.
Is this answer helpful?
Looseness can occur over time due to thermal expansion and contraction. Users should ensure the bracket screws are tightened sufficiently during the assembly process to prevent damage.
Is this answer helpful?
Standard screwdrivers are typically required. The process involves moving screws on the bracket to corresponding positions and tightening them to the backplane nut securely.
Is this answer helpful?
Advantages and Disadvantages
Advantages

- Broad socket support including LGA115X and AM4 series for versatile compatibility
- Easy installation with clear bracket alignment steps for stability
- RGB LED support for aesthetic customization and visual appeal
- Includes detailed thermal grease application guidance for safety
- Secure backplane slider mechanism prevents hardware damage
Disadvantages

- Requires manual installation steps for different socket types
- Older socket support like LGA775 may be limited on newer boards
- Cable management for RGB LED needs care during assembly
- Thermal paste application is manual and user dependent
- No mention of advanced liquid cooling features
Product Specification
Type
Tower Cooler
Dimensions with Fan
3.66x4.96x3.07in (WxHxD)
Fan
1x 3.62x3.62x0.98in, 900-2300rpm, 15-35.99 CFM, 20-30.5dB(A)
Weight with Fan
0.99 lbs
Connector
4-Pin PWM, 3-Pin ARGB (+5V/DATA/GND)
AMD Socket
AM4, AM2/AM2+/AM3/AM3+, FM1/FM2/FM2+
Intel Socket
1150/1151/1155/1156/1200, 775
Lighting
RGB
Features
4 Heatpipes, Direct-Touch Heatpipes
Product Description
Welcome to Advanced Cooling
Upgrading your system requires reliable hardware that manages heat effectively. The Jonsbo CR-1400 is a versatile solution for modern processors. Users often check the Jonsbo CR-1400 Manual to ensure safe handling of components during the assembly phase. Proper installation guarantees longevity and optimal thermal performance for your rig. This unit is designed to fit a wide array of architectures found in the market today.
Detailed Installation Steps
Begin by preparing the CPU surface. You must evenly spread the heat sink paste on the surface of the CPU and remove the bottom of the radiator from its packaging to avoid overheating issues caused by plastic film. If using an Intel system, you need to move the screw on the bracket to the corresponding position according to the main board type. Refer to the diagrams if available. The backplane positioning slider is moved to the desired position before loaded into the main board to ensure stability. Place the radiator on the CPU while aligning the support screw to the backplane nut and tightening the assembly carefully.
AMD Compatibility Details
For AMD platforms, please remove the original heat sink bracket on the motherboard first. This clears the path for the new cooling unit attachment. The backplane slider is positioned according to the socket type. Place the radiator on the CPU and screw the bracket screw to the base of the original cooling rack assembly. Secure everything firmly. Connect fan conductor and RGB LED conductor to motherboard pins. Finally, install the fan to complete the airflow loop.
Thermal and Visual Performance
Beyond cooling capacity, this model features RGB LED integration. This allows users to customize the visual aesthetics of their computer chassis. The unit connects via standard headers allowing dynamic lighting effects. Whether running heavy workloads or gaming, maintaining stable temperatures is critical. This product covers LGA775 up to LGA1366 and supports AM4, AM3, FM2 series. High quality materials ensure minimal noise generation during operation. Adhering to the correct thermal paste application prevents hotspots. Proper preparation leads to better system health. Enjoy a cooler system with enhanced lighting control capabilities using this efficient hardware. Correct application of thermal material is key to system longevity. The instructions emphasize spreading the paste evenly on the surface of the CPU. Skipping steps can lead to poor conductivity and high temperatures. The protective film removal is non-negotiable as it traps heat. Users should ensure the bracket screws are tightened sufficiently to prevent loosening over time due to thermal expansion.
Search for 67,706 Manuals online


Type-in Brand or Model
Bernita Kunde
7 months ago
Will the Jonsbo CR-1400 remain quiet when cooling a Ryzen 7 2700X in a compact case like the U1 Plus?
Manual.ly
7 months ago
Based on customer feedback, the cooler maintains CPU temperatures around 60 C during gaming and general use. It is noticeably louder than a stock AMD cooler but remains whisper-quiet compared to many high-performance options. In tight cases with restricted airflow, temperatures may rise slightly under full load. It is widely regarded as an excellent upgrade for stock coolers in small form factor builds.