
Inter-Tech SNB-8815 Manual
PDF manual · 3 Pages
English



Quick check
Incorrect answer, please try again.
Chat with your Inter-Tech SNB-8815 manual using AI
Get instant AI answers from your Inter-Tech SNB-8815 manual
Ask anything about the Inter-Tech SNB-8815. Answers come from this manual, with the pages they are based on.
Ask a Question
Do you recommend SNB-8815?
Yes NoFrequently Asked Questions
After installing the side panels, check the diagonal dimensions of the cabinet. Adjust them until the space between the doors is even, ensuring they open and close smoothly without sticking.
Is this answer helpful?
The earthing kit must be located on the right side of the frame and positioned at the bottom during assembly to ensure proper grounding and safety compliance.
Is this answer helpful?
Yes, the distance between the front and rear vertical supports is adjustable. Use holes 5 and 6 for 800mm depth or holes 8 and 9 for 1000mm depth racks.
Is this answer helpful?
The leveling legs use M12*L90 bolts to attach securely to each corner of the rack base, providing stability and allowing for height adjustment on uneven floors.
Is this answer helpful?
The fan unit is fixed to the top tray and side panel limit stops using M4*8 self-tapping screws to ensure it stays in place and provides effective cooling.
Is this answer helpful?
Advantages and Disadvantages
Advantages

- Adjustable depth accommodates various equipment sizes for flexible installation
- Includes heavy-duty leveling legs and castors for stability and mobility
- Comprehensive earthing kit integration ensures safety and compliance
Disadvantages

- Requires careful alignment of diagonal dimensions to ensure smooth door operation
- Assembly involves multiple steps requiring specific tools and attention to detail
- Split side panels require additional steps if dividers need to be installed first
Product Specification
Dimensions (WxDxH)
31.5x31.5x31.5 in
Load capacity
881.85 lbs
Manufacturer warranty
two years
Product Description
Inter-Tech SNB-8815: The Ultimate Professional Network Rack Solution
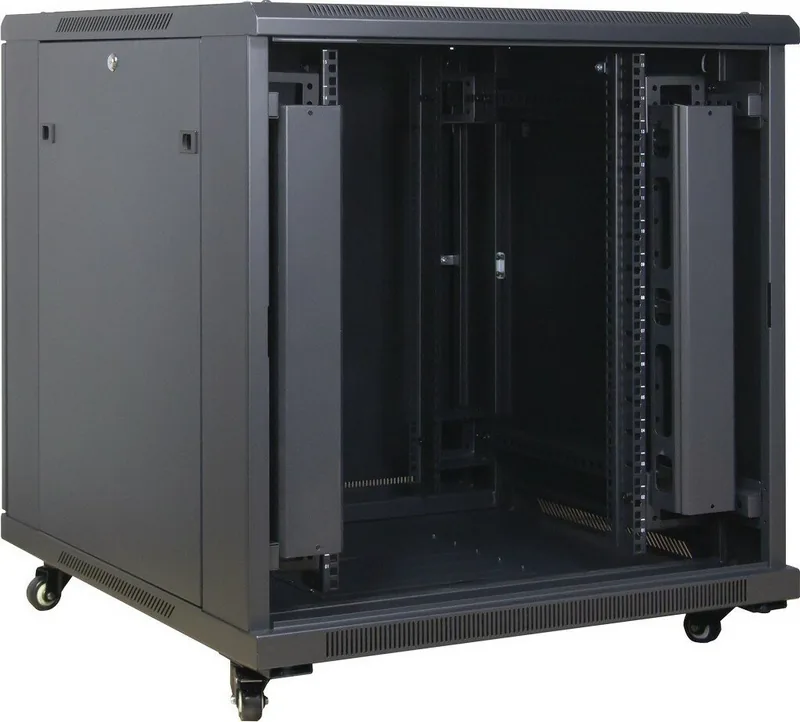
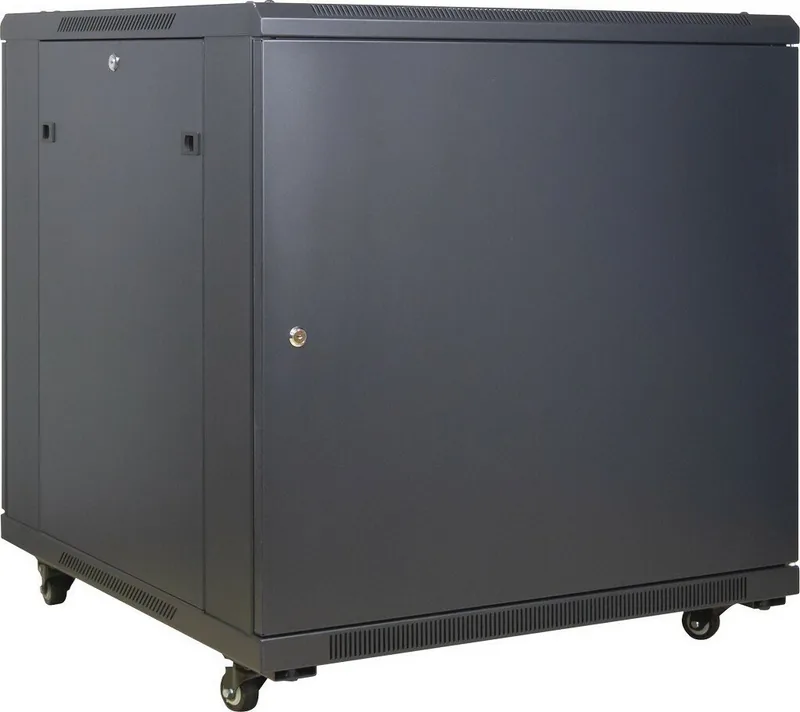
The Inter-Tech SNB-8815 stands as a pinnacle of engineering for modern data centers and server rooms. Designed specifically for professional environments, this standing network rack offers unparalleled stability and organization for your critical hardware. Whether you are managing a small office setup or a large enterprise infrastructure, the SNB-8815 provides the robust framework needed to keep your equipment safe and accessible.
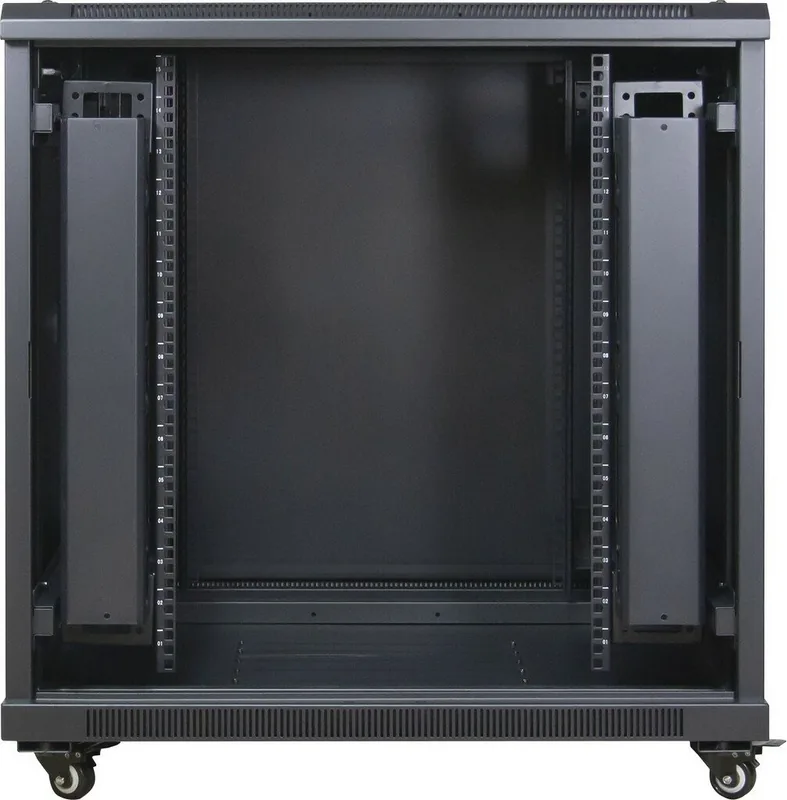
Assembly is straightforward yet precise, ensuring that every component fits together seamlessly. The unit features a comprehensive list of high-quality parts including durable frames, sturdy horizontal and vertical supports, and secure front and rear doors. The design allows for adjustable depth, meaning you can customize the spacing between vertical supports to accommodate various equipment sizes. This flexibility ensures optimal airflow and easy cable management behind the panels.
Safety and grounding are paramount in the SNB-8815 design. The assembly process includes specific instructions for positioning earthing kits correctly on the right side of the frame. Additionally, the inclusion of leveling legs and castors guarantees that the rack remains stable on any floor surface. You can easily adjust the height and level the unit using the provided M12*L90 leveling legs, while the heavy-duty castors allow for mobility when maintenance is required.
Key Features and Installation Insights
Installing the Inter-Tech SNB-8815 requires attention to detail but rewards you with a reliable structure. The manual guides users through connecting frames with M8 round head inner hex screws and flange nuts. Once the base is secure, the fan unit is fixed to the top tray to ensure proper cooling for sensitive electronics. Side panels are installed next, with careful attention paid to diagonal dimensions to ensure doors open and close without obstruction.
The modular nature of this rack means it can be adapted for different depths, utilizing specific hole configurations for 800mm or 1000mm setups. This adaptability makes it a versatile choice for diverse networking needs. The inclusion of limit stops prevents components from shifting during transport or operation, adding an extra layer of security to your investment.
Important Assembly Notes
- Always verify diagonal measurements after assembling side panels to prevent door misalignment.
- Ensure the earthing kit is positioned at the bottom and on the right side of the frame.
- Adjust the distance between front and rear vertical supports based on your specific equipment depth requirements.
Search for 67,706 Manuals online


Type-in Brand or Model