
InLine 00031H Manual
PDF manual · 4 Pages
English



Quick check
Incorrect answer, please try again.
Chat with your InLine 00031H manual using AI
Get instant AI answers from your InLine 00031H manual
Ask anything about the InLine 00031H. Answers come from this manual, with the pages they are based on.
Ask a Question
Do you recommend 00031H?
Yes No
Lisa K.
6 months ago
What transfer speeds can I expect from an NVMe SSD in this case on USB 3.0 versus USB 3.1 Gen 2?
Frequently Asked Questions
If speeds are lower than 10 Gbps, ensure your host computer port supports USB 3.2 Gen.2. Connecting to a USB 3.0 or 2.0 port will limit performance.
Is this answer helpful?
Press the SSD down while simultaneously pushing the plastic buckle outward to create space for the chips on the back. Once seated, release the buckle to lock it in place.
Is this answer helpful?
Yes, it supports Mac OS 10.15.3+, Linux Kernel 4.6.4+, and Chrome OS. However, new drives may need initialization in Disk Management first.
Is this answer helpful?
The thermal pads transfer heat from the SSD controller to the aluminum case. Choose the 0.5mm or 1.0mm pad based on your SSD's component height.
Is this answer helpful?
No. Although the USB port supports hot-plugging, you must power off the enclosure before inserting or removing the M.2 SSD to avoid damage.
Is this answer helpful?
Advantages and Disadvantages
Advantages

- Supports ultra-fast USB 3.2 Gen.2 speeds up to 10 Gbps
- Tool-free installation design for quick setup
- Aluminum casing with cooling fins prevents overheating
- Compatible with multiple M.2 sizes: 2242, 2260, and 2280
Disadvantages

- Requires specific M-Key NVMe or SATA SSD compatibility
- Short included USB-C cable may limit placement options
- Double-sided SSDs require careful handling during installation
Product Specification
Form Factor
M.2 2280, M.2 2260, M.2 2242
Internal connector
1x M.2 (PCIe 3.0 x2/SATA, NVMe/AHCI)
External connector
1x USB-C 3.1 (10Gb/s)
RAID Level
N/A
Fan
N/A
Chipset
Realtek RTL9210B-CG
Dimensions
4.63x1.57x0.53 in
Color
gray
Features
Aluminum case, tool-less installation, includes USB cable (USB-C)
USB Writing
Link
Product Description
Unlock High-Speed Storage with the InLine USB3.2 Gen.2 M.2 SSD Enclosure
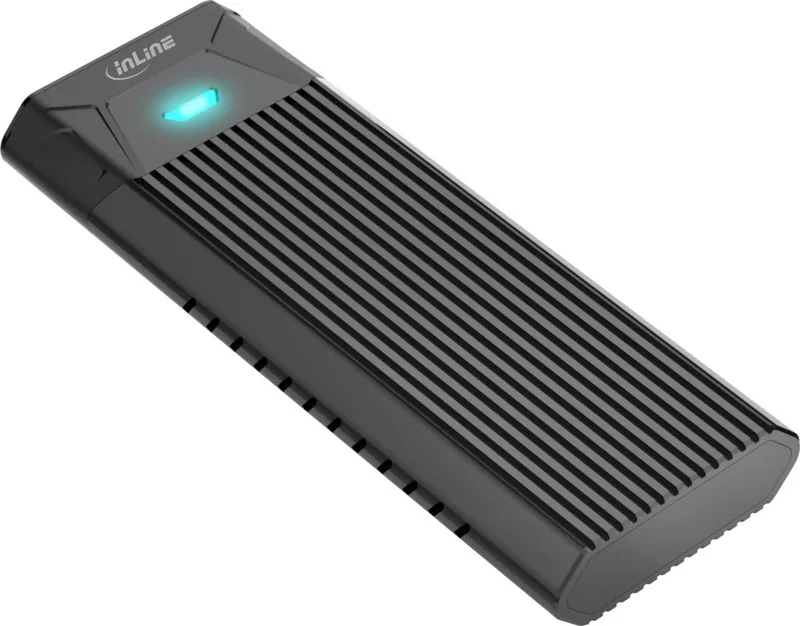
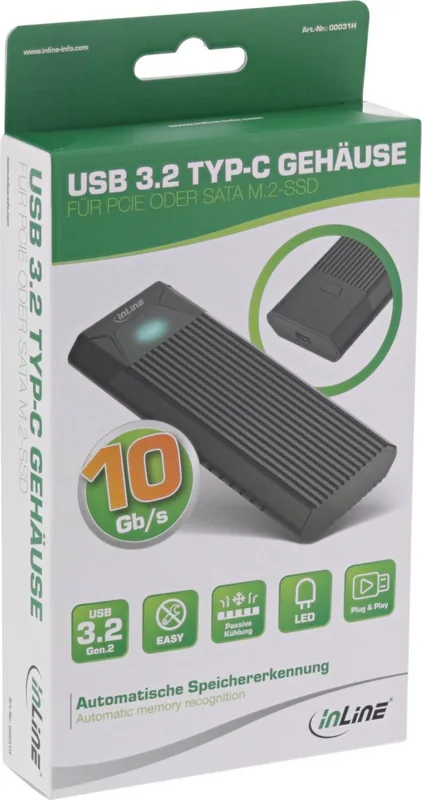
Upgrade your portable storage experience with the InLine USB3.2 Gen.2 enclosure, a sleek aluminum solution designed for modern PCIe NVMe and SATA M.2 SSDs. This device transforms any compatible M.2 drive into a high-performance external drive, offering data transfer rates of up to 10 Gbps via the USB Type-C interface. Whether you are a content creator needing fast backups or a professional requiring mobile storage expansion, this tool-free enclosure provides a robust and efficient answer.
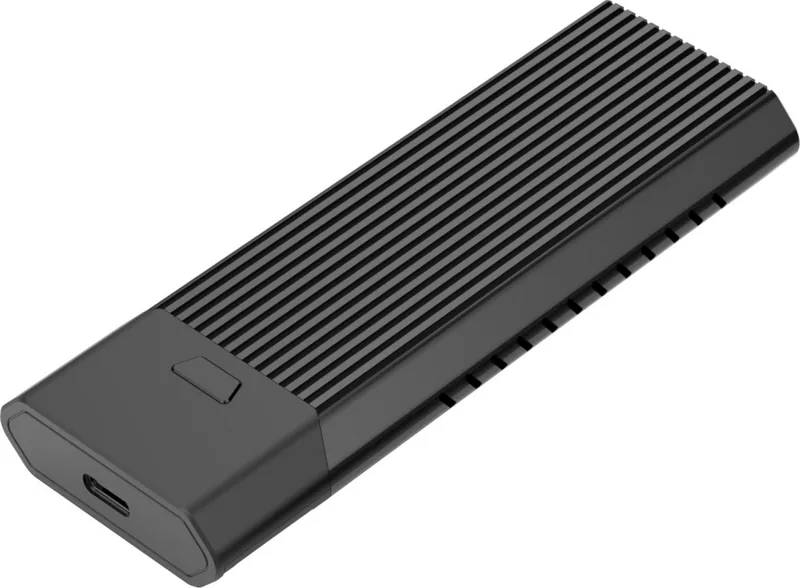
The housing features integrated cooling fins on both sides to maintain optimal operating temperatures during intensive read and write tasks. It supports various M.2 module formats including 2242, 2260, and 2280, accommodating both single-sided and double-sided SSDs with component heights up to 1.5 mm. The Realtek RTL9210B chipset ensures reliable connectivity across a wide range of operating systems such as Windows 10, macOS, Linux, and Android. Installation is straightforward; simply press the release button, insert the drive at an angle, and snap it securely into place without needing any screws or tools.
Included in the package are a short USB-C cable, thermal pads of varying thicknesses, and an aluminum pad to enhance heat dissipation. An intuitive LED indicator provides visual feedback on power status, active data transfer, and sleep mode. With its compact dimensions and durable metal build, this enclosure is perfect for keeping your digital assets safe and accessible anywhere.
Search for 67,706 Manuals online


Type-in Brand or Model
Floyd Muller
6 months ago
Does this enclosure support M.2 NVMe drives, and are the included mounting pads sufficient for repeated drive swaps?
Manual.ly
6 months ago
Yes, this enclosure supports M.2 NVMe drives and typically includes thermal pads to assist with heat dissipation during operation. However, user feedback indicates that the plastic retention mechanism may not be robust enough for frequent removal and reinstallation of the drive. Some users have reported damage to the locking clips after a single use cycle when formatting or swapping drives repeatedly. For heavy-duty usage involving regular drive changes, a model with metal screw-down mounting or a more durable clamp system is often recommended.