Manual.ly Logo

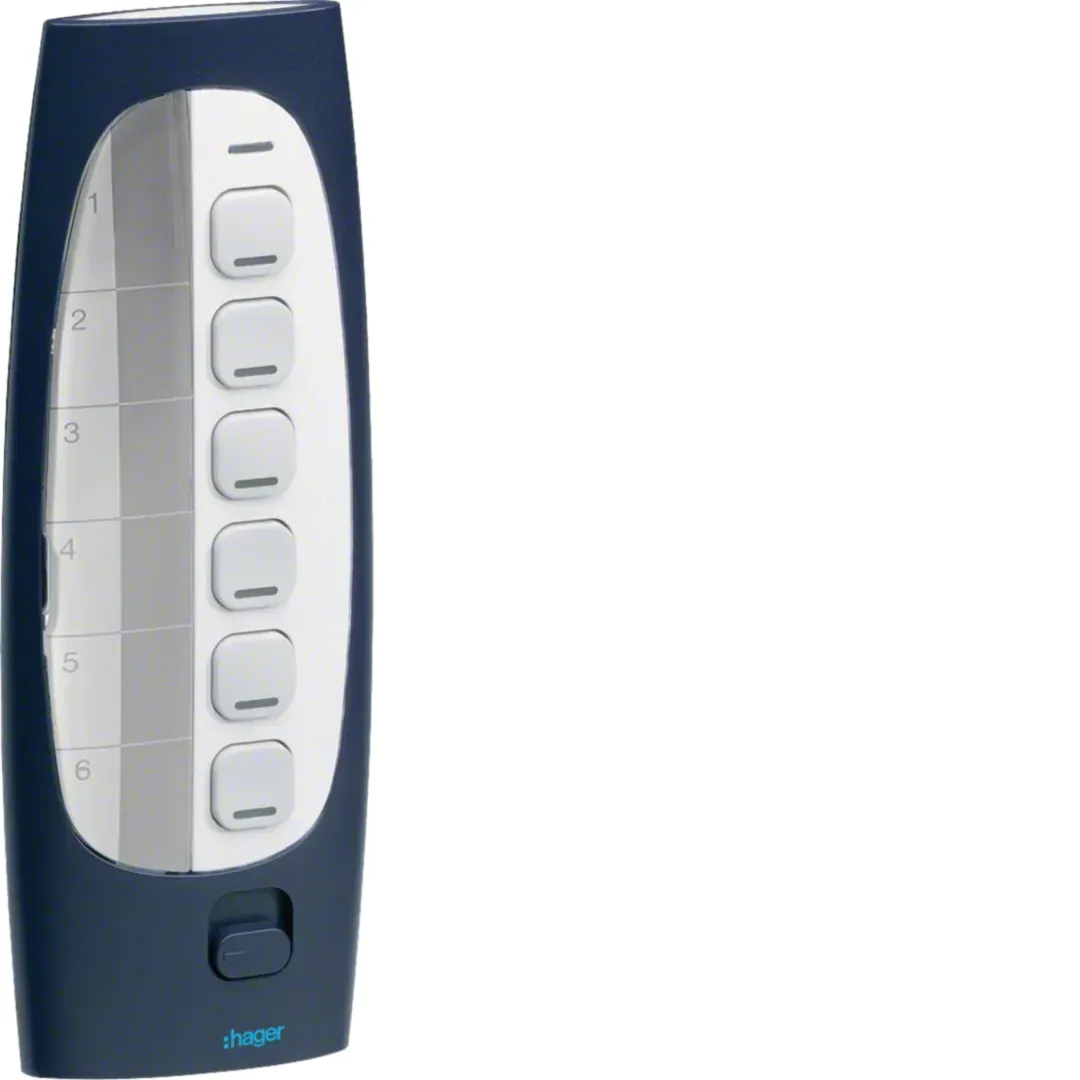
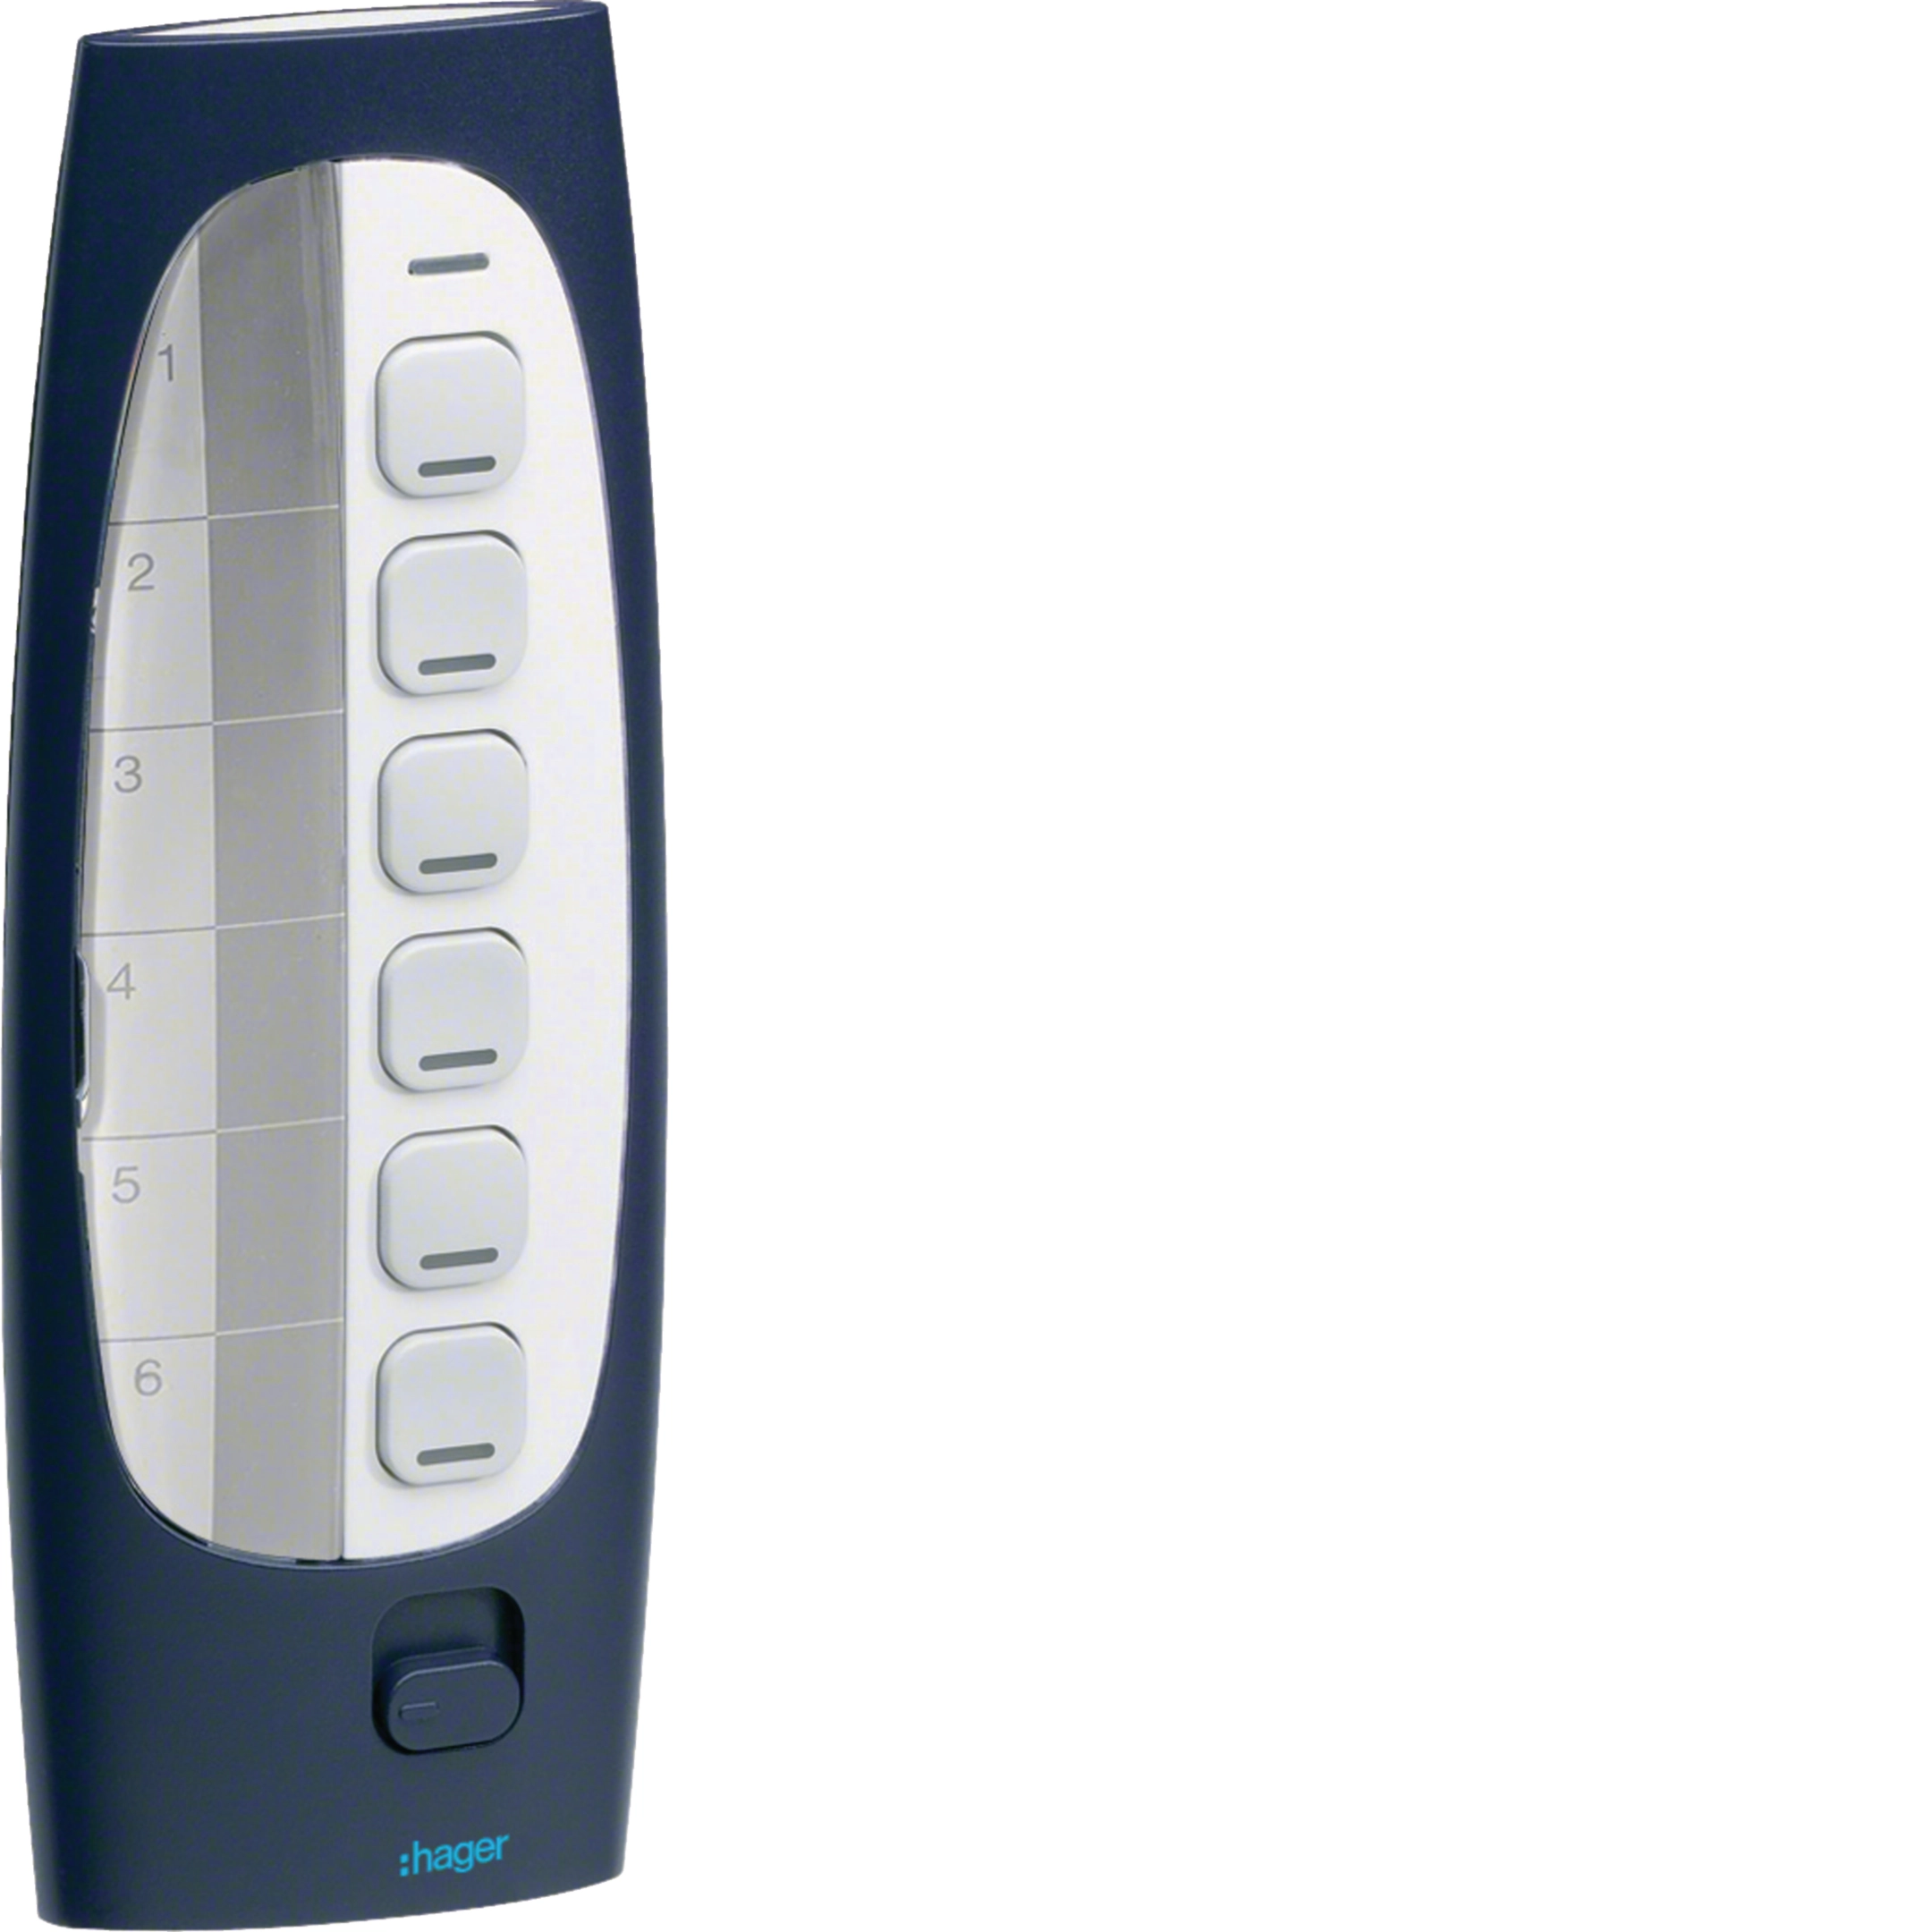
Hager Wireless Remote Control 18 Channel Manual

0.0 · 0 Ratings

PDF manual · 2 Pages

English

M: OA-GPT-5-NAN
page

/ 2

Loading...
8c1a52384e79749c1b625d886974bbb8309d page 1
6LE003064B
TU406
TU418
TU406, TU418
Les télécommandes radio TU406, TU418 sont des
émetteurs qui permettent de piloter à distance, des
modules de sortie KNX. Ils font partie du système
d’installation Tebis. Ils permettent de piloter de l’éclairage,
des stores ou des volets roulants, du chauage,…
Fonctions
• 6 ou 18 voies indépendantes.
• Visualisation de l’émission d’un ordre.
• Signalisation des fonctions par porte-étiquette 4.
• Allumage automatique durant 4 secondes de l'éclairage
des touches et du porte étiquette par simple prise en
main (TU418 uniquement).
+
+
cfg
*
* TU418
2
3
4
6
1
5
cfg
Die Fernbedienungen TU406 und TU418 sind Sender,
die zur Fernsteuerung der an den KNX angeschlossenen
Ausgangsmodule dienen. Diese Geräte gehören zum
Tebis-Installations-System. Sie dienen zur Steuerung der
Beleuchtung, der Markisen, der Rollläden, der Heizung usw.
Funktionen
• 6 oder 18 voneinander unabhängig Kanäle.
• LED zur Sendebestätigung.
• Beschriftungsfeld 4.
• Automatische Einschaltung 4 Sekunden lang der
Beleuchtung von Tasten und Beschriftungsfeld (nur TU418).
Einstellungen
Diese Sender lassen sich auf 3 unterschiedliche Arten
konfigurieren :
•
quicklink
: Konfiguration ohne Werkzeug, siehe
Anleitung 6T7952 (mit den Funkempfängern mitgeliefert).
• TX100/B V.2.6.0 oder >: Beschreibung der
Gerätfunktionen beim Hersteller erhältlich.
• ETS3 oder > via TR131 : Datenbank und Beschreibung
der Anwendungssoftware beim Hersteller erhältlich.
Konfiguration über TX100 oder ETS
Taste J in der Lernphase des TX100 oder zur
Adressierung mittels TR131 in der ETS-Software drücken.
Verwendung der Fernbedienungen mit Funkeingangs-Hub
TR351: Siehe Seite 2.
O
Um den Konfigurationsmodus zu ändern, ist das Gerät
obligatorisch auf "Werkseinstellungen" zurückzusetzen.
Sender klonen
Durch Klonen lässt sich ein bereits konfigurierter Master-
Funksender duplizieren. Auf diese Weise erhalten Sie rasch
vollkommen identische Kopien.
Vorgehensweise beim Klonen eines Senders
- Konfigurationsmodus durch Betätigung der Taste J des
“Master-Gerätes” aktivieren: Die LED cfg leuchtet auf.
- An dem zu klonenden Gerät, das noch die Werkseinstellungen
enthält, Taste cfg lang anhaltend drücken (über 15 Sek.), bis
die LED cfg die zweite Blinkstufe (schnelleres Blinken) erreicht.
Sobald die LED erlischt, ist das Klonen beendet. Wiederholen
Sie diesen Vorgang an den restlichen zu klonenden Geräten.
- Klon-Modus durch erneute Betätigung der Taste J des
Master-Gerätes drücken.
Der geklonte Sender identifiziert sich durch orangefarbenes
Aufleuchten der LED cfg bei Betätigung der Taste J.
O
Das Klonen ist nur möglich zwischen Sendern mit glei-
cher Eingangsanzahl. Ein geklontes Gerät lässt sich nicht
umprogrammieren. Dasselbe gilt für das Master-Gerät.
Diese Geräte müssen auf Werkseinstellungen zurückge-
setzt und neu programmiert werden.
Aktivieren/ Deaktivieren der Kontrollleuchten und
der Beleuchtung des Etikettenhalters (nur TU418)
Zum Aktivieren/ Deaktivieren der Kontrollleuchten 3 und
der Beleuchtung des Etikettenhalters 4, Auswahltaste 5 in
eine neue Position bringen und kurz die direkt unterhalb der
Kontrollleuchte 1 befindliche Taste 2 drücken.
Auswahltaste 5 (nur TU418)
Die Fernsteuerung TU418 dient zum Versenden von 18
unterschiedlichen Steuerbefehlen, gegliedert in 3 Gruppen von
jeweils 6 Tasten. Die Auswahltaste 5 dient zur Auswahl einer
der drei Gruppen.
Configuration
Ces émetteurs peuvent être configurés de 3 façons
diérentes :
•
quicklink
: configuration sans outil, voir notice 6T7952
livrée avec les récepteurs radio.
• TX100/B V.2.6.0 ou > : descriptif des fonctions du
produit disponible chez le constructeur.
• ETS3 ou > via TR131 : Base de données et descriptif
du logiciel d’application disponible chez le constructeur.
Configuration par TX100 ou ETS
Faites un appui sur le poussoir J lors de la phase
d’apprentissage par le TX100 ou pour l’adressage
avec le TR131 en ETS.
Utilisation des télécommandes avec concentrateur
d’entrées radio TR351 : voir page 2.
O
Pour changer de mode de configuration, il faut
obligatoirement faire un “retour usine” du produit.
Clonage d’émetteurs
Le clonage permet dupliquer un émetteur radio “maitre” déjà
configuré pour créer rapidement des copies
totalement identiques.
Comment cloner un émetteur ?
- Entrer en configuration par un appui sur le poussoir J
du “maître” : Allumage LED cfg.
- Sur le produit à cloner encore en mode d’usine, faites un
appui très long (t >15s) sur le poussoir J jusqu’au 2ème
niveau de clignotement (plus rapide) de la LED cfg.
Fin du clonage à l’extinction de la LED.
Répéter cette étape sur les autres produits à cloner.
- Sortie du mode clonage par un nouvel appui sur le poussoir
J du maitre.
L’émetteur cloné est signalé par un allumage en orange
de la LED cfg sur appui du poussoir J.
O
Le clonage n'est possible qu’entre émetteurs disposant
du même nombre d’entrée.
Impossible de modifier un produit cloné y compris le
"maître", faites un retour usine et reprogrammer le produit.
Activation/déactivation des voyants et de
l'éclairage du porte étiquette (TU418 uniquement)
Pour activer ou désactiver les voyants 3 et l'éclairage du
porte étiquette 4, déplacer le sélecteur 5 dans une nouvelle
position et appuyer de suite sur la première touche située
directement sous le voyant 1.
Sélecteur 5 (TU418 uniquement)
La télécommande TU418 permet l’envoi de 18 ordres dié-
rents répartis sur 3 groupes de 6 touches.
Le sélecteur 5 permet la sélection de l’un des trois groupes.
Par la présente hager Controls déclare que la télécommande,
est conforme aux exigences essentielles et aux autres
dispositions pertinentes de la directive 2014/53/UE.
La déclaration CE peut être consultée sur le site :
www.hagergroup.com
Utilisable partout en Europe et en Suisse
Retour usine
Appuyer et maintenir le poussoir J jusqu’au
clignotement de la LED cfg (>10s) puis relâcher. La fin
du retour usine est signalée par l’extinction de la LED cfg.
Cette opération provoque l’eacement complet de
la configuration du produit, quel que soit le mode de
configuration. Après un changement de piles ou un
retour usine, attendre 15s avant de procéder à une
configuration.
Changement des piles
Ouvrir la trappe à pile 6. Retirer les 2 piles et insérer
les nouvelles en respectant la polarité (toujours changer
les 2 piles en même temps). Remonter la trappe à piles 6.
Hiermit erklärt hager Controls, dass sich diese
Funkfernbedienung in Übereinstimmung mit den
grundlegenden Anforderungen und den anderen relevanten
Vorschriften der Richtlinie 2014/53/UE befindet". (BMWi)
Die CE-Konformitätserklärung ist auf der Webseite :
www.hagergroup.com zugänglich.
Verwendbar in ganz Europa und in der Schweiz
Signification du voyant 1
Action sur le produit Etat LED Couleur LED Signification
Appui sur une des
touches 2
Allumée brièvement Verte L'ordre est émis
Clignotante pendant 1s Orange Le BP actionné n'est pas configuré
Clignotante pendant 1s Rouge Le niveau des pile est faible
Eteinte _ - Absence de piles ou niveau très faible des piles
- Non respect de la polarité des piles
Bedeutung der Kontrollleuchte 1
Zustand der LED Farbe der LED Bedeutung
Betätigung einer der
Tasten 2
Leuchtet kurz auf Grün Der Steuerbefehl wird gesendet
Blinkt 1 Sekunde lang Orange Die betätigte Taste ist nicht konfiguriert
Blinkt 1 Sekunde lang Rot Der Batterieladezustand ist schwach
Leuchtet nicht _ - Keine Batterien oder Batterieladezustand sehr schwach
- Batterien verpolt
Zurücksetzen auf Werkseinstellungen
Taster J drücken und gedrückt halten, bis die LED cfg
blinkt (>10 Sekunden), dann loslassen. Die Rücksetzung
auf Werkseinstellungen wird durch das Erlöschen der LED
cfg angezeigt.
Bei dieser Operation wird die komplette Konfiguration des
Gerätes gelöscht, unabhängig vom Konfigurationsmodus.
Nach einem Batteriewechsel oder einer Rücksetzung auf
Werkseinstellungen ist eine Wartezeit von 15 Sekunden
abzuwarten, bevor die Konfiguration vorgenommen
werden kann.
Batterien auswechseln
Batteriefachdeckel 6 demontieren. Entfernen Sie
die 2 Batterien und legen Sie die neuen Batterien ein.
Hierbei ist auf korrekte Polung zu achten (es sind stets
beide Batterien gleichzeitig zu wechseln). Deckel des
Batteriefachs 6 wieder einbauen.
01 6LE003064B
A
A
Notice d’instructions
E
E
Bedienungsanleitung
a
Télécommandes radio 6 et 18 voies
e
Funkfernbedienung 6 und 18
Kanäle
z
6 and 18-channel radio frequency
remote controls
i
RF-afstandsbedieningen 6, 18 -
kanalen
y
Telecomandi R.F. 6, 18 canali
Spécifications techniques / Technische Daten / Technical characteristics / Technische kenmerken / Caratteristiche tecniche
Remote controls TU402 and TU404 are radio transmit-
ters used to remotely control the KNX-output modules.
They are part of the Tebis Installation System and make
it possible to control lighting, blinds or rolling shutters,
heating…
Functions
• 6 or 18 independent control channels of bus KNX.
• Display of transmitted controls.
• A label holder 4 is used to signal the various functions.
• Automatic switch-on for 4 seconds of keys and label
holder lighting is provided when taking control (TU418
only).
Configuration
These transmitters may be configured in 3 dierent ways :
•
quicklink
: configuration without tool, see User's
Instructions 6T7952 supplied with the radio transmitters.
• TX100/B V.2.6.0 or >: Description of product features
is available from the Manufacturer.
• ETS3 or > via TR131 : Database and description of
software application available from the Manufacturer.
Configuration by TX100 or ETS
Press J pushbutton once at TX100 learning phase or
for addressing by using TR131 in ETS.
Use of remote controls with concentrator of TR351 radio
inputs: See page 2.
O
In order to change the configuration mode, a pro-
duct "factory reset" is required.
Cloning of transmitters
Cloning allows duplicating a "Master" radio transmitter
previously configured to create fully identical copies
quickly.
How to clone a transmitter?
- Enter in configuration mode by pressing the J
pushbutton of the "Master": LED cfg turns on.
- On the product to be cloned still in factory mode, press J
pushbutton for an extended time (T>15s) until the 2nd flicke-
ring level (faster) of LED cfg is reached. When LED flickering
ends (LED turns o), cloning is completed.
Repeat this step for the other products to be cloned.
- Exit the cloning mode by pressing again Master J
push-button.
When pushbutton is pressed, LED cfg turns orange to signal
the cloned transmitter.
O
Cloning is possible only between transmitters with the
same number of inputs. A cloned product cannot be
modified, including the "Master". The product shall be
factory reset and reprogrammed.
Activation / deactivation of indicators and of label
holder lighting (TU418 only)
For activating/deactivating lighting of indicators 3 and label
holder 4, move selector 5 to a new position and press short-
ly key 2 located under indicator 1.
Selector 5 (TU418 only)
Remote control TU418 can transmit 18 dierent controls
distributed over 3 groups of 6 keys.
Selector 5 is used to select one of the three groups.
Factory reset
Hold the J pushbutton depressed until cfg LED flickers
(>10s), then release it.
LED cfg turns o to signal the end of factory reset.
This operation removes the entire product configuration,
whatever the mode of configuration. After power-on or
factory reset, wait 15s before proceeding to configuration.
Replacement of batteries
Pull up the cover of the battery compartment 6.
Remove the 2 batteries and insert the new ones making
sure that matching of poles (+/-) is correct (both batteries
must be changed). Place battery cover 6 back on.
A
A
E
E
Z
Z
I
I
Y
Y
Alimentation Versorgungsspannung Supply voltage Voedingsspanning Tensione di alimentazione 2x CR 2430 3,0 V
(TBTS, SELV, ZLVS )
Fréquence d'émission Sendefrequenz Transmission frequency Zendfrequentie Frequenza portante 868,3 MHz
Portée en champ libre Reichweite im freien
Feld
Range in a free field Bereik Max distanza di trasmis-
sione in campo libero
100 m
Durée de vie approxi-
mative de la pile
Annähernde Lebens-
dauer der Batterie
Approximate life
duration of the battery
Geschate Levensduur
van de batterij
Durata di avvicina a vita
della batteria
5 ans / 5 Jahre / 5 years / 5 Jaar /
5 anni
Encombrement Abmessungen Dimensions Afmeting Ingombro 133,6 x 50,2 x 16 mm
Indice de protection Schutzart Degree of protection Beschermingsgraad Grado di protezione IP 30
T° de fonctionnement Betriebstemperatur Operating temperature Bedirijfstemperatuur T
a
di funzionamento
0 °C + 45 °C
T° de stockage Lagertemperatur Storage temperature Opslagtemperatuur T
a
di stoccaggio
- 20 °C + 70 °C
Puissance d'émission
maximale
Sendeleistung Emission power Zendvermogen Potenza di trasmissione 25 mW
Catégorie de réception Empfänger Kategorie Receiver category ontvanger categorie Ricevitore categoria 2
Rapport cyclique
d’émission
Einschaltdauer Sender Transmitter duty cycle Transmitter arbeids-
cyclus
Ciclo di lavoro del trasmet-
titore
1 %
Média de
Communication RF KNX
RF KNX
Übertragungsmedien
Communication Media
RF KNX
RF KNX communica-
tiemedia
Mezzo di comunicazione
RF KNX
RF1.R
Hereby, hager Controls, declares that thisl radio frequency
remote control is in compliance with the essential requirements
and other relevant provisions of Directive 2014/53/UE.
The CE declaration can be consulted on the site :
www.hagergroup.com
Usable in all Europe and in Switzerland
A
B
Signal 1 indications
Operation by User LED state LED coulour Indication
Pressing one of the keys
2
Switches on for a short time Green Control is transmitted
Flashes on & o for 1s Orange The push-button pressed is not configured
Flashes on & o for 1s Red Low battery level
O _ - No batteries or very low battery level
- Batteries are not placed correctly
02 6LE003064B
Z
Z
User instructions
z
e
z
i
y
V2.6.0
RFTP
230V~
Bus
30 V

Chat with your Hager Wireless Remote Control 18 Channel manual using AI

Get instant AI answers from your Hager Wireless Remote Control 18 Channel manual

Ask anything about the Hager Wireless Remote Control 18 Channel. Answers come from this manual, with the pages they are based on.

Ask a Question

0/1000

Do you recommend Wireless Remote Control 18 Channel?

Yes No

Frequently Asked Questions

A

The TU406 supports 6 independent KNX channels; the TU418 supports 18 channels organized in three groups of six, selectable via a group selector.

Is this answer helpful?

A

Configuration can be done by quicklink (tool-less), using TX100/B software (v2.6.0 or later), or with ETS3+ via the TR131 database. For TX100/ETS addressing, press the J button during the learning phase.

Is this answer helpful?

A

Cloning duplicates a configured master transmitter to create identical copies. Enter master configuration, long-press J on a factory-reset target (>15s) until LED signals completion. Cloning only works between remotes with the same number of inputs; cloned units (and the master) require factory reset to be reprogrammed.

Is this answer helpful?

A

Green indicates the control was transmitted; orange (blinking) means the pressed key is not configured; red (blinking) signals low battery. No LED can mean missing or incorrectly inserted batteries.

Is this answer helpful?

A

Press and hold the J pushbutton for more than 10 seconds until the cfg LED blinks, then release. The cfg LED will extinguish to signal the reset. This clears all configuration; wait 15 seconds after reset or battery change before reconfiguring.

Is this answer helpful?

A

The remote uses two CR2430 3.0 V batteries. Open the battery compartment, remove both batteries and insert new ones respecting polarity. Always replace both cells simultaneously and reattach the cover.

Is this answer helpful?

A

Yes, Hager declares compliance with Directive 2014/53/EU. The CE declaration is available on Hager’s website (www.hagergroup.com) and the device is approved for use across Europe and Switzerland.

Is this answer helpful?

M: OA-GPT-5-NAN

Advantages and Disadvantages

Advantages

  • Supports 6 or 18 independent KNX channels for flexible control.
  • Multiple configuration methods: quicklink, TX100/B, or ETS3 via TR131.
  • Cloning enables rapid duplication of preconfigured master transmitters.
  • TU418 provides automatic backlighting and illuminated label holder.
  • Long battery life (approx. 5 years) using common CR2430 cells.
VS

Disadvantages

  • Cloned devices cannot be modified without factory reset and reprogramming.
  • Configuration mode changes require a full factory reset.
  • Indoor range and performance depend on environment; free-field range ~100 m.
  • Limited ingress protection (IP30) — not suitable for wet or outdoor use.
  • Requires knowledge of TX100/ETS tools for advanced programming.
M: OA-GPT-5-NAN

Product Specification

Type

Remote control

Standard

KNX

Function

Control

Topology

Bus, Tree

Dimensions

5.28x1.97x0.63in

Special features

IP30, battery-operated (2x CR2430)

M: OA-GPT-54-NAN

Product Description

Hager Wireless Remote Control 18 Channel — Overview

The Hager Wireless Remote Control 18 Channel is a versatile RF handset designed for KNX installations, offering reliable wireless control of lighting, blinds, shutters, heating and other building automation functions. Available in 6- and 18-channel versions (TU406/TU418 family), these transmitters integrate with the Tebis installation system and communicate at 868.3 MHz with a typical free-field range up to 100 m. The TU418 adds backlit keys and an illuminated label holder for improved usability in low light.

Key features and operation

These remotes provide independent KNX bus channels (6 or 18), visual acknowledgement of transmitted commands via LEDs, and a label holder for function identification. The TU418 automatically lights keys and the label holder for four seconds when picked up. A single push of the J button enters configuration modes or signals status; LED colors indicate transmission success, unconfigured keys, and low battery.

Configuration supports three methods: quicklink (tool-less pairing), TX100/B (software tool), and ETS3+ via TR131 database entries. Devices can be linked to a TR351 radio input concentrator so radio commands are forwarded to the KNX bus. Changing configuration mode requires a factory reset.

Advanced management — cloning and reset

Cloning lets you duplicate a configured master transmitter to create identical copies quickly. The cloning process is initiated from the master and completed by long-pressing the target unit’s J button; cloning works only between remotes with the same number of inputs and cloned units cannot be modified without a factory reset. Factory reset is performed by holding J >10s; this erases all configuration. After battery replacement or reset wait 15s before configuring again.

Power and compliance

The remotes use two CR2430 3.0V batteries (replace both simultaneously). Typical battery life is about five years under expected use. Emission power is limited (25 mW), device rating IP30, operating temperature 0 °C to +45 °C. Hager declares CE conformity to Directive 2014/53/EU and suitability for use across Europe and Switzerland.

Notes

  • TU406 = 6-channel; TU418 = 18-channel with group selector and backlight features.
  • LED indications: green = command sent; orange = key not configured; red = low battery.
  • Always respect battery polarity and replace both cells together.
M: OA-GPT-5-NAN

© Copyright 2026 Manual.ly