
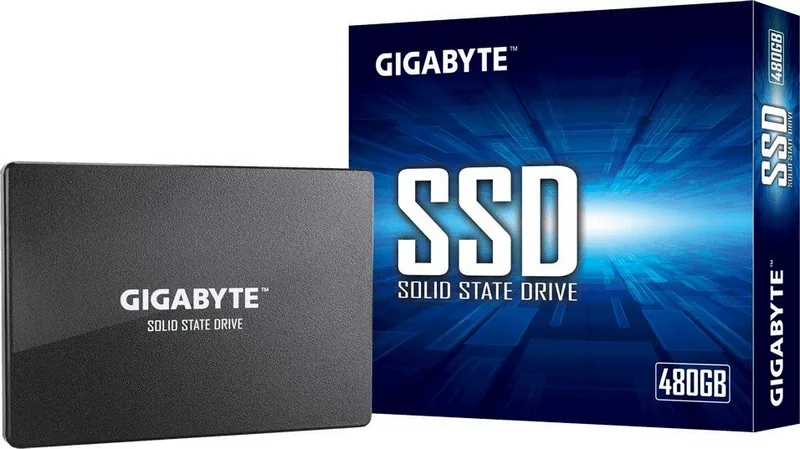
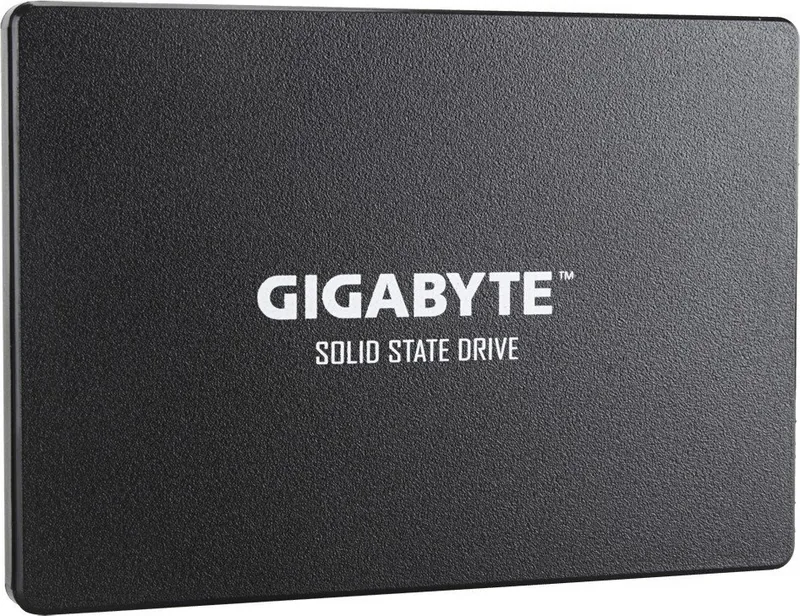
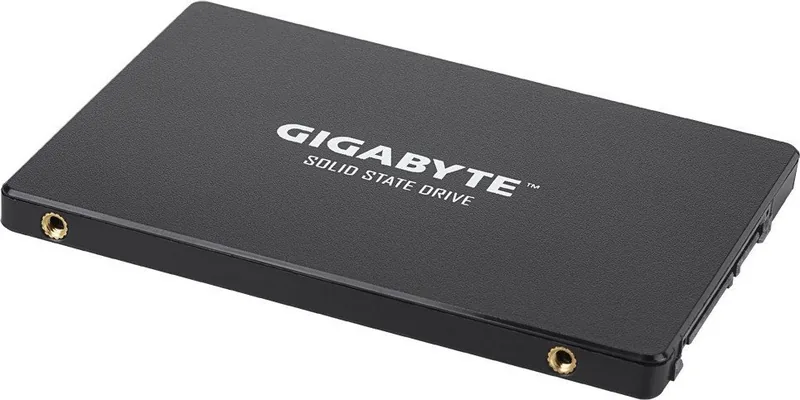
GIGABYTE SATA SSD Manual
PDF manual · 2 Pages
English



Quick check
Incorrect answer, please try again.
Chat with your GIGABYTE SATA SSD manual using AI
Get instant AI answers from your GIGABYTE SATA SSD manual
Ask anything about the GIGABYTE SATA SSD. Answers come from this manual, with the pages they are based on.
Ask a Question
Do you recommend SATA SSD?
Yes NoFrequently Asked Questions
It explains how to install and use a GIGABYTE SATA SSD safely while outlining warranty terms, ownership rules, and data protection expectations. It is especially useful for desktop upgrades and basic drive setup.
Is this answer helpful?
The warranty applies only to the original purchaser. GIGABYTE does not extend coverage to secondhand buyers, even if the product or packaging appears unused or sealed.
Is this answer helpful?
Make sure the SSD capacity is larger than the old drive’s capacity. If the new SSD is smaller, the cloning process may fail and the data transfer may not complete properly.
Is this answer helpful?
No. Damage caused by accidents, abuse, misuse, unauthorized disassembly, repair, modification, or neglect is excluded from warranty coverage.
Is this answer helpful?
No. The warranty specifically excludes data loss, corruption, and related damages. Users are expected to back up all important files and passwords before installation or return.
Is this answer helpful?
The guide warns against using the product in high-risk applications such as aviation, medical, nuclear, or life-support systems. Those environments require specialized hardware and support.
Is this answer helpful?
Proof of purchase is required, such as a sales receipt or invoice, along with original packaging. These help verify eligibility and purchase details for service handling.
Is this answer helpful?
Advantages and Disadvantages
Advantages

- Clear SATA installation steps make the upgrade process easy to follow.
- Warranty support is defined and tied to manufacturing defects.
- The manual includes a helpful warning about capacity before data cloning.
- Guidance covers safe use, ownership requirements, and data protection.
Disadvantages

- Warranty coverage is limited to the original purchaser only.
- Secondhand or unauthorized retail purchases are not protected.
- Damage from misuse, accidents, or repairs is excluded.
- Loss of data, profits, and other indirect damages is not covered.
Product Specification
Design
Solid State Drive (SSD)
Form Factor
2.5"
Interface
SATA 6 Gb/s
Reliability Prediction
2 million hours (MTBF)
Protocol
AHCI
Dimensions
3.94x2.76x0.28 in (without heatsink)
Warranty
36 months (or until TBW is reached)
Product Description
GIGABYTE SSD, SATA Manual: Warranty, Setup, and Practical Use
The GIGABYTE SSD, SATA Manual presents more than just installation steps—it reflects the essentials of owning a reliable solid-state drive. At its core, the product is designed for everyday storage upgrades, faster boot times, and smoother system performance in a standard desktop environment. The guide emphasizes that the SSD should be installed correctly, used under normal operating conditions, and purchased through authorized channels to remain eligible for warranty support.
One of the most important themes is responsibility. GIGABYTE clearly states that the warranty applies to the original buyer only and does not extend to secondhand purchases. It also requires proof of purchase and original packaging, which helps confirm authenticity and purchase date. If the drive develops a manufacturing defect within the warranty period, the main remedy is repair or replacement at GIGABYTE’s discretion. This makes the product appealing for users who value structured support, but it also means buyers should keep records and buy from trusted sellers.
From a usability standpoint, the quick installation guide is straightforward. The SSD is intended for desktop PCs and connects through SATA data and power cables. Before cloning data from an old drive, the manual advises checking that the SSD capacity is larger than the source disk. That single note prevents one of the most common upgrade mistakes. The instructions also remind users to power down the computer, open the case carefully, attach the drive, and then restart the system once everything is secured.
The manual is also candid about limitations. It excludes accidental damage, misuse, unauthorized repair, and other forms of tampering. Just as importantly, it warns that users are responsible for backing up data and removing sensitive information before returning a drive. For anyone installing a SATA SSD, this is a practical reminder that performance upgrades should go hand in hand with good data protection habits.
Key Takeaways
- Built for SATA-based desktop upgrades with simple cable connections.
- Warranty protection is tied to original ownership and authorized purchase channels.
- Capacity checks matter before cloning data from an older drive.
- Backup planning is essential because data loss is not covered.
Notes
- Use the drive only in normal consumer applications.
- Review local warranty terms, since coverage can vary by country.
- Keep receipts, packaging, and backup copies for safer support handling.
Search for 67,706 Manuals online


Type-in Brand or Model