
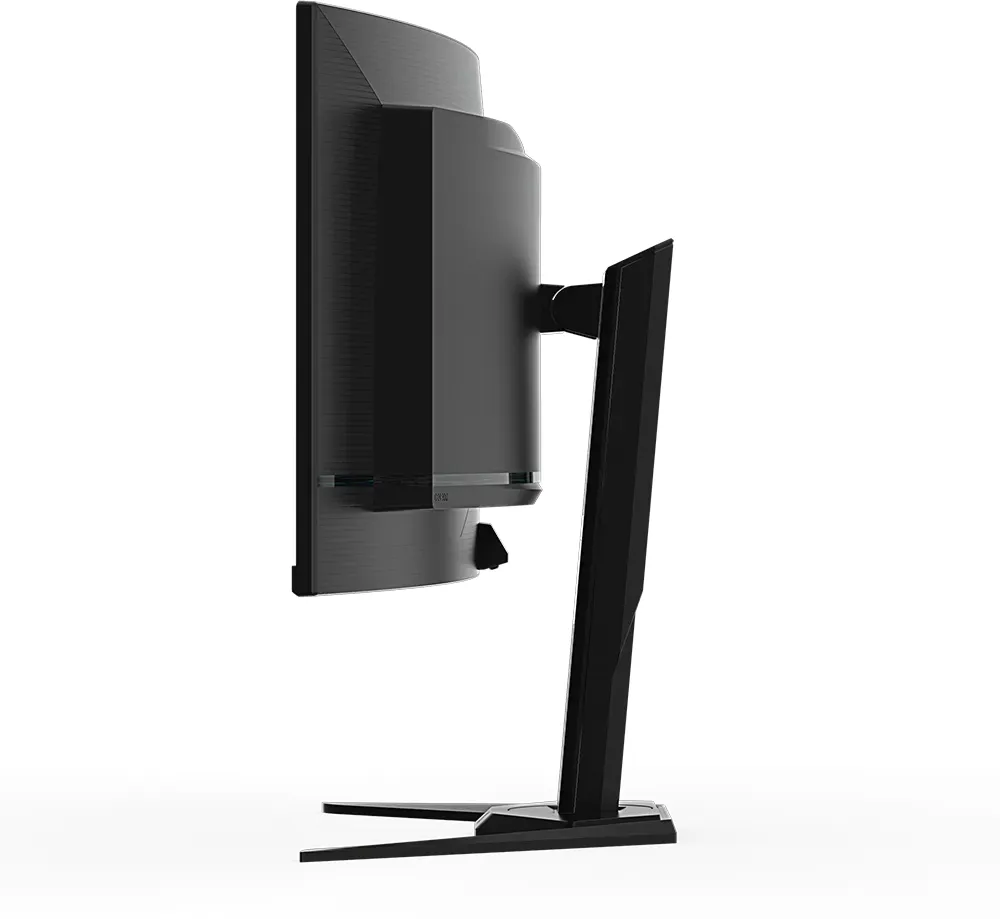
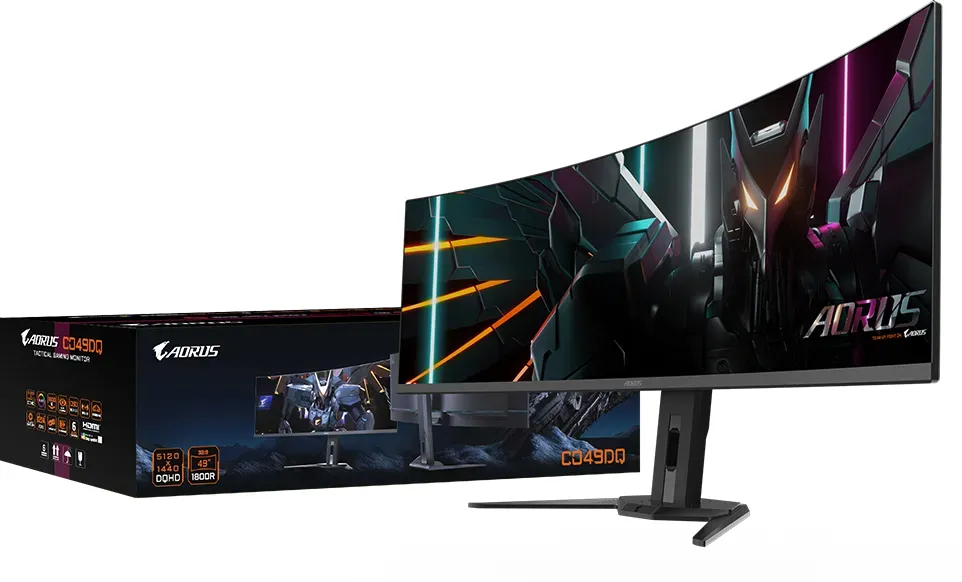
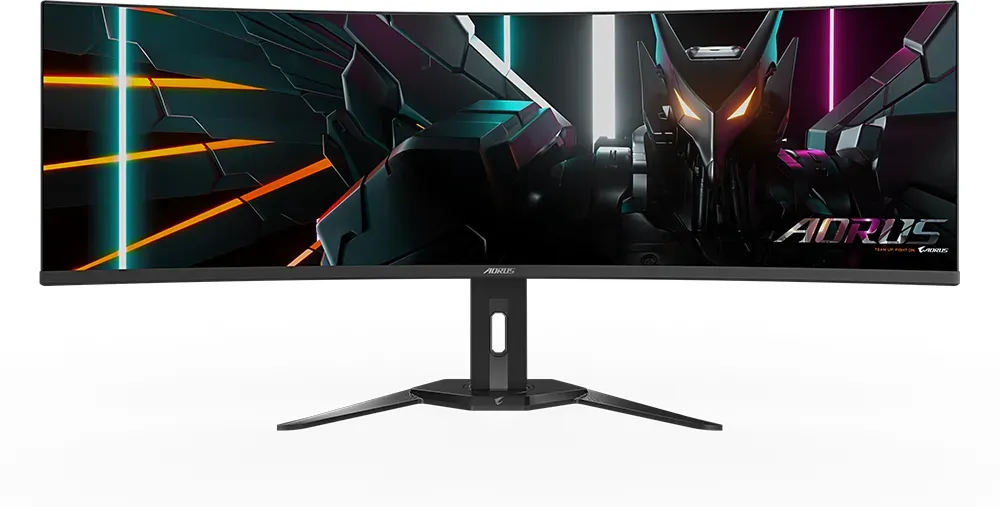
GIGABYTE AORUS CO49DQ Manual
PDF manual · 29 Pages
English


Quick check
Incorrect answer, please try again.
Chat with your GIGABYTE AORUS CO49DQ manual using AI
Get instant AI answers from your GIGABYTE AORUS CO49DQ manual
Ask anything about the GIGABYTE AORUS CO49DQ. Answers come from this manual, with the pages they are based on.
AORUS CO49DQ Maintenance Schedule
Initiate Pixel Clean to clean and refresh the OLED pixel compensation screen after the monitor has been used for over 4 hours.
Take a regular break of at least 10 minutes every half-hour.
Ask a Question
Do you recommend AORUS CO49DQ?
Yes NoFrequently Asked Questions
Press the control button on the front panel. The power LED will light white when ready.
Is this answer helpful?
The monitor supports 5120 x 1440 resolution at a 32:9 ratio.
Is this answer helpful?
Yes, use a 100 x 100 mm VESA compatible wall mount kit.
Is this answer helpful?
Yes, AMD FreeSync Premium Pro is enabled to eliminate screen tearing.
Is this answer helpful?
Use a soft lint-free cloth without abrasive cleaners or liquids directly.
Is this answer helpful?
Visit the official GIGABYTE website for the latest software and manuals.
Is this answer helpful?
Yes, the warranty card is inside the package box for your reference.
Is this answer helpful?
Advantages and Disadvantages
Advantages

- Immersive 32:9 aspect ratio provides expansive workspace.
- High refresh rates up to 144Hz ensure smooth gaming.
- OLED Care features protect screen from burn-in risks.
- Multiple connectivity options including USB Type-C support.
- KVM function simplifies control between two computers.
Disadvantages

- Large physical footprint requires significant desk space.
- No built-in speakers requires external audio devices.
- Complex OSD menu navigation may confuse new users.
- VESA mount hole size is specific to 100x100 mm.
- Power consumption is higher than smaller standard screens.
Product Specification
Type
Monitor (Stationary)
Diagonal
49" (49.02 in)
Resolution
5120x1440 (DQHD), 32:9, 109 ppi
Panel
OLED (QD-OLED)
Backlight
N/A
Brightness
250 cd/m2 (typical), 1000 cd/m2 (HDR)
Contrast
1,500,000:1 (dynamic)
HDR
VESA DisplayHDR True Black 400
Response Time
0.03ms (GtG)
Refresh Rate
144Hz (5120x1440)
Variable Refresh Rate
Adaptive Sync, AMD FreeSync Premium certified (48-144Hz via DisplayPort, 48-144Hz via HDMI, with LFC support, with HDR)
Motion Blur Reduction
VESA ClearMR 8000
Signal Frequency
48-144Hz (V)
Ports
2x HDMI 2.1 (144Hz@5120x1440), 1x DisplayPort 1.4 (144Hz@5120x1440), 1x USB-C 3.0 with DisplayPort (Upstream, 5 Gb/s, PD 18W, 144Hz@5120x1440), 1x USB-B 3.0 (Upstream, 5 Gb/s), 2x USB-A 3.0 (Downstream, 5 Gb/s, PD 7.5W, BC), 1x 3.5mm Jack (Line-Out), 1x AC-In C13 (AC Connection)
Shape
Curved (1800R, 5.91 ft)
Viewing Angle
178 deg/178 deg
Coating
Anti-Glare (Anti-Reflective)
Color Depth
10-bit (1.07 Billion Colors)
Frame Rate Control
Unknown
DCI-P3
99%
LUT (Lookup Table)
Factory Calibration
Speakers
Speakers (2x 5W)
Controls
Control Stick
Ergonomics
With stand, height adjustable (5.12 in), Pivot N/A, rotates (+/-30 deg), tilts (+21 deg/-5 deg)
VESA
100x100 (Used)
Power Consumption
72W (typical), 0.5W (Standby)
Energy Efficiency SDR (A to G)
43 kWh/1000h (F)
Energy Efficiency HDR (A to G)
52 kWh/1000h (G)
Features
Security Lock (Kensington Security Slot), KVM-Switch, Picture-in-Picture, Slim Bezel
Screen-to-Body Ratio
90.79% (calculated)
Dimensions
47.04 x 22.00 x 10.30 in (WxHxD) with stand compressed, 47.04 x 14.65 x 6.32 in (WxHxD) without stand
Color
Black (Display Frame) / Black (Bottom Bezel) / Black (Stand) / Black (Rear)
Weight
24.87 lbs (with stand), 18.36 lbs (without stand)
Power Supply
Internal
Warranty
Three years (Link)
USB Info
Link
Product Description
Introduction to the GIGABYTE Aorus CO49DQ, 49" Manual
This guide helps users understand the setup and features of the massive 49 inch curved monitor. The display offers a 5120 x 1440 resolution with a 32:9 aspect ratio for immersive viewing. Gamers appreciate the high refresh rate capabilities supported through HDMI and DisplayPort connections. It is recommended to read this text carefully before powering on the system.
Initial Setup and Connections
Powering on the device requires connecting the AC cable to the rear jack. Press the control button to activate the unit. Users may select input sources using the Control button interface. The package includes HDMI cables, a power cable, and a USB cable for immediate use. Connecting devices via the rear USB ports allows for data transfer and charging capabilities. Installing the stand base requires following specific alignment instructions to ensure stability. Ensure the power outlet is grounded properly to avoid electrical hazards.
Customizing Display Settings
The On-Screen Display menu allows deep customization of image quality. Users can select from various picture modes like FPS or Moba to optimize visuals. OLED Care technology helps protect the panel longevity through pixel cleaning features. Black equalizer settings enhance visibility in dark scenes for better gaming performance.
Audio and Connectivity Options
Audio output is managed through the headphone jack located on the back. The monitor supports USB Type-C for video input and charging. Two HDMI 2.1 ports provide flexibility for multiple consoles or PCs. The KVM switch function allows controlling two computers with a single keyboard setup.
Safety and Care Instructions
Safety precautions require placing the monitor on stable furniture away from liquids. Ventilation holes must not be blocked to prevent overheating during operation. Cleaning the screen needs a soft lint-free cloth without abrasive chemicals. Regular breaks are recommended to reduce eye strain during extended usage periods. Regulatory compliance ensures safety standards are met for global usage environments. Place the monitor in a well-ventilated area to maintain optimal temperature control. Avoid exposure to direct sunlight which may damage the screen components over time.
Notes: Keep the packaging box for transportation purposes if needed. Contact a local dealer if any items are missing from the box. Visit the official website for firmware updates and more information. The warranty card confirms the product coverage details included in the package. You should power off the device before disconnecting any cables before maintenance. Always check the manual again if troubleshooting steps are unclear.
Search for 67,706 Manuals online


Type-in Brand or Model