
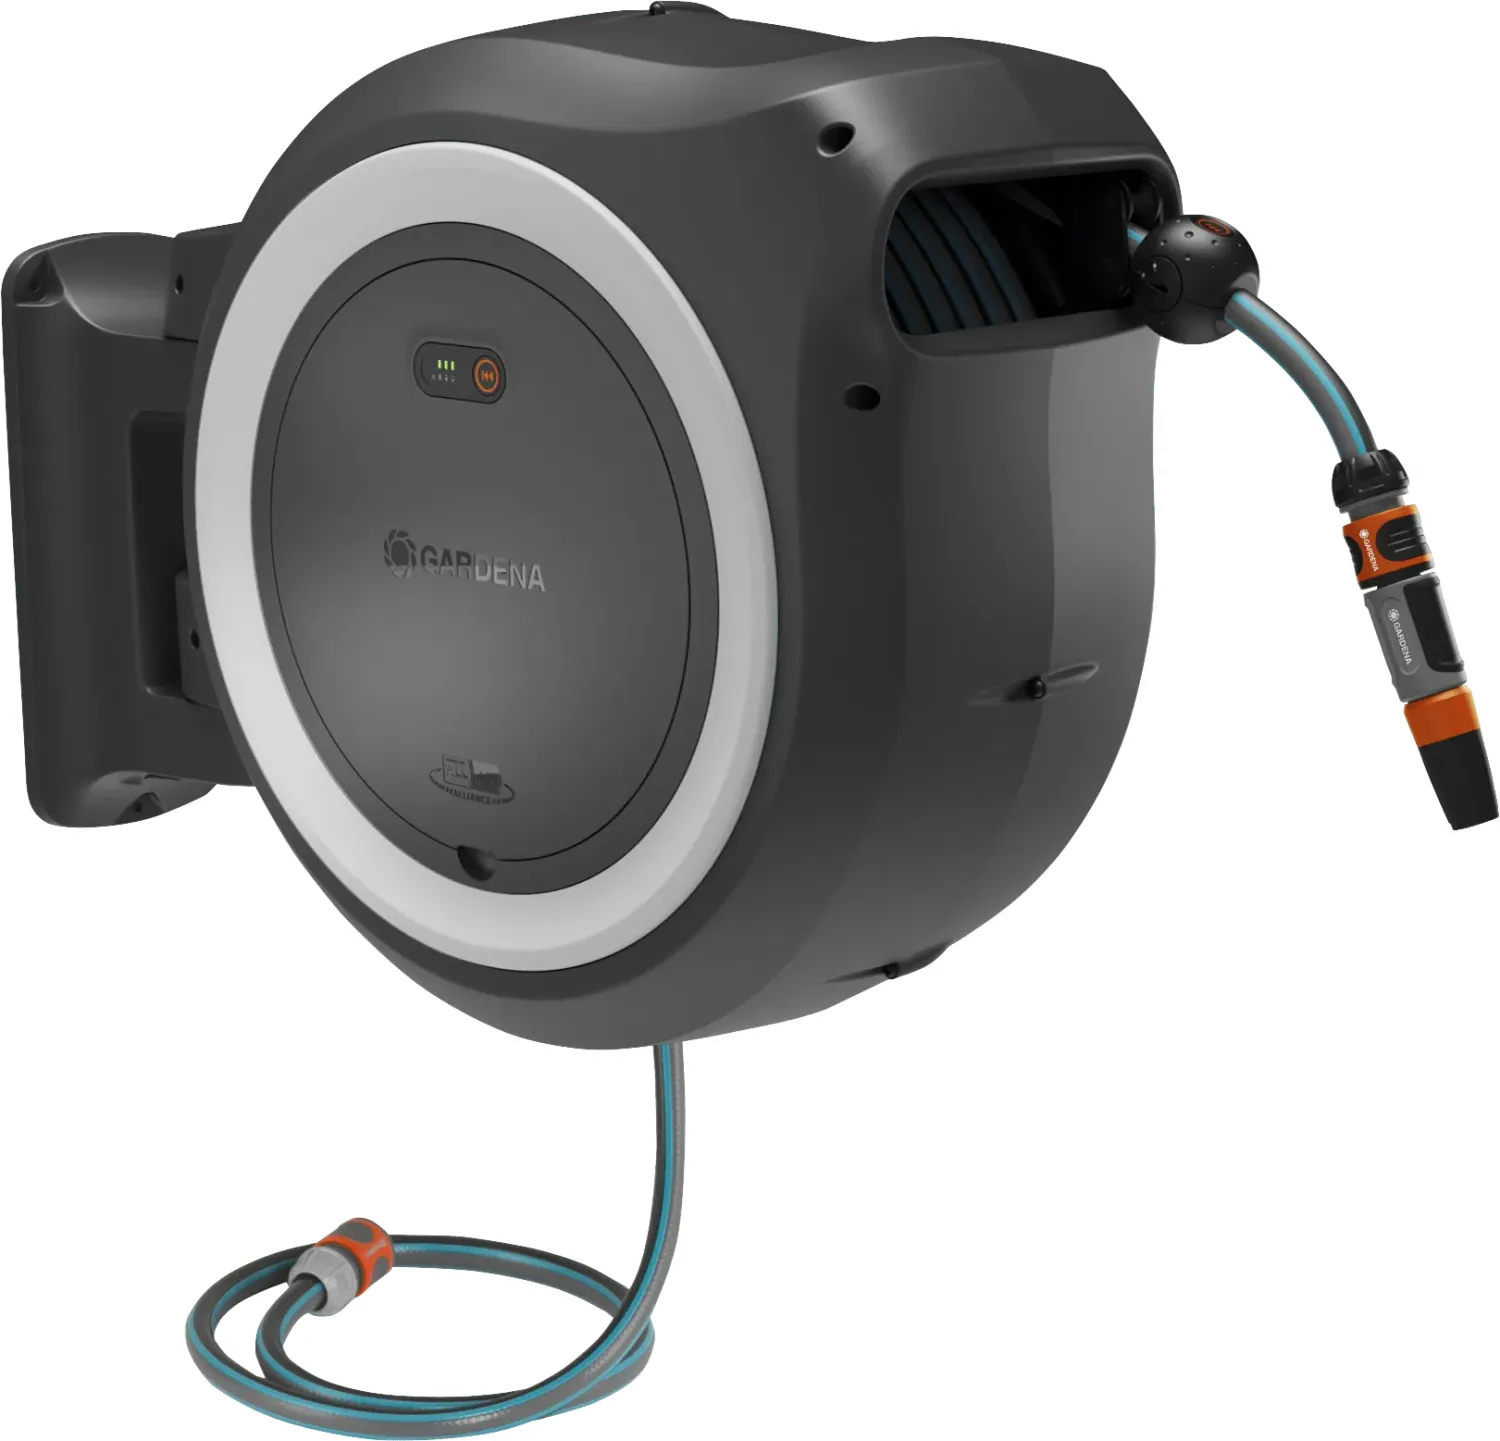
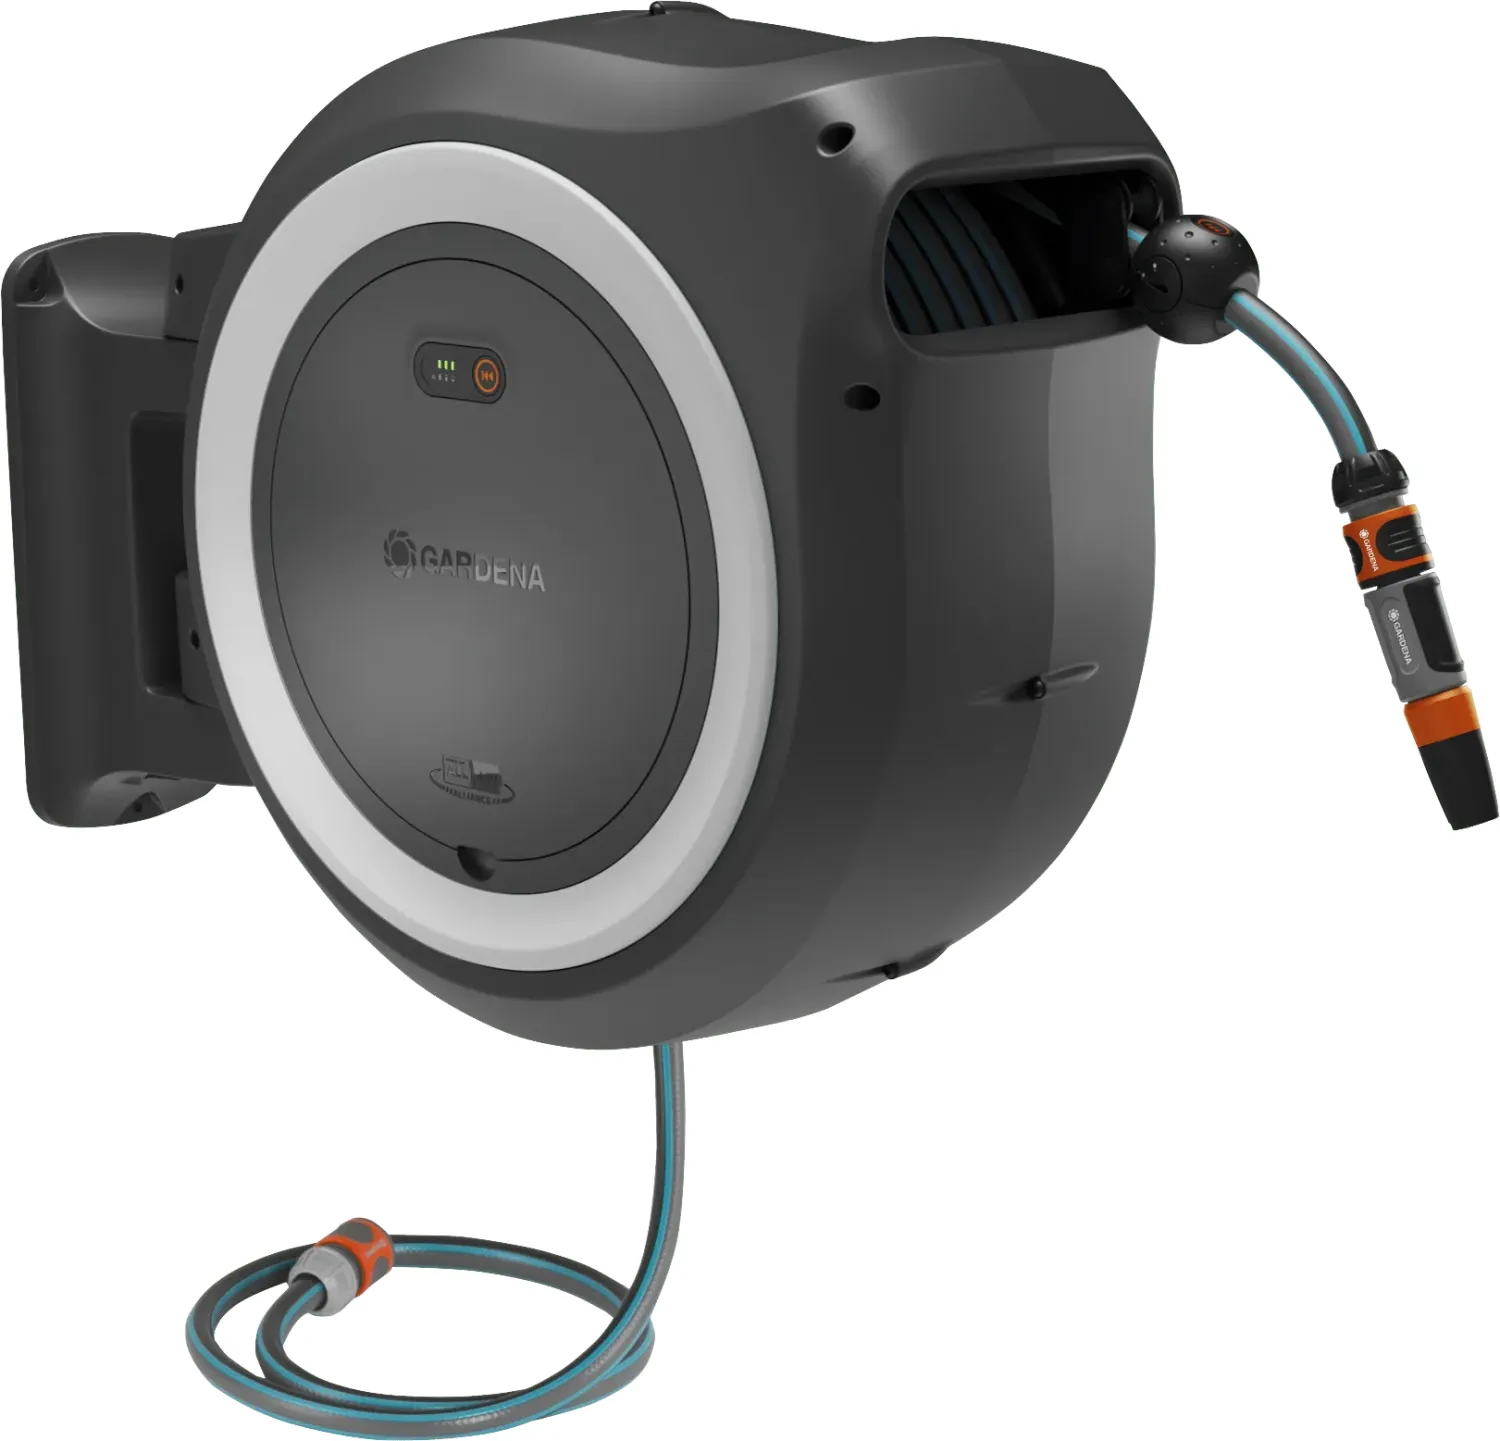
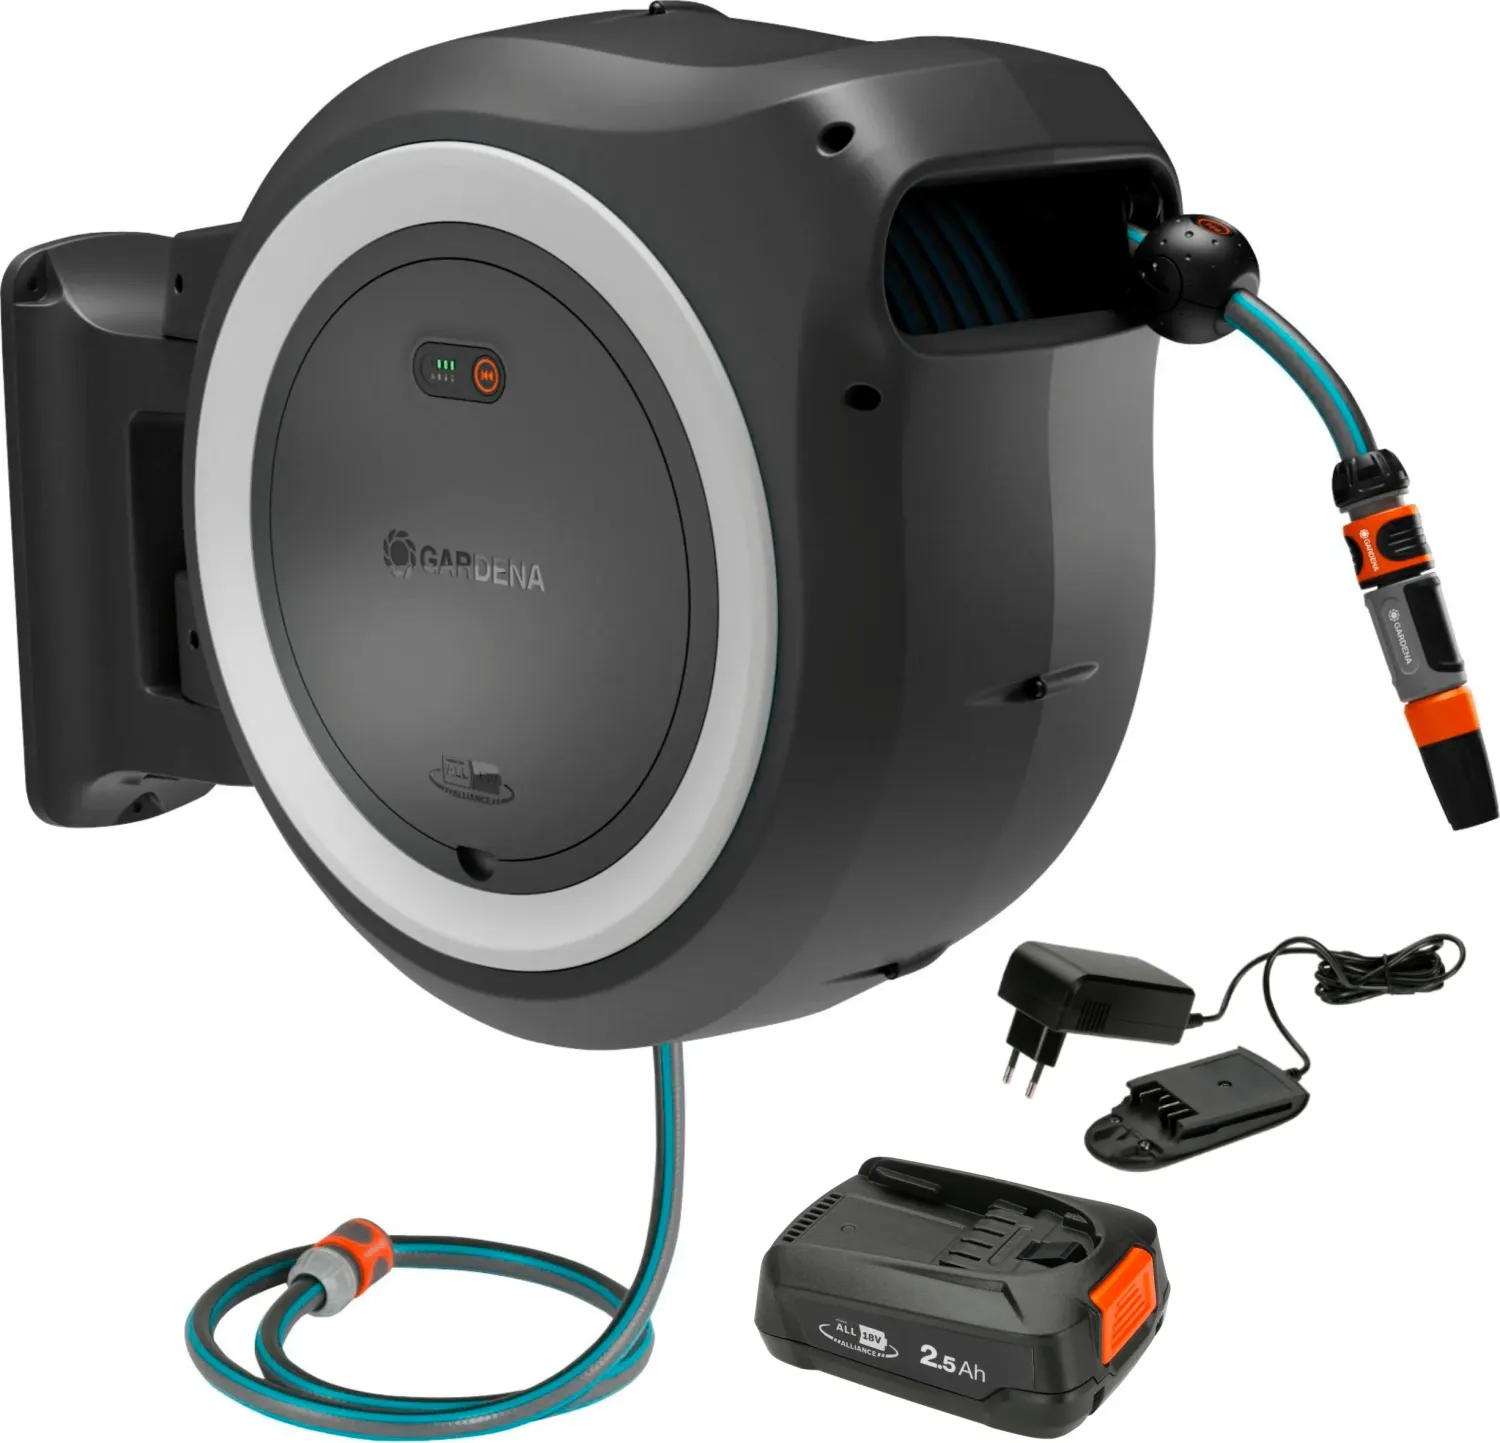
Gardena PowerRoll Manual
0.0 · 0 Ratings
PDF manual · 140 Pages
English



Loading...

12
CAUTION!
Risk of injury due to uncontrolled hose feed.
Do not allow the hose to be pulled in without supervision. Keep
children away from the hose feed.
3.3.1 Pulling out the hose:
1. Hold the hose between the radio stopper and the nozzle.
2. Pull out the hose to the desired length.
3.3.2 Pulling in the hose [Fig. C6]:
1. The hose can be pulled in using the button on the radio stopper or on
the hose box.Remove all obstacles.
2. Make sure that the hose is not stuck.
3. Make sure that the hose can be retracted without much resistance.
4. Do not hold the hose rmly when the hose is being fed in.
5. To start the hose feed, briey press the button on the radio stopper or
on the hose box.
6. To stop the hose feed prematurely, briey press the button on the radio
stopper or on the hose box.
The hose feed stops automatically when the hose has been completely
fed into the hose box.
Note: In order to protect you and the product, the speed of the hose feed slows
down about 2 m in front of the hose box.If this does not work, see 7. TROUBLE-
SHOOTING Slow hose feed does not work.
3.4. Charging the battery [Fig. C1, E1]
Only use a battery charger from the Power For All Alliance: AL 1810 CV
P4A (Art. 14900) or AL 1830 CV P4A, see 8. Accessories/Spare Parts.
WARNING!
Damage caused by incorrect voltage at the power
source.
Use a power source only if its voltage corresponds to the voltage of
the battery charger.
The smart charging process automatically detects the battery’s state of
charge and charges it using the optimum charging current depending on
the battery temperature and battery voltage.
This protects the battery and keeps it fully charged when stored in the
battery charger.
1. Open the battery hatch.
2. Press the button on the hose box and remove the battery from the
battery holder.
3. Close the battery hatch.
4. Connect the battery charger to a power outlet J.
5. Slide the battery H onto the battery charger J.
Note: When the battery charge indicator
Lc
on the battery charger ashes green,
the battery is charging.
When the battery charge indicator on the battery charger lights up green continu-
ously, the battery is fully charged (Charging time, see 8. TECHNICAL DATA).
6. Check the state of charge at regular intervals while charging.
7. When battery H is fully charged, battery H can be disconnected from
battery charger J.
3.5. What the battery charge indicators mean
3.5.1 Battery charge indicator on the battery charger [Fig. O2]:
Flashing battery
charge indica-
tor
Lc
The charge cycle is indicated by the ashing of the battery
charge indicator
Lc
.
Note: The charge cycle is only possible if the battery tempe-
rature is within the permissible charging temperature range
(0–45°C).
Continuous
illumination of
battery charge
indicator
Lc
Continuous illumination of the battery charge indicator
Lc
indicates that the battery is fully charged or that the tem-
perature of the battery is outside the permissible charging
temperature range and therefore cannot be charged. As soon
as the permissible temperature range is reached, the battery
is charged.
If the battery is not plugged in, continuous illumination of the
battery charge indicator
Lc
indicates that the mains plug is
inserted in the power outlet and the battery charger is ready
for operation.
2.2.4 Connecting the hose box to the tap [Fig. A7]:
1. Connect nozzle F to the hose.
2. Turn one of the matching tap connectors G clockwise onto your tap.
3. Connect the connection hose to tap connector G.
2.2.5 Inserting the battery [Fig. A8–A10]:
WARNING!
Risk of short circuit due to water entering the battery
holder.
Always keep the battery hatch closed.
Replace a defective battery hatch immediately before using the pro-
duct (see 5.4. Replacing the battery hatch).
Do not insert a battery if the battery hatch is defective.
Remove the battery when you are not using the product.
1. Open the battery hatch
1
.
2. Insert the battery into the battery holder.
3. Close the battery hatch until it clicks into place
2
.
4. Make sure that the battery is charged, see 3.5 What the battery charge
indicators mean.
3. OPERATION
WARNING!
Impact injury from damaged wall bracket.
Damage to the wall bracket may cause the product to fall and cause
injury to persons and animals below.
Check the wall bracket for damage before pulling the hose in and
out.
Do not use the product if the wall bracket is damaged.
Do not place additional stress on the wall bracket.
Keep persons (especially infants) and pets away from the area
under the hose box.
CAUTION!
Risk of scalding due to heated water from the hose.
The water in the hose may heat up in strong sunlight.
Carefully check the temperature of the water. Do not spray people
with the water.
3.1. Preparation:
Operate the product only at temperatures between 0°C and a maxi-
mum of 40°C.
Use a damp cloth or gloves to grip the hose in strong sunlight.
Check the product for damage.
Do not use a defective product.
Keep children away from the product.
Instruct people on how to operate the product.
If you have problems with the product, see 7. TROUBLESHOOTING.
3.2. Operating the radio stopper [Fig. C7]:
The radio stopper switches to energy-saving mode after approx. 1 hour.
To operate the radio stopper, press the button on the hose box or pull
the hose out slightly.
3.3. Pulling the hose in and out:
CAUTION!
Risk of pulling in and crushing due to automatic hose
feed!
Do not reach into the feed compartment.
Keep ngers, hair, clothing and objects away from the hose and
feed compartment.
Do not hold the hose rmly when the hose is being fed in.
Keep children away from the product.
en
Quick check
I'm not a robot
Incorrect answer, please try again.
Chat with your Gardena PowerRoll manual using AI
Get instant AI answers from your Gardena PowerRoll manual
Ask anything about the Gardena PowerRoll. Answers come from this manual, with the pages they are based on.
PowerRoll Maintenance Schedule
Interval
Maintenance task
In the manual
Regular intervals
Check battery charge while charging
Check the state of charge at regular intervals while the battery is charging.
Show in the manual
(page 12)
Occasional
Clean battery ventilation slots and contacts
Use a soft, clean, dry brush to clean the ventilation slots and contacts of the battery from time to time.
Show in the manual
(page 13)
Occasional
Clean battery charger contacts and plastic parts
Use a soft, dry cloth to clean the contacts and plastic parts of the battery charger.
Show in the manual
(page 13)
Ask a Question
0/1000
Do you recommend PowerRoll?
Yes NoProduct Specification
Diameter
0.51 in (1/2")
Product Description
Search for 67,706 Manuals online


Type-in Brand or Model