
Fantec NVMe31-FastLock Manual
PDF manual · 13 Pages
English



Quick check
Incorrect answer, please try again.
Chat with your Fantec NVMe31-FastLock manual using AI
Get instant AI answers from your Fantec NVMe31-FastLock manual
Ask anything about the Fantec NVMe31-FastLock. Answers come from this manual, with the pages they are based on.
Ask a Question
Do you recommend NVMe31-FastLock?
Yes NoFrequently Asked Questions
It supports M.2 PCIe NVMe drives in 2230, 2242, 2260, and 2280 formats easily without requiring additional adapters or complex mounting solutions.
Is this answer helpful?
The enclosure is compatible with Windows 7, 8, and 10 systems as well as Mac OS version 9.X or higher and Linux 2.4.2 kernels.
Is this answer helpful?
Remove the rear cap by sliding it 5mm, slide the inner mechanism out, align the latch for the drive length, insert the SSD, and apply the thermal pad before closing.
Is this answer helpful?
It uses a USB 3.1 connection via a USB-C port, requiring a compatible USB-C port on the computer for functionality.
Is this answer helpful?
Use Windows Disk Management to initialize the disk as GPT and then create a new simple volume to make it ready for data.
Is this answer helpful?
Protect the product from moisture and direct sunlight, and prevent static discharge during assembly to avoid damaging internal electronics.
Is this answer helpful?
Advantages and Disadvantages
Advantages

- Supports NVMe drives in 2230, 2242, 2260, and 2280 formats easily without adapters.
- Uses USB 3.1 interface for fast data transfer speeds with modern systems.
- Includes thermal pad for better heat dissipation and cooling during operation.
- Sleek black aluminum housing design provides good build quality.
Disadvantages

- Requires manual formatting via disk management after installation is complete.
- Thermal pad must be cut to exact length for proper fit and function.
- USB-C to USB-C cable included, no USB-A adapter provided for older ports.
Product Specification
Form Factor
M.2 2280, M.2 2260, M.2 2242, M.2 2230
Internal Connector
1x M.2 (PCIe 3.0, NVMe)
External Connector
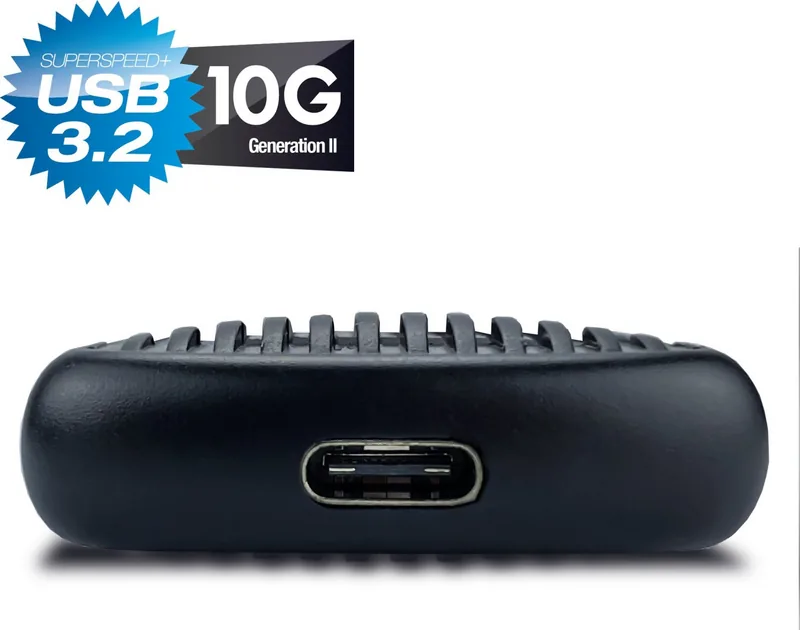
1x USB-C 3.1 (10Gb/s)
RAID Level
N/A
Fan
N/A
Dimensions
4.35x1.56x0.47 in
Weight
0.10 lbs
Color
Black
Features
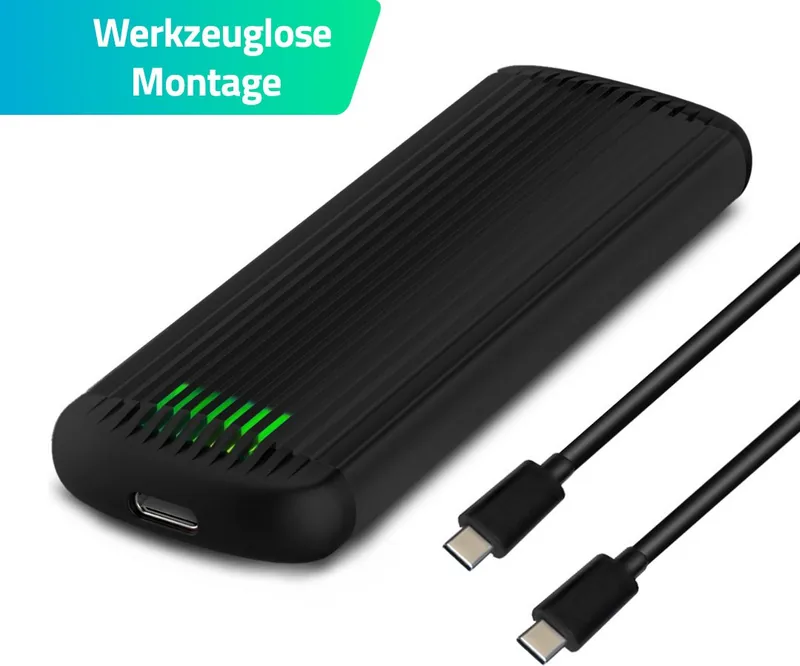
Aluminum housing, incl. USB cable (USB-C)
Manufacturer Warranty
2 years
USB Designation
Link
Product Description
Unlocking Portable Speed with the Fantec NVMe31-FastLock M.2 NVMe SSD Case Black, USB-C 3.1
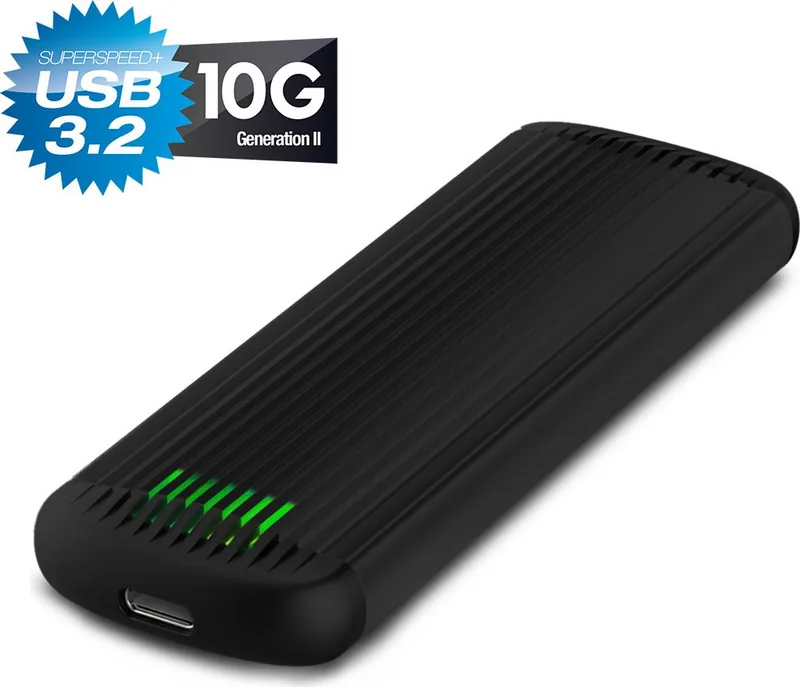
When it comes to expanding your computer storage capabilities quickly and efficiently, portable solutions are always in high demand for professionals and enthusiasts alike. The Fantec NVMe31-FastLock M.2 NVMe SSD Case Black, USB-C 3.1 offers a robust enclosure for upgrading your workflow without buying a new computer. This sleek black aluminum housing allows you to transform a standard M.2 NVMe drive into a high-speed external drive via USB 3.1 connectivity.
Why Choose This Enclosure
Many users struggle with slow external drives that bottleneck performance and waste time. This case changes that by supporting PCIe NVMe protocols directly within a compact shell. It accommodates various drive sizes to suit different needs and form factors. You can fit drives in 2230, 2242, 2260, and 2280 formats easily without needing adapters. The interface ensures broad compatibility with Windows systems from version 7 through 10 and recent Mac OS versions are supported too. Linux users also have options available for integration into their workflows.
Installation Process
Setting up the unit requires attention to detail and patience to ensure everything fits right. First, you remove the rear cap carefully by sliding it 5mm to the side. Next, slide the inner mechanism out completely to access the slot. Align the sliding bar according to your specific SSD length specifications. Insert the drive until it clicks securely into place. A crucial step involves the thermal pad provided in the box. You must cut it to size so it covers the chips without overhang. This helps keep your drive cool during heavy transfers and prevents overheating issues during operation. Ensure the drive does not bounce loosely when clamped under the latch.
Formatting and Usage
Once installed physically, the drive appears unallocated in Windows Disk Management tools initially. You need to initialize it to GPT format for modern use standards. Then create a new simple volume to make it usable for data storage. This makes it ready for use immediately after the process completes. It shows up as a new volume in your file explorer instantly. If you need to remove the drive later, keep the foil remnants to protect the pad for future reassembly.
Safety and Care
Keep the device dry and clean to avoid water damage. Avoid direct sunlight on the aluminum casing to prevent cosmetic damage or heat issues. Always prevent static discharge during installation to protect internal components from electrical damage. Follow these guidelines to ensure longevity of the unit. The package includes the cable and warranty information for peace of mind. Ensure you follow these steps for optimal performance and safety while using this versatile storage solution.
Notes For Users
Store all parts securely to avoid loss during operation. Do not throw away the caps as they are needed for proper sealing. Keep the foil if removing the drive to protect the pad. Check arrow markings for correct assembly orientation every time. This ensures the device remains functional for many years of use.
Search for 67,706 Manuals online


Type-in Brand or Model