
Fantec DB-ALU31A Manual
PDF manual · 1 Pages
English


Quick check
Incorrect answer, please try again.
Chat with your Fantec DB-ALU31A manual using AI
Get instant AI answers from your Fantec DB-ALU31A manual
Ask anything about the Fantec DB-ALU31A. Answers come from this manual, with the pages they are based on.
Ask a Question
Do you recommend DB-ALU31A?
Yes NoFrequently Asked Questions
Open the case using provided screws, align the drive on guide rails, push to main board until SATA connector clicks, secure with screws or fixing pad, then close rear cover.
Is this answer helpful?
Yes, new disks must be formatted before use. Connect via USB, power on, and use Disk Management to initialize as unallocated space.
Is this answer helpful?
Yes, you can use the device horizontally by mounting the enclosed rubber feet at the bottom of the case instead of using the stand.
Is this answer helpful?
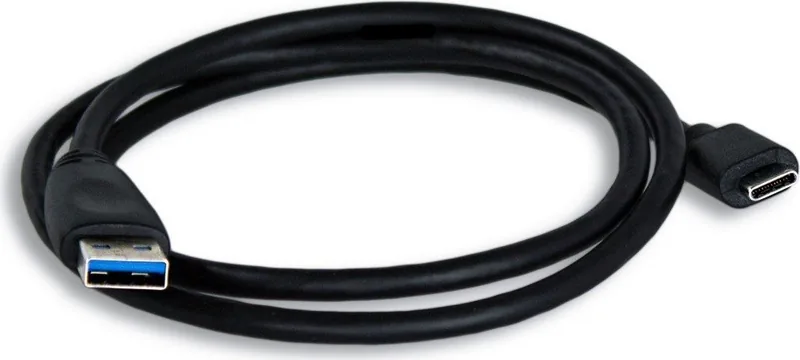
The box contains the enclosure, USB 3.1 cable, power adapter, screws, stand, HDD fixing pad, and rubber feet.
Is this answer helpful?
For warranty processing, please contact your local dealer regarding commercial claims for this product unit.
Is this answer helpful?
Yes, the 3.5-inch aluminum enclosure is designed to dissipate heat effectively during high-load operations.
Is this answer helpful?
Advantages and Disadvantages
Advantages

- Aluminum enclosure provides excellent heat dissipation for high-load operations
- Supports multiple orientations with vertical stand or horizontal rubber feet
- Comprehensive package includes USB 3.1 cable and power adapter
- Simple assembly process with clear guide rails for drive alignment
Disadvantages

- Requires initial formatting for new hard disk drives before use
- May be bulky for small desk setups if used vertically
- Power adapter included separately to mains voltage check required
- Screw installation required which may be tedious for some users
Product Specification
Form Factor
3.5"
Internal Interface
1x SATA 6Gb/s
External Interface
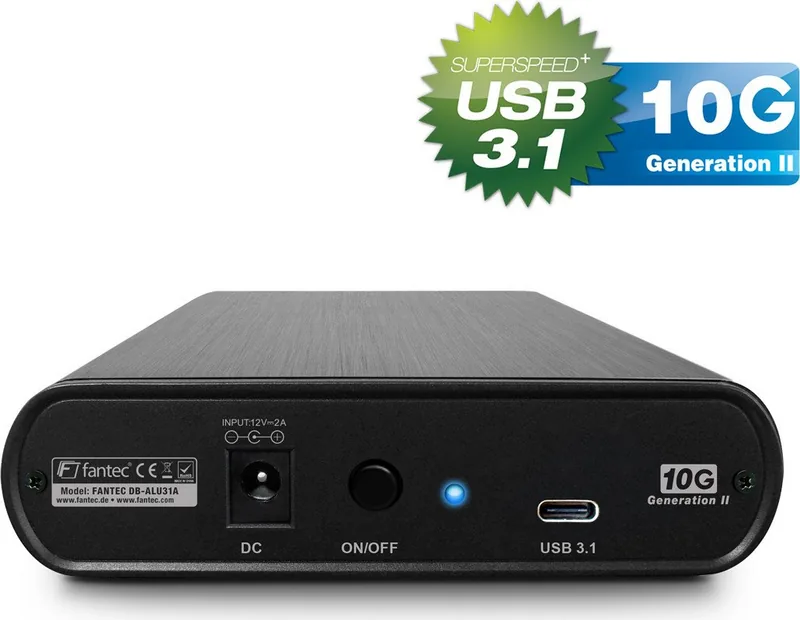
1x USB-C 3.1 (10Gb/s)
RAID Level
N/A
Fan
N/A
Dimensions
7.56" x 4.72" x 1.26"
Weight
1.48 lbs
Color
black
Features
external power supply, aluminum housing, On/Off switch
Manufacturer Warranty
2 years
USB Label
Link
Product Description
Fantec DB-ALU31A Aluminum Enclosure Review
The Fantec DB-ALU31A stands out as a robust storage solution for enthusiasts and professionals alike. Designed as a 3.5-inch aluminum enclosure, it transforms internal hard drives into efficient external units. When setting up your storage infrastructure, referencing the Fantec DB-ALU31A, USB-C 3.1 Manual ensures you maximize performance and longevity. This enclosure supports the latest connectivity standards while maintaining a sleek aesthetic suitable for modern workspaces. The aluminum material provides excellent heat dissipation for high-load operations preventing thermal throttling issues.
Installation and Assembly
Setting up the unit is a straightforward process designed for ease of use and reliability. You begin by opening the case using the screws provided in the included accessories pack. Once inside, you align the drive along the guide rails and push it toward the main board until the SATA connector clicks securely into place. Securing the drive is critical for stability during operation. You can either use the included screws or the dedicated HDD fixing pad to lock the component in position. This prevents unnecessary vibrations that might affect data integrity over long periods of usage. Finally, replace the rear cover and tighten the screws to seal the enclosure properly for protection. The assembly process takes minutes, ensuring immediate readiness for data transfer tasks starting right away. Ensure all screws are tightened completely to avoid loose parts during movement.
Usage Versatility
One of the standout features is the ability to adjust the physical orientation of the device easily. The included stand allows for a vertical position, keeping the device off desks and saving valuable space in crowded environments. Alternatively, you can flip it horizontally by attaching the rubber feet to the bottom of the case firmly. This flexibility makes it suitable for various setups, whether on a shelf or under a monitor stand for easy viewing. The package includes everything needed for a clean installation without needing extra purchases from other stores. You receive a USB 3.1 cable, power adapter, and necessary tools for the job inside.
Formatting and Drive Management
Before utilizing a new hard disk, formatting is strictly required for compatibility with systems. Connect the enclosure to your PC via the USB interface and turn the power on immediately to detect hardware. Access your system settings to manage disk storage partitions and volumes properly. You will see the external HDD as unallocated space in the standard disk management tool window. Follow the prompts to initialize and partition the drive correctly for your specific needs. This step is essential for data visibility and system integration across different environments effectively. Proper configuration ensures reliable access to your files without interruption or errors.
Notes
New drives require formatting before any first use for data safety. Always use power adapters included with the device for optimal voltage levels and safety. Contact local dealers for warranty claims regarding this hardware unit for support. Proper cable management helps maintain durability during transport and storage periods. Ensure the SATA connector is well connected during the setup phase for stability. Do not attempt to open the sealed case while the unit is powered on. Check the power adapter compatibility before plugging into mains voltage.
Search for 67,706 Manuals online


Type-in Brand or Model
Michael Schmidt
7 months ago
Is the cooling sufficient with the aluminum case and does this enclosure fit all 2.5 inch drives securely?
Manual.ly
7 months ago
The aluminum chassis is designed to dissipate heat effectively during operation. Installation follows the guide with rails for easy SATA power connection. It supports standard 2.5-inch SATA drives, including models like WD Red. Please ensure your drive is 2.5 inches to fit the tray correctly. We advise using the optional case for transport protection.