
Enermax ETS-T50 AXE Manual
PDF manual · 2 Pages
English



Quick check
Incorrect answer, please try again.
Chat with your Enermax ETS-T50 AXE manual using AI
Get instant AI answers from your Enermax ETS-T50 AXE manual
Ask anything about the Enermax ETS-T50 AXE. Answers come from this manual, with the pages they are based on.
Ask a Question
Do you recommend ETS-T50 AXE?
Yes NoFrequently Asked Questions
The installation instructions cover Intel LGA775, LGA115X, LGA1366, and a separate flow for Intel LGA2011/2066. It also includes AMD installation steps for common AM and FM series sockets listed in the guide. Use the section that matches your motherboard.
Is this answer helpful?
Yes. The guide instructs users with Intel LGA2011/2066 to skip ahead to the dedicated step for that platform. This ensures the correct mounting plate and screw arrangement before tightening the cooler.
Is this answer helpful?
Apply thermal grease evenly across the CPU surface using the provided spreader. The guide also instructs you to remove the protective film from the cooler base before mounting, so the contact surface is ready for heat transfer.
Is this answer helpful?
The cooler fan connects with a 4-pin PWM plug to the motherboard CPU FAN header. The instructions also note that installing the fan and air guide in the illustrated orientation helps achieve the best airflow.
Is this answer helpful?
If your motherboard supports addressable RGB (ADD) headers, connect the ARGB sync cable to the compatible header. The guide references the +5V connection, allowing the lighting to be controlled through motherboard software and settings.
Is this answer helpful?
Yes. The guide includes a supplement step that lets you rotate the air guide to set the preferred airflow direction. This is designed to help you align airflow with your case fan layout.
Is this answer helpful?
The guide references a typical set of mounting components: back plate, stand-offs, mounting plates for Intel and AMD, position screws, washers, nuts, thermal grease, and the fan plus air guide. Follow the step sequence to match your CPU socket.
Is this answer helpful?
Advantages and Disadvantages
Advantages

- Covers multiple CPU sockets including Intel LGA775/115X/1366 and Intel LGA2011/2066, plus AMD mounting steps.
- Structured hardware mounting: back plate, stand-offs, mounting plates, screws, and nuts for stable installation.
- Guides thermal paste application and stresses removing the protective film from the cooler base.
- Includes airflow tuning via a rotatable air guide for better airflow direction control.
- Supports ARGB motherboard sync through an addressable RGB header and a dedicated ARGB sync connection.
Disadvantages

- Installation differs by platform, so you must select the correct socket steps to avoid mounting mistakes.
- Best performance depends on proper fan and air guide orientation, which requires attention during setup.
- You need to remove protective films and apply thermal grease evenly, leaving little room for shortcuts.
Product Specification
Design
Tower Cooler
AMD Socket
AM5 (Note the hint), AM4, AM2/AM2+/AM3/AM3+, FM1/FM2/FM2+
AMD Socket Note
AM5 Socket Mounting Kit may not yet be included (included from 09/2022), AM5 Socket Mounting Kit available from manufacturer
Product Description
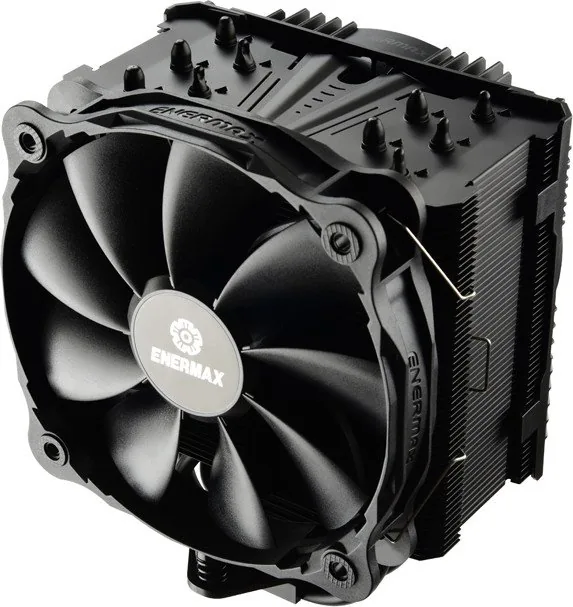
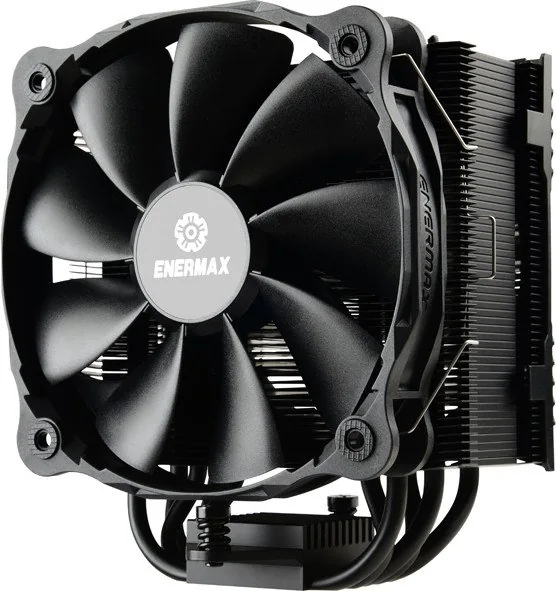
Enermax ETS-T50 AXE: Clean, Flexible Cooling with ARGB Sync
The Enermax ETS-T50 AXE Manual focuses on getting a reliable CPU cooler installation right the first time, with clear steps and a toolkit designed for multiple platforms. Built around an air-cooling approach, this cooler ships with the mounting hardware you need to secure it firmly, apply thermal paste properly, and connect both power and lighting so your setup looks and performs as intended.
What it does well
A standout feature in the installation flow is flexibility across socket types. The guide covers Intel platforms such as LGA775, LGA115X, and LGA1366, and also includes a dedicated path for Intel LGA2011/2066. For AMD, it provides mounting steps for common AM-series and FM-series sockets. In practice, this means fewer headaches when you want to upgrade a system on a supported motherboard.
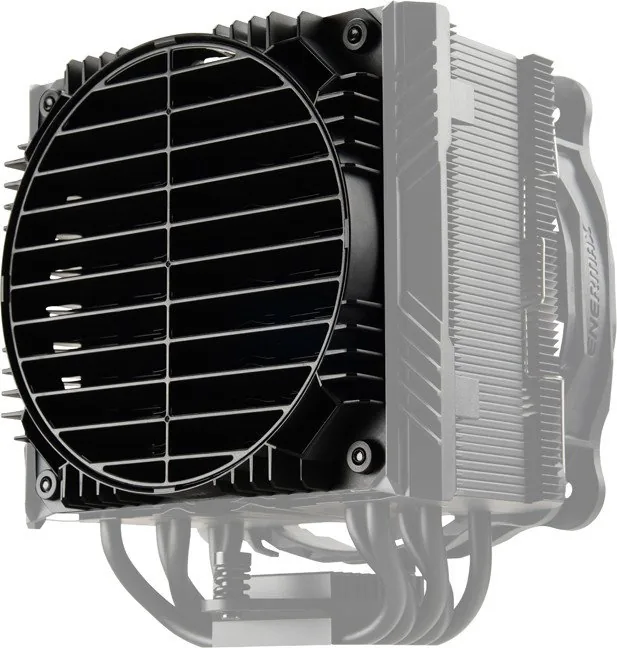
The process emphasizes airflow control through an air guide and a 360-degree adjustment option. You start by mounting the cooler hardware, then set the fan and air guide orientation so the airflow direction matches your chassis layout. For best results, the guide instructs you to connect the fan using the 4-pin PWM header and to remove the fan and air guide protective handling steps before final installation.
Installation highlights (what you will handle)
You will install a back plate, add stand-offs, and attach the correct mounting plates for your CPU socket. Thermal grease is provided, with instructions to apply it evenly using the included spreader and to remove the protective film from the cooler base before tightening anything down.
Once the cooler is seated and spring screws are tightened, the next step is connectivity. The cooler fan uses a 4-pin PWM connection to the motherboard CPU FAN header. Lighting support is handled separately: for motherboards with an addressable RGB header, the guide explains how to connect the ARGB sync cable (with the +5V reference) so the cooler lighting can be controlled through your motherboard.
Key results
- Supports multiple Intel and AMD sockets with clear, platform-specific mounting guidance.
- Includes practical thermal paste steps: even application and removal of protective film before mounting.
- Uses a fan air guide with 360-degree direction adjustment for airflow alignment.
- Enables ARGB lighting synchronization via an addressable RGB header.
Notes
- If you are on Intel LGA2011/2066, follow the guide steps that skip ahead to the correct mounting procedure.
- Pay attention to fan and air guide orientation, since airflow direction is part of the cooling strategy.
Search for 67,706 Manuals online


Type-in Brand or Model