
Enermax ETS-F40-FS Manual
PDF manual · 2 Pages
English



Quick check
Incorrect answer, please try again.
Chat with your Enermax ETS-F40-FS manual using AI
Get instant AI answers from your Enermax ETS-F40-FS manual
Ask anything about the Enermax ETS-F40-FS. Answers come from this manual, with the pages they are based on.
Ask a Question
Do you recommend ETS-F40-FS?
Yes NoFrequently Asked Questions
The ETS-F40 mounting instructions list Intel LGA 1366, LGA 1200, LGA 115X, LGA 775, LGA 2011, and LGA 2066. Verify the exact socket on your motherboard before selecting hardware.
Is this answer helpful?
Yes. Thermal grease is included. Apply it evenly to the CPU surface before seating the cooler, and remove the protective film from the cooler base first.
Is this answer helpful?
Attach the fan to the heatsink using the supplied fan clips, then connect its 4-pin cable to the motherboard CPU fan power header. Confirm the fan direction before finalizing the installation.
Is this answer helpful?
Yes, one AMD installation method uses a compatible motherboard's stock back plate. Remove the original retention hardware, return the back plate to position, add the stand-offs, and secure the AMD mounting plate.
Is this answer helpful?
For Intel LGA 2011 and 2066, use the dedicated LGA 2011/2066 screws directly in the motherboard. Then install the Intel mounting plates and secure them with the supplied nuts.
Is this answer helpful?
Tighten the screws carefully and evenly until you feel slight resistance. Do not force them beyond that point, as excessive tightening can place unnecessary pressure on the mounting system.
Is this answer helpful?
Advantages and Disadvantages
Advantages

- Supports multiple Intel sockets, including LGA 1366, 1200, 115X, 775, 2011, and 2066.
- Provides dedicated AMD mounting options, including use with a compatible AMD stock back plate.
- Includes thermal grease, a fan, fan clips, back plate hardware, and mounting components.
- Uses a 4-pin fan connector for connection to the motherboard CPU fan header.
- Separate mounting procedures help accommodate differing Intel and AMD motherboard layouts.
Disadvantages

- Installation requires careful selection and alignment of socket-specific screws and back plate holes.
- AMD installation can differ depending on whether the supplied or stock motherboard back plate is used.
- The mounting process includes several small parts that should be organized before installation.
- Fan airflow direction must be checked manually before the fan is clipped to the heatsink.
- Overtightening mounting screws may risk improper installation or unnecessary pressure.
Product Specification
Design
Tower cooler
AMD Socket
AM5 (see note), AM4, AM2/AM2+/AM3/AM3+, FM1/FM2/FM2+
AMD Socket Note
AM5 socket mounting kit may not yet be included (included from 09/2022); AM5 socket mounting kit available from the manufacturer
TDP Rating
200 W
Product Description
Enermax ETS-F40 - Read, Download & Print Free
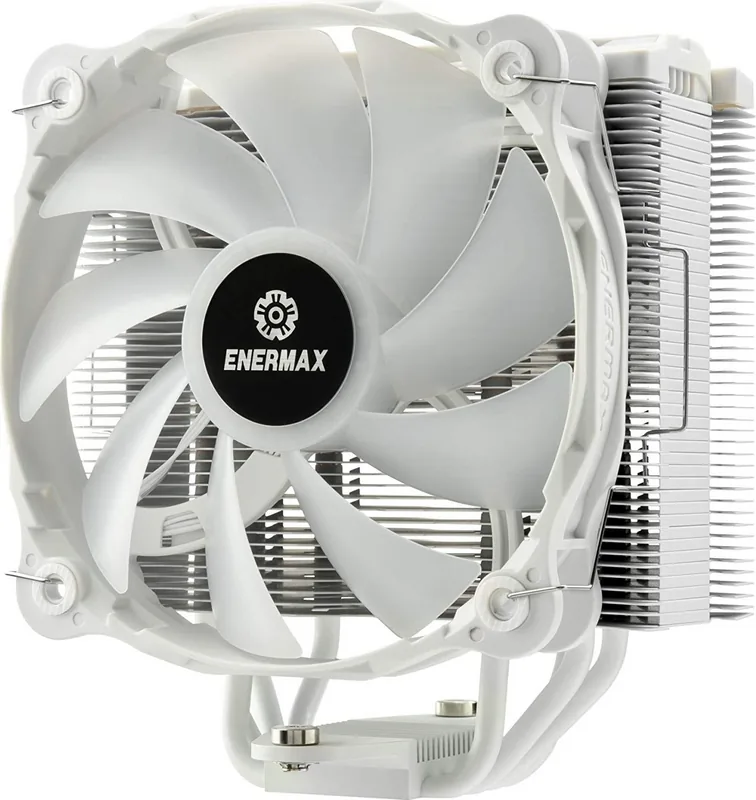
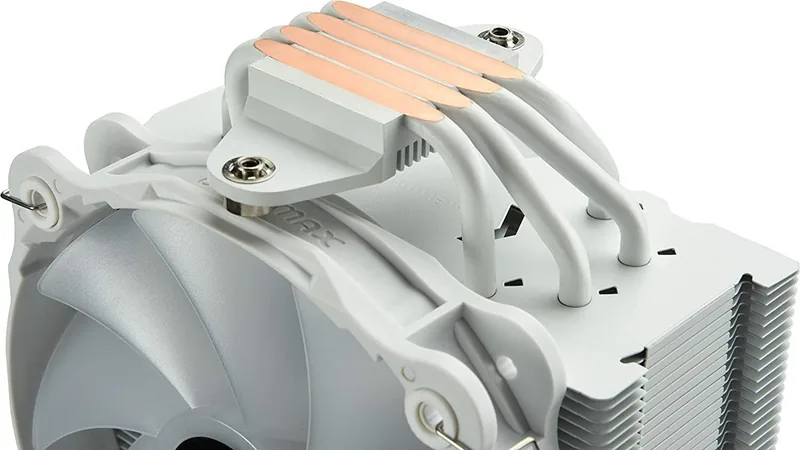
The Enermax ETS-F40 is a CPU air cooler designed for builders who want a structured mounting approach across a range of Intel and AMD platforms. Its package centers on the heatsink, a single fan, fan clips, thermal grease, and dedicated mounting hardware. The included parts are arranged to support different socket layouts, helping users match the cooler to their motherboard before installation begins.
Flexible Intel and AMD Mounting
For Intel systems, the ETS-F40 provides hardware for LGA 1366, LGA 1200, LGA 115X, LGA 775, and LGA 2011/2066 platforms. Standard Intel installations use a back plate, position screws, washers, stand-offs, mounting plates, and nuts. LGA 2011/2066 installations follow a different route, using the dedicated screws that attach directly to the motherboard before the mounting plates are secured.
AMD support is handled in two ways depending on the motherboard setup. One method uses the supplied back plate, position screws, washers, stand-offs, an AMD mounting plate, and nuts. Another method works with the AMD stock back plate supplied with a compatible motherboard. In that setup, the original retention hardware is removed, stand-offs are fitted to the existing back plate, and the AMD mounting plate is secured with four mounting screws.
Installation Essentials
A careful installation starts with selecting the correct holes on the back plate for the CPU socket. Position screws must align accurately before washers and stand-offs are installed. Once the mounting plate is in place, the heatsink can be seated on the processor and tightened gradually until light resistance is felt. This measured approach helps create stable contact without applying excessive force.
Thermal grease is included for the CPU contact surface. Apply it evenly and remove the protective film from the cooler base before mounting. The fan attaches to the heatsink with four clips, while its 4-pin connector plugs into the motherboard's CPU fan header. Fan direction matters, so plan airflow before securing the clips.
A Practical Choice for System Builders
Enermax ETS-F40 - Read, Download & Print Free highlights the key steps and components needed to prepare this cooler for a compatible system. With separate Intel and AMD hardware paths, a 4-pin fan connection, and supplied thermal grease, it offers a complete installation-oriented package for users replacing or assembling a CPU cooling setup.
Notes
- Confirm motherboard socket compatibility before beginning.
- Keep the AMD stock back plate if your installation method requires it.
- Tighten mounting screws evenly and avoid overtightening.
- Check that the fan airflow direction suits the case layout.
Search for 67,706 Manuals online


Type-in Brand or Model