
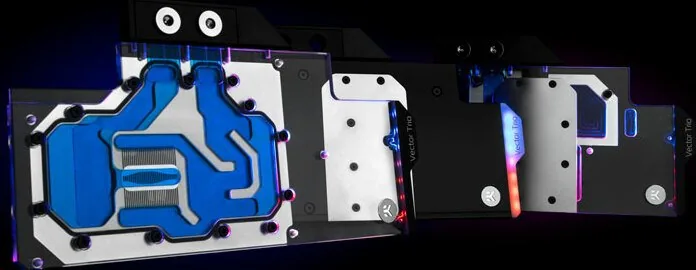
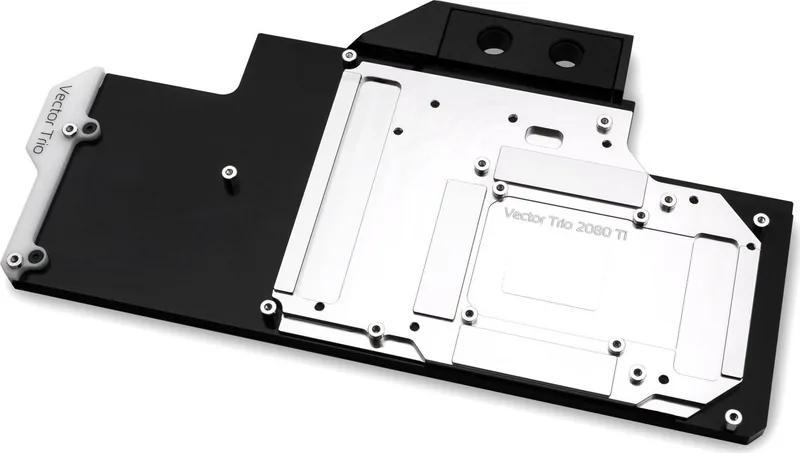
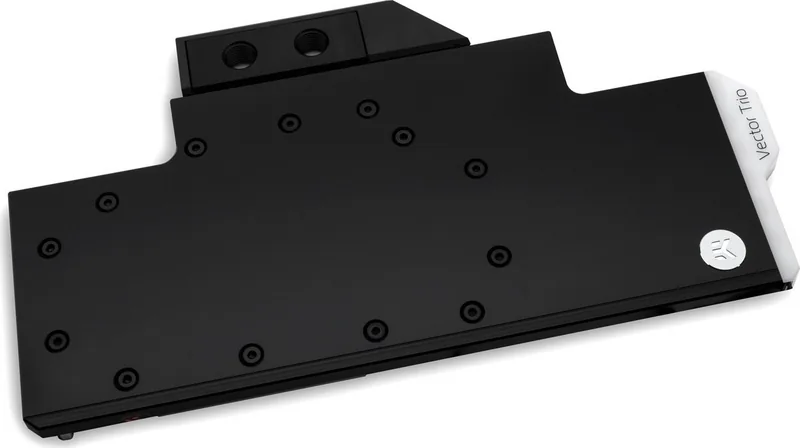
EK Water Blocks EK-Quantum Vector Trio RTX 2080 Ti Manual
PDF manual · 3 Pages
English



Quick check
Incorrect answer, please try again.
Chat with your EK Water Blocks EK-Quantum Vector Trio RTX 2080 Ti manual using AI
Get instant AI answers from your EK Water Blocks EK-Quantum Vector Trio RTX 2080 Ti manual
Ask anything about the EK Water Blocks EK-Quantum Vector Trio RTX 2080 Ti. Answers come from this manual, with the pages they are based on.
Ask a Question
Do you recommend EK-Quantum Vector Trio RTX 2080 Ti?
Yes NoFrequently Asked Questions
The guidance states the product is intended for installation only by expert users. It recommends consulting a qualified technician for installation. If installed incorrectly, it may damage your equipment. Follow the order of steps carefully, handle the GPU assembly gently, and verify thermal contact before finalizing the mount.
Is this answer helpful?
The installation guidance recommends removing the graphics card from the computer to create the safest mounting environment. This reduces the chance of accidental strain on the PCB, connector damage, or misalignment during the block installation. After the block is mounted, it also advises careful handling due to the card being heavier than with the stock cooler.
Is this answer helpful?
Thermal paste supports transfer between the water block and the GPU chip, while thermal pads complete the thermal path to surrounding VRM components. The instructions recommend cleaning the PCB thoroughly, applying EK-TIM Ectotherm in a cross pattern, and placing the correct pad thickness in the correct VRM locations after removing the foil from both sides.
Is this answer helpful?
The guidance suggests temporarily removing the water block to check for uniform surface contact. Pay special attention to the VRM section. If contact is not satisfactory, re-check thermal pad thickness and placement. For persistent issues, the manual advises contacting EKWB support.
Is this answer helpful?
The installation notes warn that when using connectors other than EK compression fittings, you must pay special attention to the G1/4 male thread length. It states that 5 mm is the maximum allowed G1/4 thread length.
Is this answer helpful?
Connect the 3-pin connector from the water block D-RGB LED to the motherboard D-RGB header using the correct pin layout: +5V, G, R, B. The connector includes an arrow that must align with the +5V line on the motherboard header. Incorrect orientation can damage the motherboard or LED.
Is this answer helpful?
The guidance recommends using a plastic washer under each screw for mounting. However, if the washer is already present on the circuit board (typically around the four GPU core screw holes), additional washers are not necessary.
Is this answer helpful?
Advantages and Disadvantages
Advantages

- Clear, step-by-step preparation for removing cooler and backplate before mounting.
- Guidance emphasizes correct thermal paste and thermal pad placement for GPU and VRM coverage.
- Contact-check instructions help confirm uniform surface engagement before final mounting.
- D-RGB connection instructions reduce the risk of wiring mistakes.
- Compatibility notes recommend EK fittings and specify practical setup cautions.
Disadvantages

- Designed for expert users and involves significant disassembly risk.
- Improper force or alignment can crack chip dies or impair thermal contact.
- Thermal pad thickness, trimming, and protective foil removal must be done precisely.
- Fitting installation has constraints, including careful attention to G1/4 thread length.
Product Specification
Type
GPU
Connections
G1/4"
Lighting
LED (RGB)
Features
Voltage regulators co-cooled (GPU)
Product Description
EK Water Blocks Quantum Line EK-Quantum Vector Trio RTX 2080 Ti Manual
The EK Water Blocks Quantum Line EK-Quantum Vector Trio RTX 2080 Ti Manual style installation guidance brings clarity to building a cleaner, cooler custom loop for your GeForce RTX 2080 Ti. This EK-Quantum Vector Trio water block is designed to cover the GPU core and the surrounding VRM area, helping you keep both core temperature and power circuitry under control when gaming, rendering, or running sustained workloads.
Built around a precise mounting workflow, the process emphasizes correct preparation before the block ever touches the card. You start by removing the factory backplate and stock cooler, unplugging any fan connectors once the housing comes away. From there, the GPU PCB must be cleaned thoroughly to remove old thermal compound residues using non-abrasive cloth and denatured alcohol. A careful application of the included thermal grease (recommended in a cross pattern) supports stable thermal transfer.
Cooling performance also depends on the thermal pads. The package includes pads that are pre-cut, but some may require trimming so the right pad thickness reaches each VRM component. You must remove the protective foil from both sides of the pads, then place them on the PCB according to their designated sizing (including 0.5 mm for memory IC areas and 1.0 mm for MOSFET-related regions). This attention to pad coverage is critical for even contact and consistent temperatures.
Mounting follows a controlled alignment approach: position the block with preinstalled standoffs, align PCB mounting holes, and tighten the screws in an outward pattern. EKWB specifically advises using a plastic washer under each screw, unless washers are already present on the card.
After installation, you verify contact by temporarily re-checking the block seating, paying special attention to the VRM zone. Once fitted, you connect the cooling loop using G1/4 threaded fittings, with EK fittings recommended. If you cap unused ports, use the included G1/4 plugs or equivalents. For systems with lighting, the D-RGB LED header must be connected using the correct pin order (+5V, G, R, B) to avoid damage.
Notes
- This kind of installation is intended for expert users only.
- EKWB recommends checking their site for updates to terms and guidance.
- Avoid excessive force, since chip dies can crack.
Key takeaways (most important results)
- Even thermal pad placement improves VRM coverage for lower hotspot risk.
- Correct screw tightening and washer use supports stable GPU-core contact.
- Verified mounting contact helps prevent throttling from poor thermal transfer.
- Correct G1/4 fitting setup and port capping keep the loop leak-safe.
- Proper D-RGB pinout selection protects the motherboard and LED strip.
Search for 67,706 Manuals online


Type-in Brand or Model