
EK Water Blocks EK-Quantum Inertia D5 PWM D-RGB Manual
PDF manual · 11 Pages
English



Quick check
Incorrect answer, please try again.
Chat with your EK Water Blocks EK-Quantum Inertia D5 PWM D-RGB manual using AI
Get instant AI answers from your EK Water Blocks EK-Quantum Inertia D5 PWM D-RGB manual
Ask anything about the EK Water Blocks EK-Quantum Inertia D5 PWM D-RGB. Answers come from this manual, with the pages they are based on.
Ask a Question
Do you recommend EK-Quantum Inertia D5 PWM D-RGB?
Yes NoFrequently Asked Questions
The package typically includes the EK-Quantum Inertia pump top, Allen keys (2 mm and 2.5 mm), O-ring gasket (60x3), locking ring, rubber damper, pump holder, M3x12 and M4x10 screws, M4 PVC washers, and a protective sticker. Contents may vary; some screws are universal and may not be needed.
Is this answer helpful?
Fit the 60x3 O-ring onto the D5 PWM G2 motor, insert the motor into the pump top, secure with the locking ring, place the rubber damper into the pump holder, push the assembly onto the motor, and fasten using the supplied M3x12 screws with the 2 mm Allen key.
Is this answer helpful?
The pump supports multiple mounting orientations but must never be mounted upside down; doing so can cause the pump to run dry and fail. Use the EK-Loop UNI bracket or chassis mounting points as recommended, and drill mounting holes if necessary following the supplied sticker template.
Is this answer helpful?
Connect the 4-pin Molex directly to your PSU to provide constant power. Attach the 4-pin PWM connector to a motherboard or controller header to enable speed control and RPM reporting. Without PWM connection, the pump will run at full speed.
Is this answer helpful?
Plug the pump’s 3-pin D-RGB connector into a +5V D-RGB motherboard header, ensuring the arrow on the connector aligns with the +5V pin. Incorrect polarity can damage the LEDs or motherboard. Verify your motherboard header pinout before connecting.
Is this answer helpful?
Use G1/4 fittings; EK recommends EK-Quantum Torque fittings. Avoid G1/4 fittings or barbs longer than 5 mm. Secure tubing with hose clamps or equivalent to ensure leak-free connections and use corrosion-inhibiting coolants.
Is this answer helpful?
Perform a 24-hour leak test by powering only the pump from an external PSU while the rest of the system is off. Allow trapped air to purge, monitor coolant levels, inspect for leaks, fix any issues, and ensure components are dry before powering the full system.
Is this answer helpful?
Advantages and Disadvantages
Advantages

- Reliable D5 PWM motor with external PWM control for variable pump speed.
- Integrated D-RGB lighting for customizable visual effects with standard +5V header.
- Versatile mounting options: chassis-mounted or EK-Loop UNI bracket compatible.
- Includes necessary installation hardware (O-ring, locking ring, damper, screws).
- G1/4 ports compatible with EK fittings and many industry-standard components.
Disadvantages

- Not intended for novice installers; improper setup may cause damage.
- Must not be mounted upside down—limits mounting orientations in some builds.
- Requires direct PSU Molex connection for power in addition to PWM control.
- Warning against G1/4 fittings longer than 5mm may limit some third-party fittings.
- D-RGB connector polarity must be correct or risk damaging motherboard/LEDs.
Product Specification
Type
Pump 12V, Pump attachment for D5
Flow rate
396.26 gal/h
Delivery head
12.80 ft
Connections
G1/4"
Lighting
LED (RGB), 3-Pin ARGB (+5V/DATA/GND)
Features
adjustable, speed monitoring, incl. bracket
Manufacturer's warranty
2 years
Product Description
EK Water Blocks Quantum Line EK-Quantum Inertia D5 PWM D-RGB Manual
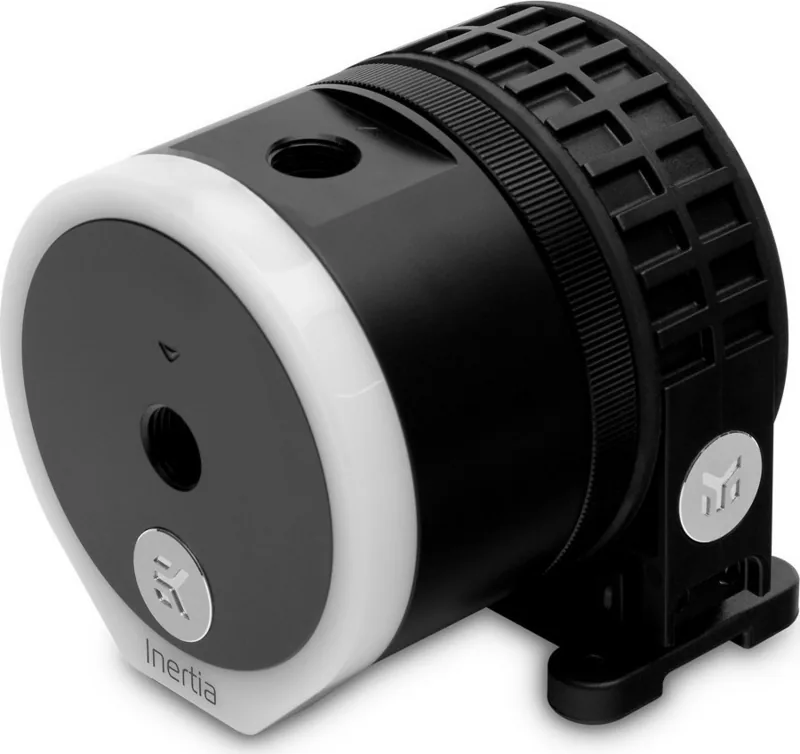
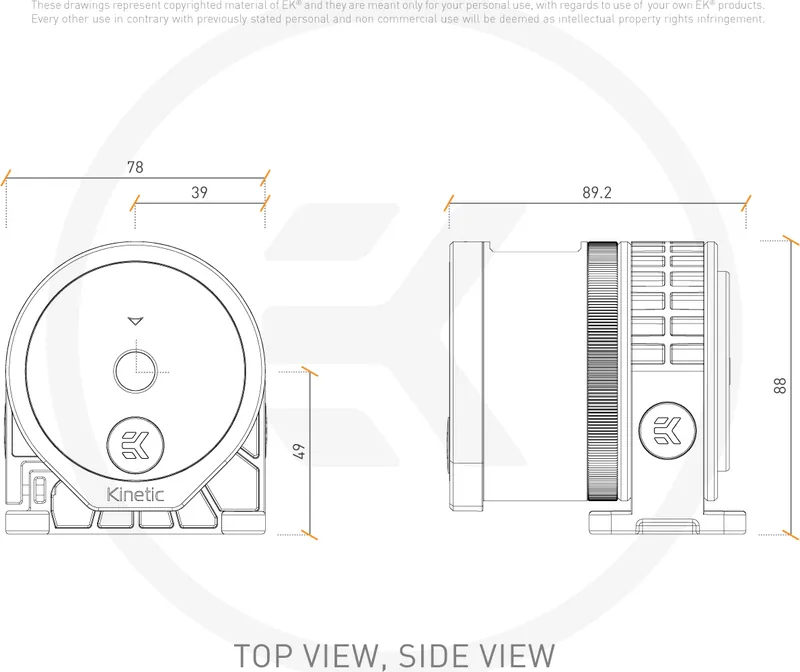
The EK-Quantum Inertia D5 PWM D-RGB is a premium pump assembly designed for custom liquid-cooling loops, combining the trusted D5 PWM motor with a stylish D-RGB pump top and versatile mounting options. Built for experienced builders, this unit emphasizes reliable performance, flexible installation, and visual customization. It ships with essential accessories including Allen keys, mounting screws, PVC washers, an O-ring, locking ring, rubber damper, and a pump holder to simplify assembly.
Installation begins by fitting the supplied 60x3 O-ring to the D5 PWM G2 motor, sliding the motor into the pump top, and securing it with the locking ring. A rubber damper fits into the pump holder to reduce vibration; the assembled motor and holder are fastened using M3x12 screws. The pump can be mounted directly to a chassis or to an EK-Loop UNI Pump Reservoir Bracket (sold separately) using M4 screws and PVC washers. EK provides a sticker to mark hole centers if drilling is required.
The unit supports many mounting orientations but must not be mounted upside down, as that can cause the pump to run dry and fail prematurely. The pump top uses G1/4 ports: the central front-facing G1/4 is the inlet (suction) and a side G1/4 is the outlet. EK recommends using EK-Quantum Torque fittings and warns against G1/4 fittings longer than 5 mm. Hose clamps or equivalents are advised to secure tubing.
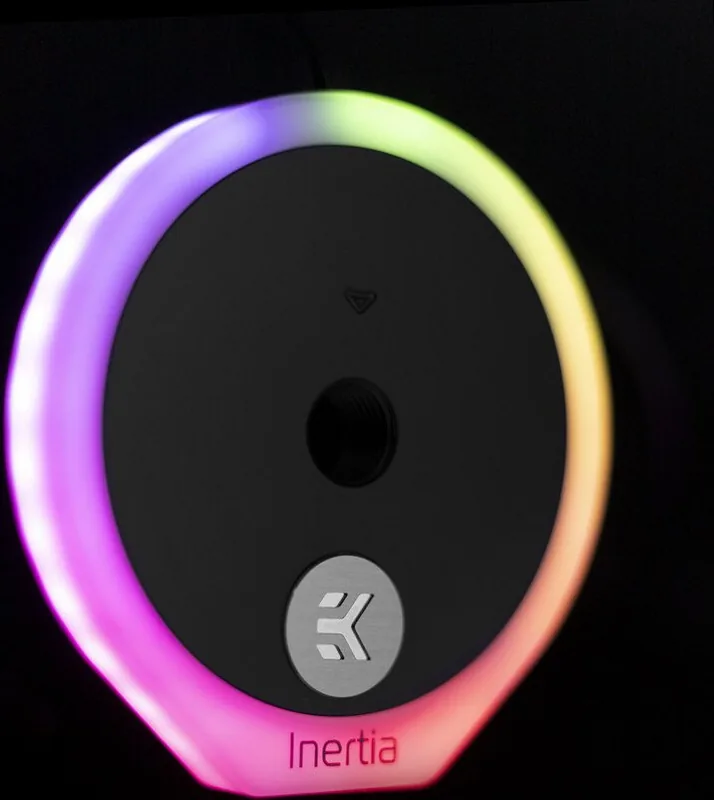
For power and control, the pump requires a 4-pin Molex connection directly to the PSU to run, while a 4-pin PWM cable can be connected to a motherboard or controller to control pump speed and report RPM. Without PWM connection, the pump defaults to full speed. D-RGB lighting connects via a 3-pin +5V D-RGB header; the arrow on the connector must align with the +5V pin on the motherboard to avoid damage.
Before powering the full system, EK strongly recommends a 24-hour leak test: run the pump from an external PSU with only the pump powered, watch coolant levels as trapped air escapes, and inspect for leaks. Correct any issues and ensure all components are dry prior to powering other system parts. Use corrosion-inhibiting coolant and compatible fittings to maximize longevity. For technical assistance and updates, consult EK’s support resources.
Notes
- Designed for experienced users; improper installation can damage equipment.
- Use quality, corrosion-inhibiting coolant.
- Never mount the pump upside down.
- Ensure correct D-RGB connector polarity (+5V) to avoid damage.
- Perform a 24-hour leak test before full system power-up.
Search for 67,706 Manuals online


Type-in Brand or Model