
EK Water Blocks EK-AIO LGA1700 Manual
PDF manual · 20 Pages
English



Quick check
Incorrect answer, please try again.
Chat with your EK Water Blocks EK-AIO LGA1700 manual using AI
Get instant AI answers from your EK Water Blocks EK-AIO LGA1700 manual
Ask anything about the EK Water Blocks EK-AIO LGA1700. Answers come from this manual, with the pages they are based on.
Ask a Question
Do you recommend EK-AIO LGA1700?
Yes NoFrequently Asked Questions
This kit is compatible with the EK-AIO 120/240/280/360 D-RGB, EK-AIO Basic 240/360, and EK-AIO Elite 280/360 models.
Is this answer helpful?
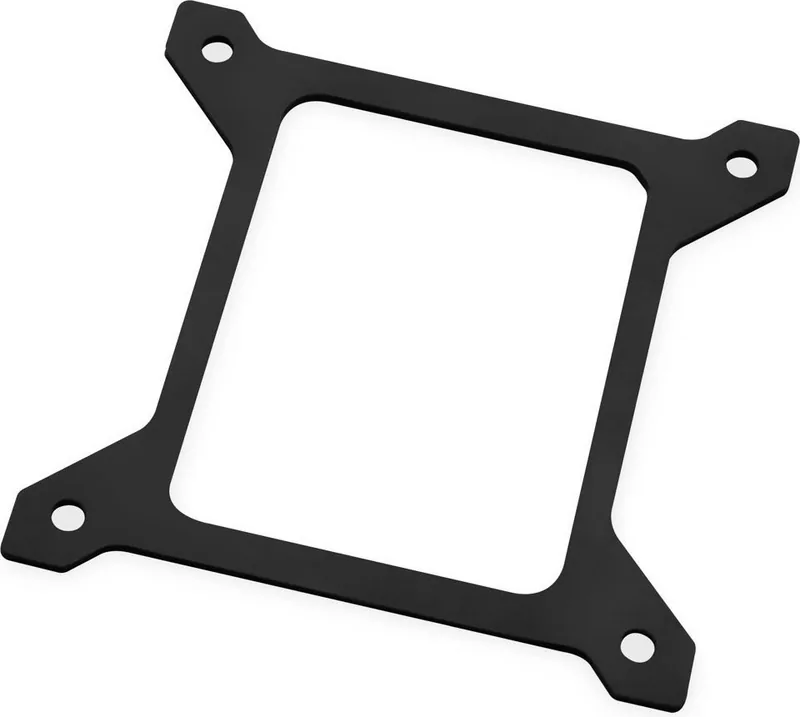
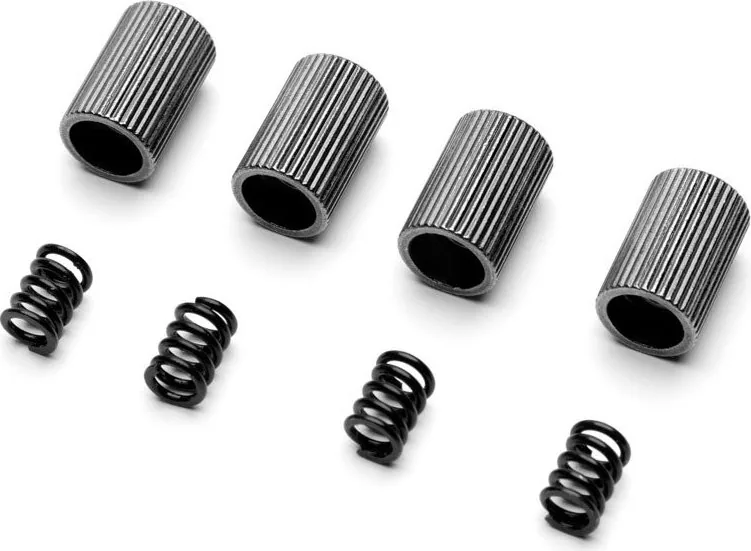
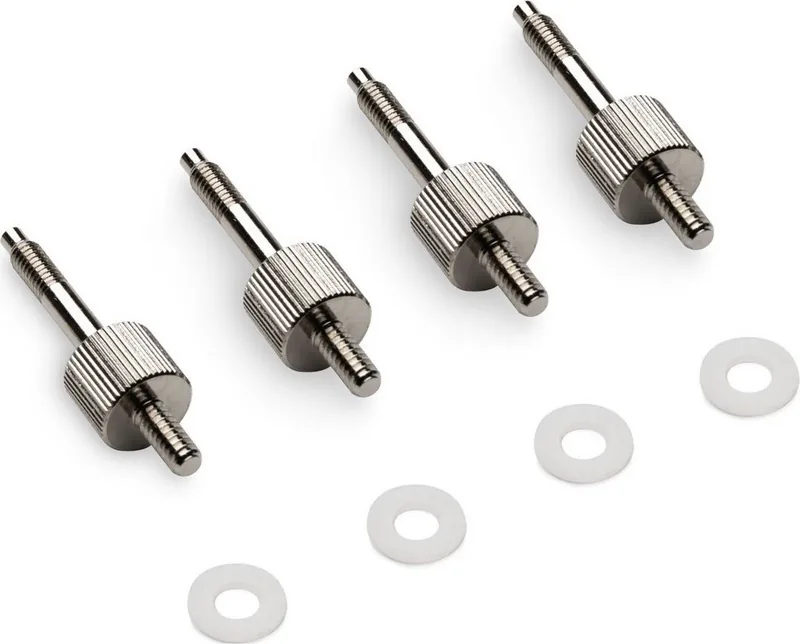
The package contains one tube of Thermal Grizzly Hydronaut thermal paste, four washers, four mounting screws, one backplate, one rubber gasket, four springs, and four mounting nuts.
Is this answer helpful?
Yes, if your PC case does not have a cutout behind the CPU area, you must remove the motherboard to access the back of the board for installing the backplate.
Is this answer helpful?
EK recommends applying the paste in a small blob in the center or using a cross-line method on the clean Integrated Heat Spreader (IHS) for best results.
Is this answer helpful?
Yes, it is mandatory to place a 0.8mm plastic washer underneath each thumb screw to ensure proper spacing and prevent damage to the motherboard.
Is this answer helpful?
No, this retrofit kit is designed exclusively for the specified EK-AIO series and may not fit other brands or models.
Is this answer helpful?
Advantages and Disadvantages
Advantages

- Compatible with multiple popular EK-AIO models including D-RGB and Elite series
- Includes high-quality Thermal Grizzly Hydronaut thermal compound for better cooling
- Provides complete hardware set with backplate, gasket, and mounting screws
- Easy installation process with clear step-by-step instructions
- Cost-effective alternative to buying a brand new AIO cooler
Disadvantages

- Requires removing the motherboard if the PC case lacks a rear cutout
- Only compatible with specific EK-AIO models listed in the manual
- Must follow strict washer placement rules to avoid hardware damage
- Does not include the AIO pump or radiator, only the mounting interface
- Installation requires basic technical knowledge of PC hardware
Product Specification
Type
Bracket
Note
Compatibility: EK Water Blocks (EK-AIO Basic 240, EK-AIO Basic 360, EK-AIO 120 D-RGB, EK-AIO 240 D-RGB, EK-AIO 280 D-RGB, EK-AIO 360 D-RGB, EK-AIO Elite 280 D-RGB, EK-AIO Elite 360 D-RGB, EK-AIO Elite Aurum 360 D-RGB)
Product Description
Upgrade Your Cooling with the EK Water Blocks EK-AIO LGA1700 Retrofit Kit
The EK Water Blocks EK-AIO LGA1700 Upgrade Kit is an essential component for PC enthusiasts looking to modernize their liquid cooling setups. As Intel transitioned to the new LGA1700 socket, many existing AIO coolers required a specific adapter to remain compatible. This retrofit kit bridges that gap, allowing owners of select EK-AIO models to continue using their high-performance pumps and radiators without purchasing an entirely new unit.
This upgrade solution is designed specifically for the EK-AIO 120/240/280/360 D-RGB, EK-AIO Basic 240/360, and EK-AIO Elite 280/360 series. The kit ensures a secure and thermally efficient connection between your CPU and the water block. It includes all necessary hardware such as the Intel LGA1700 backplate, rubber gasket, mounting screws, springs, and nuts. Additionally, it comes with Thermal Grizzly Hydronaut thermal compound, which is known for its excellent heat transfer properties, ensuring your processor stays cool under heavy loads.
Installation involves a straightforward five-step process. First, you may need to remove the motherboard if your case lacks a cutout behind the CPU area. Next, clean the integrated heat spreader on your CPU thoroughly. Apply the included thermal paste in a blob or cross-line pattern for optimal contact. Then, attach the new backplate and rubber gasket to the rear of the motherboard. Finally, secure the assembly with the provided thumb screws and plastic washers before connecting the pump to your AIO manual instructions.
Whether you are building a new rig or upgrading an old one, this kit offers a cost-effective way to maintain top-tier cooling performance. It simplifies the transition to newer hardware standards while preserving your investment in premium EK products.
Important Installation Notes
- Always use the 0.8mm plastic washer under each thumb screw to prevent damage.
- Ensure the motherboard is removed from the case if there is no rear cutout available.
- Clean the CPU surface with a non-abrasive cloth before applying paste.
Search for 67,706 Manuals online


Type-in Brand or Model