
Corsair iCUE Elite Capellix XT Manual
PDF manual · 14 Pages
English



Quick check
Incorrect answer, please try again.
Chat with your Corsair iCUE Elite Capellix XT manual using AI
Get instant AI answers from your Corsair iCUE Elite Capellix XT manual
Ask anything about the Corsair iCUE Elite Capellix XT. Answers come from this manual, with the pages they are based on.
Ask a Question
Do you recommend iCUE Elite Capellix XT?
Yes NoFrequently Asked Questions
The Elite Capellix XT supports Intel LGA 1700, 1200/115x, 2066/2011 and AMD AM4, AM5, sTRX4. The cooler includes the necessary mounting brackets and standoffs for these sockets.
Is this answer helpful?
Mount the radiator with its tubes toward the bottom of the case when possible, ensuring the highest point in the radiator is above the pump to prevent air pockets. Other orientations are allowed if this guideline is observed.
Is this answer helpful?
No. Reinstallation requires removing the pre-applied thermal paste and applying fresh thermal compound such as Corsair's recommended XTM70 to ensure proper thermal transfer and performance.
Is this answer helpful?
First verify all connections to the Commander CORE, pump, fan, and RGB headers, and ensure SATA and USB connections are secure. Update pump firmware via iCUE. If issues persist, contact Corsair support or file a support ticket.
Is this answer helpful?
Connect the pump 24-pin cable to the Commander CORE, attach pump tach to the CPU_FAN header, plug each fan and RGB lead into the Commander CORE, connect the Commander CORE to a motherboard USB 2.0 header, and power the pump via a SATA power cable.
Is this answer helpful?
Yes. The package includes an alternative pump cap and a cap removal tool so you can swap caps for aesthetic customization without affecting operation.
Is this answer helpful?
If your case lacks a CPU cut-out to access the rear of the motherboard, you may need to remove the motherboard to install the backplate and standoffs. Many modern cases include such a cut-out to simplify installation.
Is this answer helpful?
Advantages and Disadvantages
Advantages

- Exceptional cooling across multiple radiator sizes for varied thermal demands.
- Bright, energy-efficient Capellix RGB with extensive iCUE customization.
- Commander CORE centralizes fan and RGB control for cleaner cable management.
- Includes mounting hardware for Intel and AMD sockets, improving compatibility.
- Optimized fans enable quiet operation with controllable fan curves.
Disadvantages

- Large radiators need sufficient case space and careful mounting planning.
- Must clean and reapply thermal paste when re-installing the cooler.
- Full functionality depends on iCUE firmware updates and software.
- Requires available SATA and USB 2.0 headers for Commander CORE power and control.
- Some installs may require motherboard removal if case lacks CPU cut-out.
Product Specification
Type
internal (closed system)
Heatsink
CPU, Copper
Reservoir
N/A
Pump
12V
Connections
N/A
Lighting
LED (RGB), LED control
Manufacturer's Warranty
5 Years
Product Description
Corsair iCUE Elite Capellix XT Manual — Premium AIO Cooling Explained
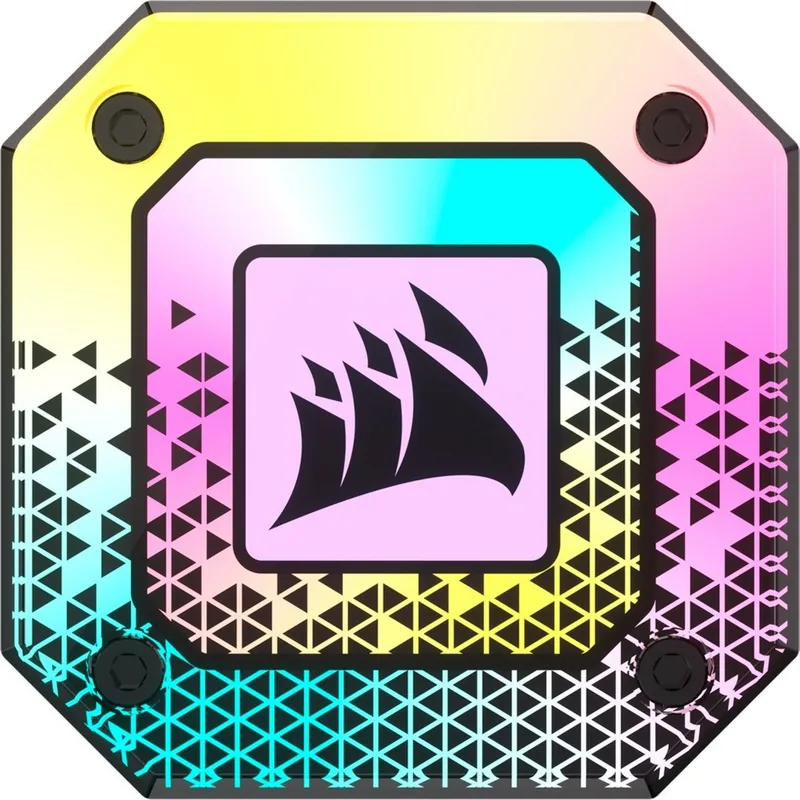
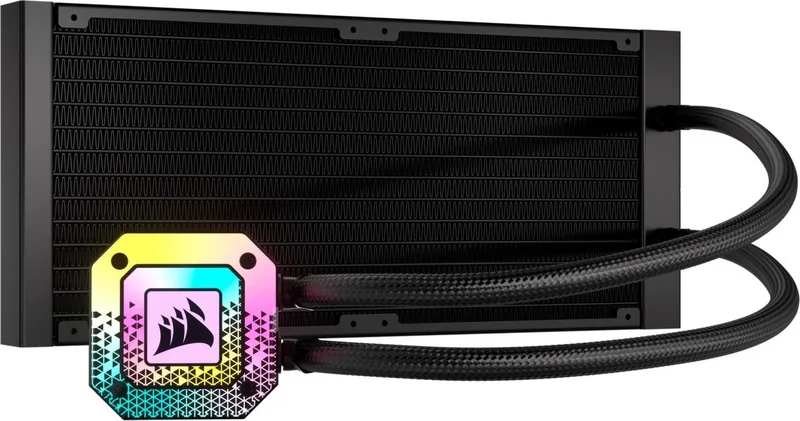
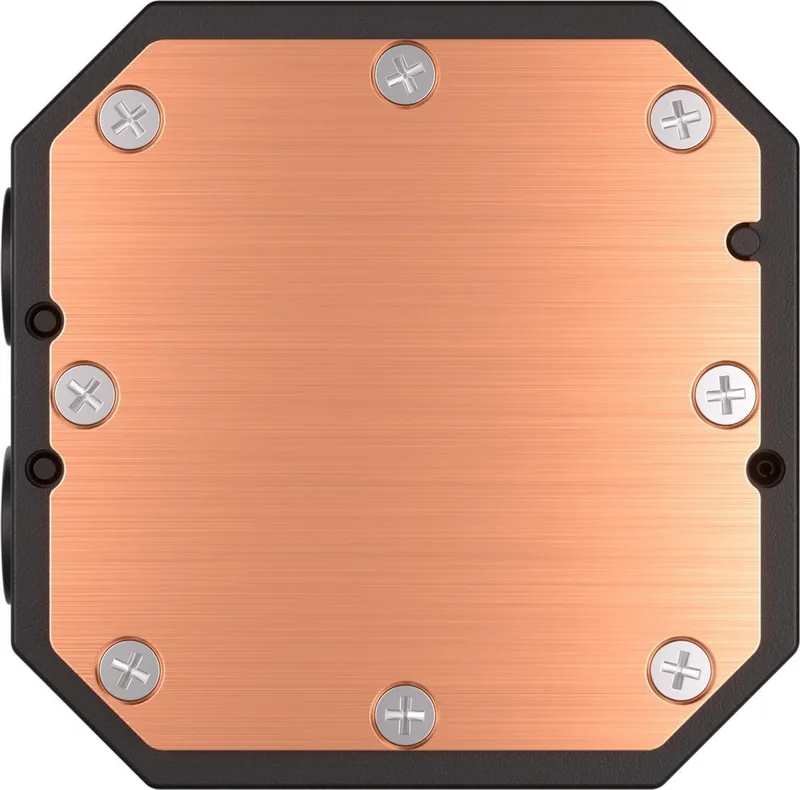
The Corsair iCUE Elite Capellix XT is a high-performance all-in-one liquid CPU cooler designed for enthusiasts and builders who demand robust thermal management and vivid RGB control. Combining Corsair’s Elite Capellix LED technology with proven pump and radiator engineering, this series (H100i, H115i, H150i, H170i) delivers efficient heat dissipation and customizable lighting through the iCUE ecosystem. Ideal for overclockers and silent-system builders, the Elite Capellix XT pairs powerful cooling hardware with smart software integration.
Key Features and Setup Overview
The system includes a pre-installed Intel mounting bracket on the pump and interchangeable brackets for AMD AM4/AM5 and sTRX4 sockets, plus a comprehensive hardware kit: standoffs, thumb nuts, washers, fan screws, radiator screws, RGB fans (AF RGB Elite), and a Commander CORE for fan and RGB control. Radiator/fan mounting supports intake or exhaust configurations, and Corsair recommends positioning radiator tubes low in the case while keeping the highest radiator point above the pump to ensure optimal coolant flow.
Installation follows a clear sequence: prepare the motherboard (install standoffs/backplate as required), mount fans and radiator, attach the pump unit with the correct bracket for your CPU socket, and connect cables to the Commander CORE, motherboard USB 2.0 header, SATA power, and the CPU_FAN tach header. The pump includes a removable cap and an alternative cap in the box for customization.
Performance and Compatibility
Available sizes (240/280/360/420 equivalent radiators) cover a range of cooling capacities to match different chassis and thermal loads. The Elite Capellix XT emphasizes quiet operation using optimized AF RGB Elite fans and intelligent fan curves managed via iCUE. The Commander CORE centralizes power, tach, and RGB connections for streamlined cable management and firmware updates. Firmware updates via iCUE resolve lighting or performance issues; Corsair support is available if troubleshooting steps fail.
Final Notes
The cooler ships with pre-applied thermal interface material; however, for re-installation Corsair recommends cleaning and reapplying high-quality thermal paste (e.g., XTM70 sold separately). Confirm airflow direction via fan arrows and secure all standoffs and thumb nuts firmly to prevent mounting issues. Keep pump firmware current through iCUE to maintain compatibility and lighting stability.
Pros and Cons
Pros:
- Exceptional cooling performance across multiple radiator sizes for varied thermal loads.
- Bright, efficient Capellix RGB with deep customization via iCUE.
- Commander CORE simplifies fan and RGB management in one hub.
- Broad socket compatibility (Intel and AMD) with included brackets and standoffs.
- Quiet operation with optimized AF RGB Elite fans and controllable fan curves.
Cons:
- Requires careful mounting and case space consideration for larger radiators.
- Re-installation needs fresh thermal paste (pre-applied paste not reusable).
- Firmware and iCUE dependency for full feature set and troubleshooting.
- Extra SATA and USB headers required for Commander CORE connectivity.
- May need case CPU cut-out or motherboard removal for certain installations.
Most Important Results
- Installation sequence: backplate/standoffs → radiator & fans → pump bracket → connect Commander CORE and power.
- Compatibility: Supports Intel LGA 1700/1200/115x/2066 and AMD AM4/AM5/sTRX4 with included brackets.
- Cooling guidance: Position radiator tubes low; ensure highest radiator point is above pump.
- Connectivity: Pump tach to CPU_FAN, Commander CORE to USB 2.0 header, pump SATA power required.
- Maintenance: Clean and reapply thermal paste on re-install; update pump firmware via iCUE.
FAQ
-
Question: Which sockets does the Corsair iCUE Elite Capellix XT support? Answer: The Elite Capellix XT supports a wide range of sockets including Intel LGA 1700, 1200/115x, 2066/2011 and AMD AM4, AM5, and sTRX4, with the necessary brackets and standoffs included for installation.
-
Question: How should I orient the radiator for best performance? Answer: Corsair recommends mounting the radiator with the tubes near the bottom of the case and ensuring the highest point of the radiator remains above the pump to avoid air pockets and ensure optimal coolant flow; other orientations are possible if this guideline is met.
-
Question: Can I reuse the pre-applied thermal paste when reinstalling? Answer: No. Reinstallation requires you to clean off the pre-applied thermal paste and reapply a fresh thermal compound (Corsair recommends XTM70 or another high-quality thermal paste) to ensure proper thermal transfer.
-
Question: What should I do if the cooler lighting blinks or fans don’t work? Answer: Verify all cable connections to the Commander CORE, motherboard USB, and SATA power. Update firmware via iCUE. If issues persist, contact Corsair support or open a ticket at support.corsair.com for assistance.
-
Question: How do I connect the pump and fans to the Commander CORE? Answer: Connect the pump 24-pin cable and pump tach to the specified headers, attach each fan and RGB lead to the Commander CORE, plug the Commander CORE into a motherboard USB 2.0 header, and connect pump power to a SATA power plug.
-
Question: Are alternate pump caps included for customization? Answer: Yes. The package includes an alternative pump cap and a cap removal tool so you can swap the pump cap for aesthetic customization.
-
Question: Do I need a motherboard cut-out for installation? Answer: Many modern cases include a CPU cut-out for backplate access; if your case lacks one, you may need to remove the motherboard from the case to install the backplate and standoffs.
Search for 67,706 Manuals online


Type-in Brand or Model