
Broadcom MegaRAID SAS 9380-8i8e Manual
PDF manual · 2 Pages
English



Quick check
Incorrect answer, please try again.
Chat with your Broadcom MegaRAID SAS 9380-8i8e manual using AI
Get instant AI answers from your Broadcom MegaRAID SAS 9380-8i8e manual
Ask anything about the Broadcom MegaRAID SAS 9380-8i8e. Answers come from this manual, with the pages they are based on.
Ask a Question
Do you recommend MegaRAID SAS 9380-8i8e?
Yes NoFrequently Asked Questions
It is a low-profile PCIe 3.0 x8 RAID controller for server storage. It uses the LSISAS3316 RAID-on-Chip processor and supports SAS and SATA devices with internal and external connectivity.
Is this answer helpful?
The controller provides eight internal SAS/SATA ports through two SFF-8643 connectors and eight external SAS/SATA ports through two SFF-8644 connectors. Actual drive deployment depends on the connected backplane, enclosure, cables, and storage topology.
Is this answer helpful?
An available PCIe x8 slot is required. The controller uses a PCIe 3.0 x8 host interface, so the server chassis and motherboard should provide a physically compatible slot and adequate clearance.
Is this answer helpful?
The optional CacheVault Power Module 02 uses a super-capacitor pack to provide backup power after host power loss or server failure. This allows cached data to be saved to NAND flash memory on the controller.
Is this answer helpful?
Internal storage uses two SFF-8643 mini-SAS HD-4i connectors. External storage uses two SFF-8644 mini-SAS HD-4e connectors. Select cables with matching controller-side connectors and appropriate endpoints for drives, backplanes, or enclosures.
Is this answer helpful?
During system startup, press Ctrl+R when the MegaRAID configuration prompt appears. The MegaRAID BIOS Configuration Utility can then be used to create drive groups and virtual drives.
Is this answer helpful?
Advantages and Disadvantages
Advantages

- Supports eight internal and eight external SAS/SATA ports for flexible storage designs.
- PCIe 3.0 x8 interface supports high-bandwidth server storage workloads.
- Includes 2GB DDR3 cache memory for RAID operations.
- CacheVault CVPM02 support preserves cached data to onboard NAND during power loss.
- Low-profile bracket is included for compatible compact server chassis.
Disadvantages

- Requires a PCIe x8 slot and sufficient chassis clearance.
- CVPM02 is remotely connected by cable and adds deployment considerations.
- Adequate cooling is mandatory, with at least 300 LFM airflow at 55 C inlet temperature.
- Correct mini-SAS HD cables must be selected separately for internal and external devices.
- Bracket changes require careful ESD handling and strict screw torque control.
Product Specification
Connection
PCIe 3.0 x8
Interfaces
16x SAS 12 Gb/s or SATA 6 Gb/s
Internal
2x SFF-8643
External
2x SFF-8644
RAID levels
0/1/5/6/10/50/60
Chipset
Broadcom SAS3316
Cache
2 GB DDR3 (PC3-14900U)
Special features
Low-profile PCB
Manufacturer warranty
Three years
Product Description
Broadcom MegaRAID SAS 9380-8i8e, PCIe 3.0 x8 - Read, Download & Print Free
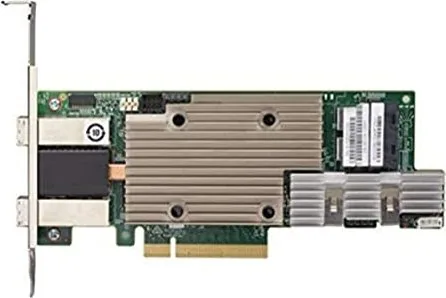
The Broadcom MegaRAID SAS 9380-8i8e is a high-performance RAID controller designed for servers and storage systems that require flexible internal and external SAS or SATA connectivity. Built around the LSISAS3316 RAID-on-Chip processor, this low-profile PCIe 3.0 x8 adapter helps organizations manage storage arrays with dependable RAID control and fast 12Gb/s SAS capability.
Flexible Connectivity for Expanding Storage
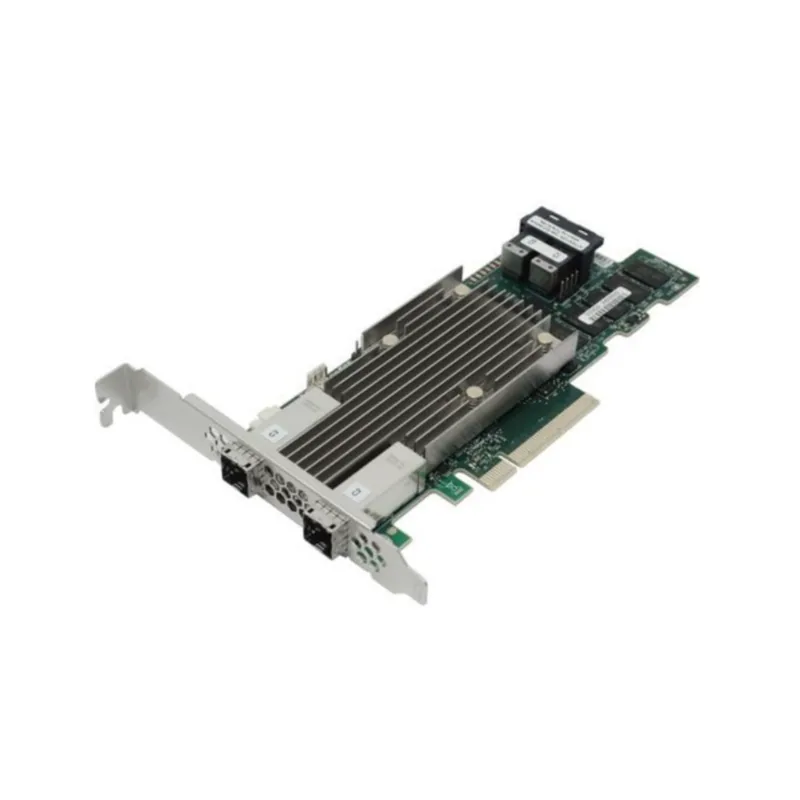
This controller provides eight internal ports through two SFF-8643 mini-SAS HD-4i connectors and eight external ports through two SFF-8644 mini-SAS HD-4e connectors. This combination supports direct connections to internal backplanes, SAS or SATA drives, and external storage enclosures. It is a practical choice for compact servers, workstations, and data center systems that need to combine local drive capacity with expandable external storage.
With PCIe 3.0 x8 host connectivity, the MegaRAID SAS 9380-8i8e is designed to deliver the bandwidth needed for demanding workloads. RAID configuration can be managed through the MegaRAID BIOS Configuration Utility, accessed during startup with Ctrl+R. Administrators can use this environment to create drive groups and virtual drives suited to application requirements.
Cache Protection for Greater Confidence
The controller includes 2GB of DDR3 1866 MHz memory to support RAID caching operations. For protection during an unexpected power interruption or server failure, it works with the CacheVault Power Module 02, or CVPM02. This remote super-capacitor module supplies temporary power so cached data can be transferred to onboard NAND flash memory for retention.
This architecture helps reduce the risk of losing unwritten cached data when host power is unavailable. For storage environments where consistency and recovery planning are important, the CacheVault-backed design is a valuable part of the controller's feature set.
Installation Considerations
The MegaRAID SAS 9380-8i8e supports full-height systems and includes a low-profile bracket for compatible chassis designs. Installation requires an available PCIe x8 slot, appropriate internal or external mini-SAS HD cabling, and adequate cooling. Broadcom specifies airflow of at least 300 LFM at a 55 C inlet temperature to keep the processor within its operating limit.
Use an ESD-safe workspace, back up data before changing storage configuration, and install current firmware and drivers from Broadcom support resources. Careful handling is especially important when replacing the mounting bracket, since excessive screw torque or electrostatic damage can affect the controller and warranty coverage.
Notes
- Confirm connector and cable compatibility before deployment.
- Plan cooling and drive layout before installing the adapter.
- Update firmware and drivers as part of routine storage maintenance.
Search for 67,706 Manuals online


Type-in Brand or Model