
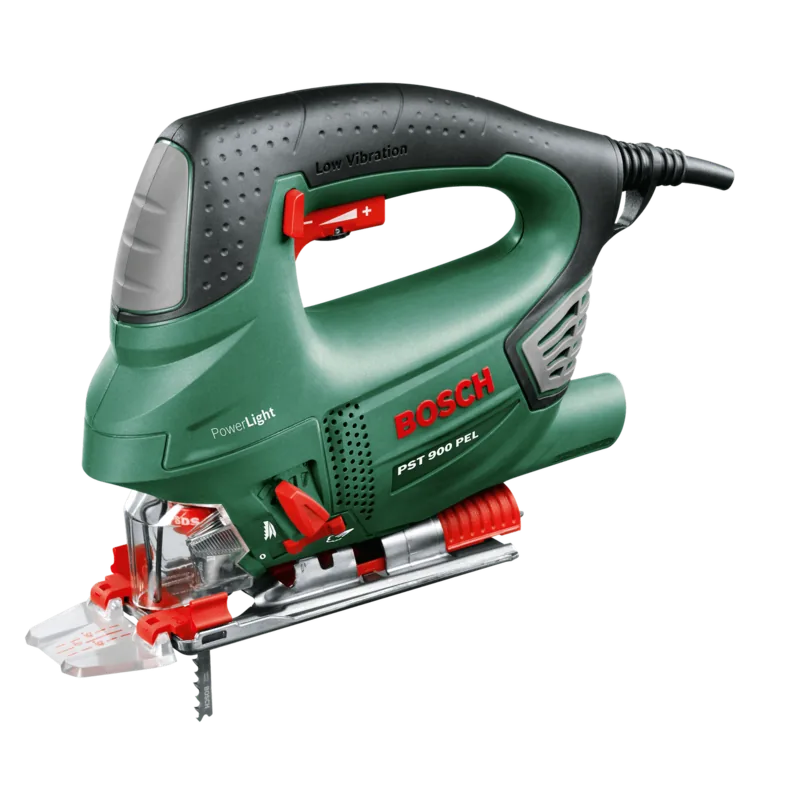
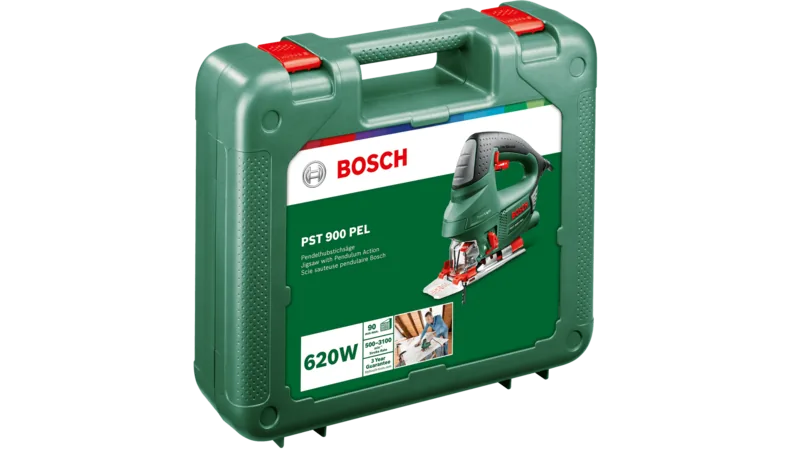
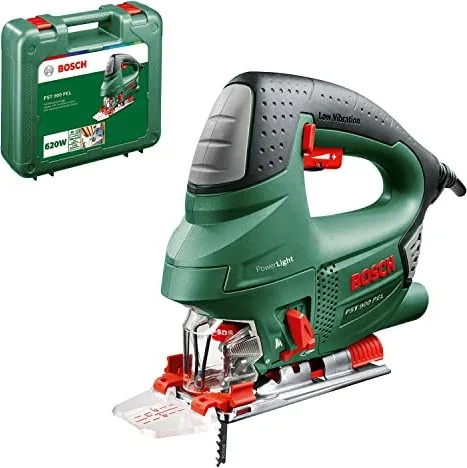
Bosch DIY PST 900 PEL Manual
PDF manual · 103 Pages
English



Quick check
Incorrect answer, please try again.
Chat with your Bosch DIY PST 900 PEL manual using AI
Get instant AI answers from your Bosch DIY PST 900 PEL manual
Ask anything about the Bosch DIY PST 900 PEL. Answers come from this manual, with the pages they are based on.
PST 900 PEL Maintenance Schedule
Remove the saw blade and tap the machine on a level surface to remove dust. Heavy contamination can cause malfunctions.
Use compressed air to clean ventilation slots frequently, especially under extreme conditions or when working with metals.
Apply a drop of oil to the guide roller occasionally to ensure smooth operation.
Inspect the guide roller regularly for wear; replace it through an authorized Bosch service agent if worn.
Ask a Question
Do you recommend PST 900 PEL?
Yes NoFrequently Asked Questions
It is designed for wood, plastic, metal, ceramic plates, and rubber. For the best results, the blade type should match the material being cut.
Is this answer helpful?
The pendulum action changes how the blade moves through the material. Lower settings give cleaner cuts, while higher settings improve cutting speed in softer materials.
Is this answer helpful?
Yes. The base plate can be adjusted for bevel cuts up to 45 degrees to the left or right, which is useful for angled projects and detailed finishing work.
Is this answer helpful?
Yes. Bosch Cut Control helps guide the saw along a marked line, and the LED worklight improves visibility right where the blade is working.
Is this answer helpful?
Yes. It can be connected to a vacuum system, and it also has a sawdust blowing function that helps keep the cutting line clear while working.
Is this answer helpful?
Yes. In this product version, the case and manual are included, which makes storage, transport, and setup more convenient.
Is this answer helpful?
Yes, but only in soft materials such as wood or plasterboard. It is best used with short blades and only at a 0° bevel angle.
Is this answer helpful?
Advantages and Disadvantages
Advantages

- Good cutting control thanks to adjustable pendulum action and speed regulation.
- Cut Control and LED worklight improve line visibility and precision.
- Supports bevel cuts up to 45°, expanding its use for angled projects.
- Lightweight design and blade storage make it convenient for regular DIY use.
Disadvantages

- Plunge cutting is limited to soft materials only, not universal use.
- Dust cover and splinter guard cannot be used in all angled-cut situations.
- Long cuts in thick hardwood may become less accurate than with a circular saw.
- Extended low-speed use can cause heat buildup, so cooling pauses may be needed.
Product Specification
Type
Pendulum Jigsaw
Power
620W
No-load stroke rate
500-3100/min
Cutting capacity
Wood 3.54 in, Steel 0.31 in
Bevel angle
45°/45° left/right
Tool holder
Quick-change system
Features
Pendulum action (4-stage), Stroke rate regulation, LED work light, Softgrip, Vibration damping, Dust extraction, Dust blower, Bevel function
Weight
4.85 lb
Scope of delivery
Case
Product Description
Bosch DIY PST 900 PEL Electric Pendulum Jigsaw incl. Case & Manual
The Bosch DIY PST 900 PEL is a practical electric pendulum jigsaw designed for clean, controlled cutting across wood, plastic, metal, ceramic tiles, and rubber. It is built for home workshops and renovation tasks where a balance of precision, comfort, and flexibility matters. With the included case and manual, it is easy to store, transport, and start using with confidence.
One of the most useful features is the four-stage pendulum action. It helps adjust cutting speed and edge quality depending on the material and the type of cut you want. For fine finishing, you can reduce the pendulum movement; for faster cutting in softer materials, you can increase it. The tool also supports bevel cuts up to 45 degrees, making it suitable for angled details, trims, and more advanced DIY work.
The PST 900 PEL is built with precision in mind. Bosch’s Cut Control system helps guide the blade along marked lines, which is especially helpful when accuracy is important. A bright LED worklight improves visibility at the cutting point, and the integrated dust blower or vacuum connection helps keep the line clear. These features make a noticeable difference when working on detailed or longer cuts.
Comfort is another strong point. The saw is relatively lightweight, easy to handle, and fitted with an ergonomic grip. The SDS blade release system simplifies blade changes, while the saw blade storage in the base keeps spare blades close at hand. This makes the tool feel well prepared for frequent use around the house or garage.
What stands out
The Bosch DIY PST 900 PEL is a well-rounded jigsaw for users who want a reliable tool without unnecessary complexity. It handles everyday cutting jobs efficiently, and the included manual helps make setup and operation straightforward. Whether you are shaping boards, trimming panels, or making detailed cutouts, it offers a dependable mix of power and control.
Notes
- Best suited for DIY tasks and light renovation work.
- Use the right blade for cleaner results and safer cutting.
- Some accessories and special functions depend on the exact model and setup.
Search for 67,706 Manuals online


Type-in Brand or Model
Murat Kadir
9 months ago
Does the Bosch jigsaw include the saw blades shown in the product picture, and how is sawdust handled - can I connect a vacuum or do I need to turn off the blower?
Manual.ly
9 months ago
About the blades: some listings show example blades in the image, but they are not always included in the box. Please check the “Included in delivery” section for the exact scope for your specific model. Sawdust handling: the blower feature helps keep the cut line clear and visible. However, it can also spread dust around the room. If you want to reduce mess, you can typically switch off the blower and connect a vacuum cleaner using the appropriate adapter. Vacuuming works well, but like most jigsaw systems it does not capture every particle 100 percent.