
Benning CC 3 Manual
PDF manual · 58 Pages
English



Quick check
Incorrect answer, please try again.
Chat with your Benning CC 3 manual using AI
Get instant AI answers from your Benning CC 3 manual
Ask anything about the Benning CC 3. Answers come from this manual, with the pages they are based on.
CC 3 Maintenance Schedule
Send the device to Benning Service Center annually to maintain specified accuracy.
Replace the 9V battery when the red LED indicator lights up.
Wipe the housing with a clean dry cloth; do not use solvents or abrasives.
Free maintenance reminders
Timed to your purchase date. Always free, unsubscribe anytime.
Ask a Question
Do you recommend CC 3?
Yes NoFrequently Asked Questions
The device is designed for use in circuits with a nominal voltage not exceeding 600 V AC or DC to ensure safety.
Is this answer helpful?
For maintained accuracy, the manufacturer recommends a calibration interval of one year via their service center.
Is this answer helpful?
A standard 9V block battery is used to power the unit and the red LED indicates low battery voltage.
Is this answer helpful?
No, the protection class is IP30 which offers no protection against water ingress and requires dry environments.
Is this answer helpful?
Yes, it utilizes a Hall sensor to accurately measure direct current alongside standard alternating current signals.
Is this answer helpful?
The maximum conductor diameter is 22 mm with a jaw opening of 25 mm for safe clamping.
Is this answer helpful?
The device does not contain a fuse, so users must exercise extra caution during fault testing scenarios.
Is this answer helpful?
Advantages and Disadvantages
Advantages

- Dual range 40A and 300A capability for versatile current measurement needs across different electrical systems.
- Safety rated CAT III 600V ensures strong protection in high voltage industrial environments during operation.
- Auto power off function significantly extends battery life during intermittent use throughout the workday.
- Hall sensor provides accurate readings for both DC and AC currents with minimal interference.
Disadvantages

- No internal fuse means increased risk if used incorrectly during specific fault testing conditions.
- IP30 rating offers no protection against water splash, liquid ingress or harsh outdoor conditions.
- Requires a 9V battery which must be replaced periodically, creating ongoing supply dependency.
- Calibration is required annually to maintain specified accuracy standards for compliance purposes.
Product Specification
Measurement range
max. 300A, max. 600V
Product Description
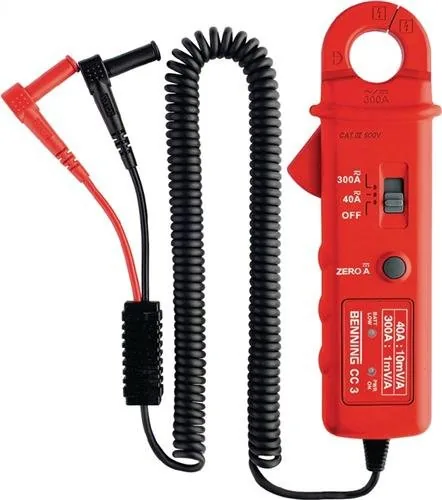
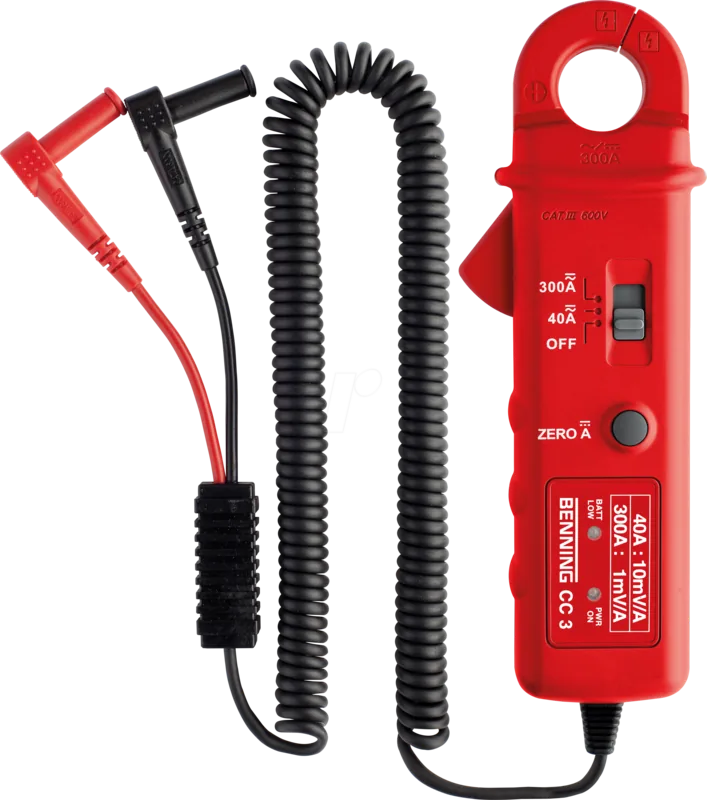
The BENNING CC 3 is a robust current clamp adapter designed for professionals who demand precision in electrical diagnostics. This device bridges high-current circuits and standard multimeters effectively. Technicians rely on the Benning CC 3 Clamp Multimeter Manual for guidance, ensuring safe and accurate readings. Whether on industrial machinery or commercial systems, this adapter handles direct and alternating current efficiently. It prioritizes user safety with a CAT III 600V rating, protecting users from dangerous voltage spikes.
The tool features a sliding switch to toggle between 40 A and 300 A ranges. A Hall sensor technology ensures reliable detection even with lower currents. Battery life reaches around 66 hours, with an auto power-off feature conserving energy after thirty minutes of inactivity. The unit connects via a fixed spiral safety lead, eliminating cable loss risks. Despite its compact size, weighing just 270 grams, it is easy to carry in a utility pouch. Maintenance remains simple with a dry cloth, though the lack of a fuse requires extra caution under high stress.
Measuring conductors up to 22 mm requires a 25 mm open jaw capacity. Environmental conditions matter, as the tool is intended for dry areas only and cannot withstand water. The operating temperature range is zero to fifty degrees Celsius, with humidity limits to prevent internal damage. When measuring DC current, a zero adjustment button cancels offset errors from nearby magnetic fields. This ensures the multimeter reads approximately zero volts before clamping onto the conductor.
The red LED illuminates when battery voltage drops. Green lights indicate the active state. Precision accuracy varies with temperature changes outside the reference range. Technicians must account for this in extreme environments. The load impedance requires a multimeter input of at least ten megaohms. The spiral lead design is red and black with right-angle connectors. Always ensure jaws are centered around the wire for rated accuracy. Moving the wire off-center introduces a one percent error margin. This precision is vital for regulatory checks.
Search for 67,706 Manuals online


Type-in Brand or Model
Andreas Koch
5 months ago
Do these pliers fit into confined electrical distribution cabinets, and how secure is the spring-loaded closure during use?
Manual.ly
5 months ago
The pliers are sized for standard access but can be tight in very cramped cabinets. The spring closure is designed to stay open when set but close automatically when released. A firm grip is recommended to ensure they do not open unexpectedly during storage or transport.