
be quiet! sTRX4 / TR4 Mounting Kit for Silent Loop 2 Manual
PDF manual · 2 Pages
English



Quick check
Incorrect answer, please try again.
Chat with your be quiet! sTRX4 / TR4 Mounting Kit for Silent Loop 2 manual using AI
Get instant AI answers from your be quiet! sTRX4 / TR4 Mounting Kit for Silent Loop 2 manual
Ask anything about the be quiet! sTRX4 / TR4 Mounting Kit for Silent Loop 2. Answers come from this manual, with the pages they are based on.
Ask a Question
Do you recommend sTRX4 / TR4 Mounting Kit for Silent Loop 2?
Yes NoFrequently Asked Questions
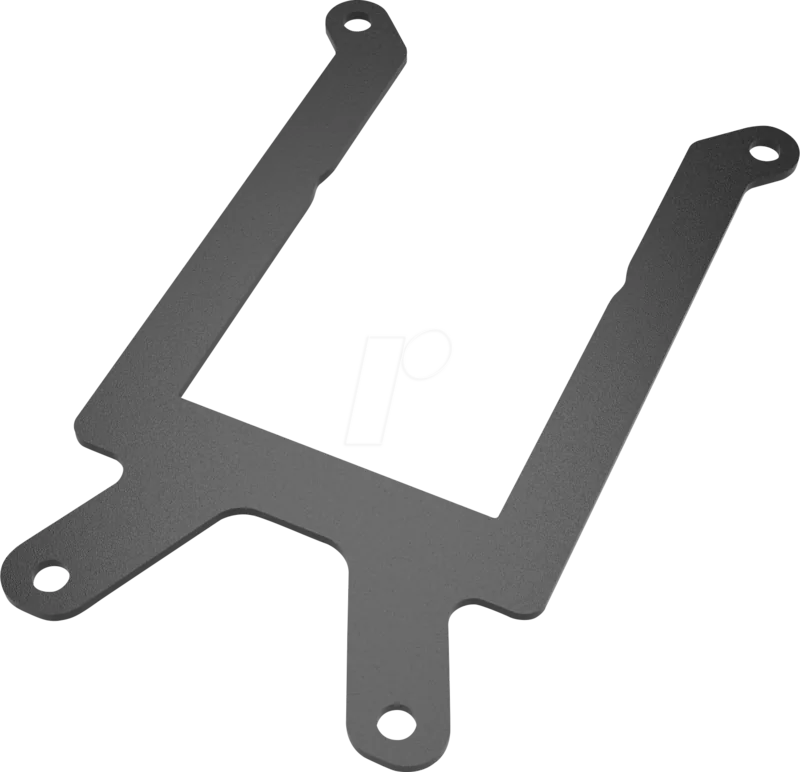
The kit contains one AMD sTRX4 / TR4 mounting frame, four spacer nuts/threaded standoffs, four fastening screws, and a tube of thermal paste—everything needed to mount the Silent Loop 2 CPU block to sTRX4 / TR4 motherboards.
Is this answer helpful?
No. The kit is specifically designed for the Silent Loop 2 series and AMD sTRX4 / TR4 sockets. It may not fit other AIO models or CPU socket types due to differences in block geometry and mounting hole patterns.
Is this answer helpful?
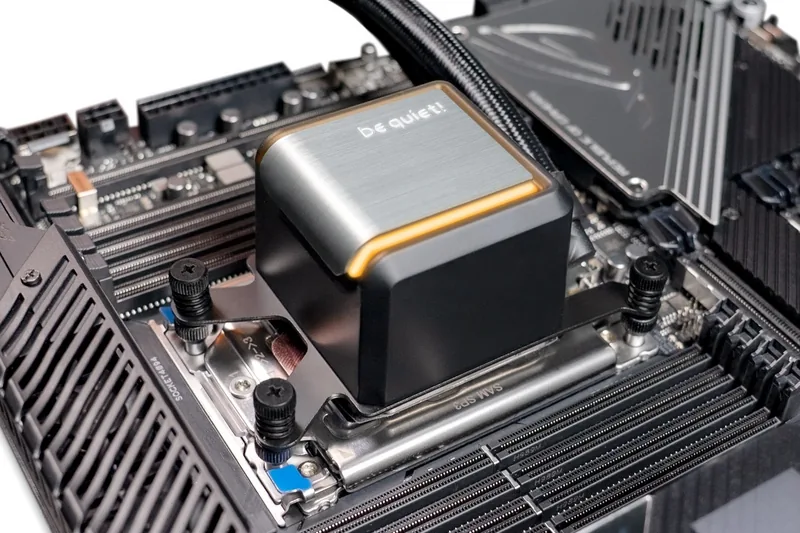
Remove the protective film from the cooler base and apply thermal paste to the CPU. Slide the mounting frame into place from the side of the sleeved tubes, screw the spacer nuts into the motherboard socket, position the CPU block so the frame rests on the spacer nuts, and secure it with the provided screws, tightening evenly.
Is this answer helpful?
The mounting kit is covered by a 3-year manufacturer guarantee for consumers who bought it from authorized be quiet! dealers. Warranty claims require a copy of the original purchase receipt. Damage from modifications or external mechanical force voids the warranty.
Is this answer helpful?
For installation support or compatibility questions, contact be quiet! customer service at [email protected]. Provide your purchase details and system information to expedite assistance.
Is this answer helpful?
Yes. Remove any existing Intel/AMD mounting frame from the Silent Loop 2 by sliding it away from the sleeved tubes before inserting the sTRX4 / TR4 mounting frame to ensure proper fit and alignment.
Is this answer helpful?
Tighten the screws incrementally and evenly to avoid uneven pressure on the CPU. Ensure the frame sits correctly on the spacer nuts and do not overtighten, as that can risk damage to the CPU or motherboard socket.
Is this answer helpful?
Advantages and Disadvantages
Advantages

- Specifically tailored to mount Silent Loop 2 to AMD sTRX4 / TR4 sockets for reliable compatibility.
- Complete kit includes frame, spacer nuts, screws, and thermal paste for a one-step installation.
- Helps ensure even mounting pressure and correct alignment on large HEDT CPU heat spreaders.
- Backed by a 3-year manufacturer warranty when purchased from authorized dealers.
- Straightforward installation sequence reduces risk of mounting errors and thermal issues.
Disadvantages

- Only compatible with Silent Loop 2 series and AMD sTRX4 / TR4 sockets—limited cross-compatibility.
- Requires careful screw tightening; improper torque can cause uneven contact or damage.
- Warranty voided by physical modifications or external mechanical damage.
- Does not include radiator or pump—Silent Loop 2 AIO required separately.
- Users must retain purchase receipt for warranty processing, adding administrative steps.
Product Specification
Type
Assembly Kit
Product Description
be quiet! sTRX4 / TR4 Mounting Kit for Silent Loop 2 Manual
The be quiet! sTRX4 / TR4 Mounting Kit is an accessory designed to integrate the Silent Loop 2 all-in-one liquid cooler with AMD sTRX4 and TR4 socket motherboards. This kit provides the mounting frame, spacer nuts, fastening screws, and thermal paste required to attach the Silent Loop 2 CPU block securely to high-end AMD HEDT platforms, ensuring consistent contact and reliable cooling for large TR4/SP3-style CPU heat spreaders.
Product overview
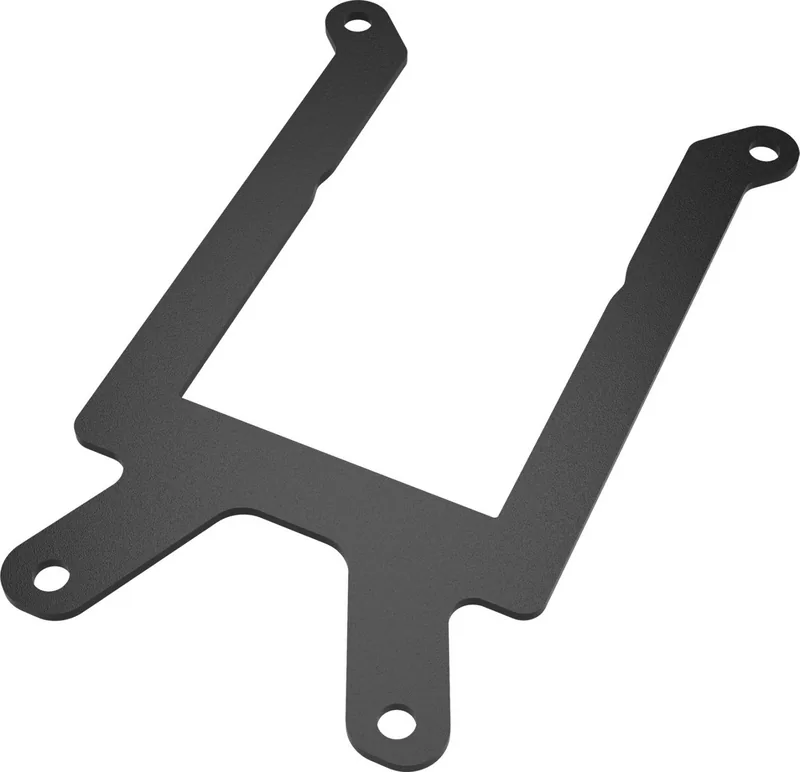
The kit includes an AMD sTRX4 / TR4 mounting frame, four spacer nuts (threaded standoffs), four fastening screws, and a tube of thermal paste. It’s intended specifically for the Silent Loop 2 series and follows be quiet!'s standard installation and warranty guidance. Installation involves removing the protective film from the cooler base, applying thermal paste, inserting the mounting frame from the side of the sleeved tubes, screwing in the spacer nuts into the motherboard socket, placing the CPU block over the CPU so the frame rests on the spacer nuts, and securing the block with the provided screws.
This accessory simplifies adapting a consumer-focused AIO cooler to larger HEDT sockets that require a robust mounting solution. The included hardware is matched to the Silent Loop 2’s CPU block geometry, making alignment straightforward and reducing the risk of uneven mounting pressure that could compromise thermal performance.
Installation notes
Before installation, ensure you purchased the Silent Loop 2 series and have the correct motherboard socket (sTRX4 / TR4). Remove any previous mounting frames, slide the new mounting frame into place from the opposite side of the sleeved tubes, and tighten spacer nuts into the motherboard socket. Apply thermal paste to the CPU surface and remove the protective foil on the cooler base. Place the block onto the CPU so the frame rests on the spacer nuts, then fasten with the supplied screws. For support or compatibility questions, contact be quiet! customer service at [email protected].
Warranty and support
The product is covered by a 3-year manufacturer guarantee for consumers who purchased from authorized be quiet! dealers. Warranty claims require a copy of the purchase receipt. Modifications or mechanical damage void the warranty. Refer to bequiet.com for full warranty terms and contact details.
Notes
- Ensure the motherboard and case provide clearance for the Silent Loop 2 radiator and tubing routing.
- Tighten screws incrementally and evenly to avoid uneven pressure.
- Keep the proof of purchase for warranty claims.
Search for 67,706 Manuals online


Type-in Brand or Model