Manual.ly Logo

be quiet! Dark Rock 4 Manual

0.0 · 0 Ratings

PDF manual · 2 Pages

English

M: QW-35-FL
page

/ 2

Loading...
df225d6a0a9e34214f66c9662c1b91c0eb96 page 1
First remove the protective foil from the underside of the cooler.
Spread the thermal paste (17) on the surface of the CPU. The
amount supplied is sufficient for one or two applications.
Caution: The thermal paste supplied is not suitable for human
consumption. If swallowed, drink lots of water and urgently
seek medical attention. Keep it out of the reach of children.
Avoid contact with skin and eyes.
Position the cooler mounting bridge (7) centrally on the cooler.
Next place the cooler unit over the CPU. Loosen both heatpipe
caps that are found in the middle of the top side of the cooler.
Insert the Intel/AMD mounting bridge fastening screws (12)
from above into the cooler mounting bridge and then screw
these alternately tight.
You can use the cross-tip screwdriver (16) for this.
Subsequently retighten both heatpipe caps on the top side of
the cooler.
Fasten the 120mm fan (3) using fan clips (18) onto the front
side of the cooler. Slide the 135mm fan (2) between the two
heatsinks and also fasten this with fan clips (18). Connect
both fans using the the Y cable (20). Connect this to the
CPU fan connector on the motherboard.
When dismantling the fans, push the notches of the fan
clips (18) away from the fan.
Position the cooler mounting bridge (7) centrally on the cooler
(1). Next place the cooler unit over the CPU. Loosen both
heatpipe caps that are found in the middle of the topside of the
cooler (rotate as illustrated). Insert the Intel/AMD mounting
bridge fastening screws (12) from above into the cooler
mounting bridge (7) and then screw these alternately tight. You
can use the cross-tip screwdriver (16) for this.
Subsequently retighten both heatpipe caps on the top side of
the cooler.
Fasten the 120mm fan (3) using fan clips (18) onto the front
side of the cooler. Slide the 135mm fan (2) between the two
heatsinks and also fasten this with fan clips (18). Connect
both fans using the the Y cable (20). Connect this to the
CPU fan connector on the motherboard.
When dismantling the fans, push the notches of the fan
clips (18) away from the fan.
Introduction: Thank you for deciding to purchase a be quiet!
product. The following instructions will guide you through the
installation process. If you do encounter installation problems,
please don't hesitate to contact our customer services by
mailing [email protected]. Please note that be quiet!
cannot accept liability for damage caused by compatibility
problems.
Warranty:
• 3 years manufacturer guarantee for consumers (original
purchase from authorized be quiet! dealers only)
• Guarantee work can only be processed with an included
copy of the purchase receipt from an authorized be quiet!
dealer
• Manipulation and structural changes of any kind as well
as damages through external mechanical forces lead to a
complete voiding of the guarantee
• Our General Warranty Conditions apply, which can be
viewed on bequiet.com
Listan GmbH & Co.KG . Biedenkamp 3a . 21509 Glinde
Germany
For further information contact us via e-mail:
SCOPE OF DELIVERY
General
We recommend preparatory mounting of the
cooler outside the PC case for subsequent
installation.
The following parts are needed for this:
1x Dark Rock Pro 4 CPU cooler (1), 1x 135mm fan (2), 1x 120mm
fan (3), 2x Intel mounting brackets (5), 1x cooler mounting
bridge (7), 4x Intel spacer nuts (8), 4x mounting bracket
fastening screws (11), Intel/AMD mounting bridge fastening
screws (12), 1x cross-tip screwdriver (16), 1x thermal paste
(17), 4x fan clips (18), 1x Y cable (20)
Assembly of the cooler mounting frame
First screw the Intel spacer nuts (8) onto the threads of the
socket frame. Place the Intel mounting brackets (5) over the
Intel spacer nuts and screw these tight with the mounting
bracket fastening screws (11). You can use the cross-tip
screwdriver (16) for this.
First remove the protective foil from the underside of the cooler.
Spread the thermal paste (17) on the surface of the CPU. The
amount supplied is sufficient for one or two applications.
Caution: The thermal paste supplied is not suitable for
human consumption. If swallowed, drink lots of water and
urgently seek medical attention. Keep it out of the reach of
children. Avoid contact with skin and eyes.
Installation video
1366, 2011(-3) square ILM, 2066
1150, 1151, 1155, 1156
General
We recommend preparatory mounting of the
cooler outside the PC case for subsequent
installation.
The following parts are needed for this:
1x Dark Rock Pro 4 CPU cooler (1), 1x 135mm fan (2), 1x 120mm
fan (3), 1x Intel backplate (4), 2x Intel mounting brackets (5),
1x cooler mounting bridge (7), 4x Intel 115X/1366 nuts (9), 4x
mounting bracket fastening screws (11), 2x Intel/AMD mounting
bridge fastening screws (12), 4x Intel backplate screws (13), 4x
O-rings (15), 1x cross-tip screwdriver (16), 1x thermal paste (17),
4x fan clips (18), 1x Y cable (20)
Mounting the backplate
Position the Intel backplate screws (13) in the notches situated
on the rear side of the Intel backplate (4). Pay attention in so
doing to align with the holes specially drilled for each socket.
For fixing the backplate screws onto the Intel backplate use
the O-rings (15). Once assembly of the Intel backplate for the
respective Intel socket is complete, position it under the
motherboard. In so doing make sure that the Intel backplate
screws (13) are precisely positioned inside the motherboard
holes.
Assembly of the cooler mounting frame
Screw the Intel 115X/1366 nuts (9) onto the previously
positioned Intel backplate (4). Then position the Intel mounting
brackets (5) over the Intel 115X/1366 nuts and affix these with
the mounting bracket fastening screws (11). You can use the
cross-tip screwdriver for this (16).
1366, 2011(-3) square ILM, 2066
1150, 1151, 1155, 1156
Intel LGA 2011(-3) square ILM / LGA 2066
Intel LGA 1150 / 1151 / 1155 / 1156 / 1366
We recommend removal of the cooler prior to transportation.
January 2018
!
Part name Quantity
be quiet! Dark Rock Pro 4 cooler 1
135mm fan 1
120mm fan 1
Intel backplate 1
Intel mounting brackets 2
Short AMD mounting brackets 2
Cooler mounting bridge 1
Intel spacer nuts 4
Intel 115X/1366 nuts 4
Part name Quantity
AMD spacer nuts 4
Mounting bracket fastening
screws
4
Intel/AMD mounting bridge
fastening screws
2
Intel backplate screws 4
AMD backplate screws 4
O-rings 4
Cross-tip screwdriver 1
Thermal paste 1
Fan clips 2
AM3 washers 4
Y cable 1
2
3
4
5
6
7
8
9
10
11
12
13
14
15
16
17
18
19
20
Installation video
1366
1150, 1151,
1155, 1156

Chat with your be quiet! Dark Rock 4 manual using AI

Get instant AI answers from your be quiet! Dark Rock 4 manual

Ask anything about the be quiet! Dark Rock 4. Answers come from this manual, with the pages they are based on.

Ask a Question

0/1000

Do you recommend Dark Rock 4?

Yes No

Frequently Asked Questions

A

Yes, the manual covers installation steps for various Intel and AMD socket types. Specific mounting brackets are included in the box for both platforms.

Is this answer helpful?

A

The product comes with a three year manufacturer warranty for original consumers who purchased from an authorized retailer.

Is this answer helpful?

A

The system includes a 120mm fan for the front and a 135mm fan for the rear section connected via a Y cable.

Is this answer helpful?

A

No, the paste is not for consumption. Keep away from children. If ingested, drink water and seek medical help immediately.

Is this answer helpful?

A

The manual advises installing the cooler outside the case for better access and alignment during the process.

Is this answer helpful?

A

You will need the included cross screwdriver. Some setups might require standard screwdrivers for specific tasks.

Is this answer helpful?

A

No, modifications or opening the cooler voids the warranty completely. Unauthorized repairs will not be covered.

Is this answer helpful?

M: QW-35-FL

Advantages and Disadvantages

Advantages

  • Efficient twin tower cooling design with low noise
  • Easy installation with included mounting brackets
  • Three year manufacturer warranty for consumers
  • Compatible with multiple Intel and AMD socket types
  • High build quality for long term reliability
VS

Disadvantages

  • Large physical size may not fit all cases
  • Height restriction on motherboard clearance
  • No RGB lighting features in the design
  • Installation requires careful screw tightening pattern
  • Thermal paste application must be precise
M: QW-35-FL

Product Specification

Connector

4-Pin PWM

Manufacturer Warranty

3 Years

M: QW-35-FL

Product Description

Unlocking Performance with the be quiet! Dark Rock 4

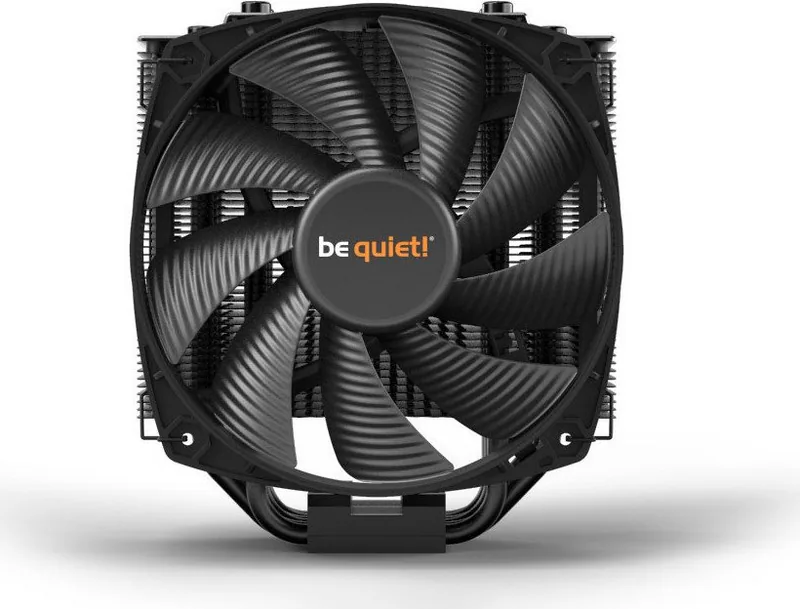
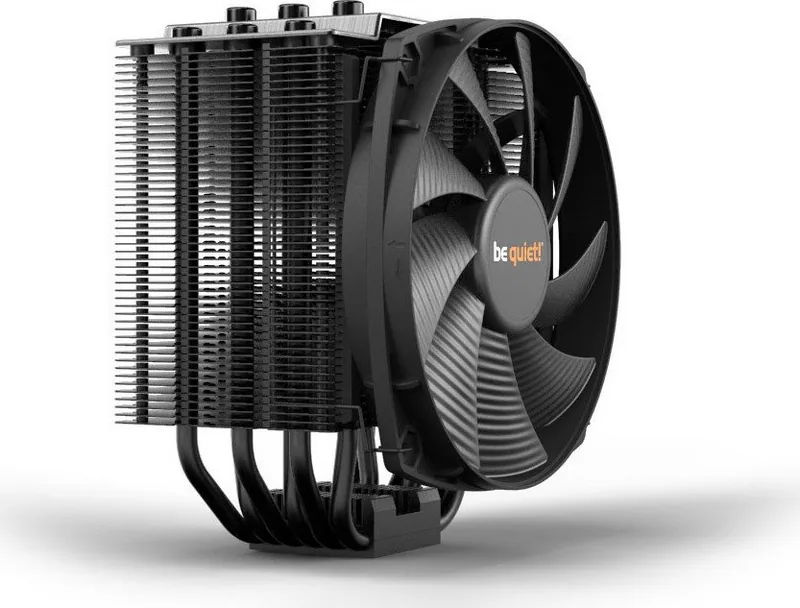
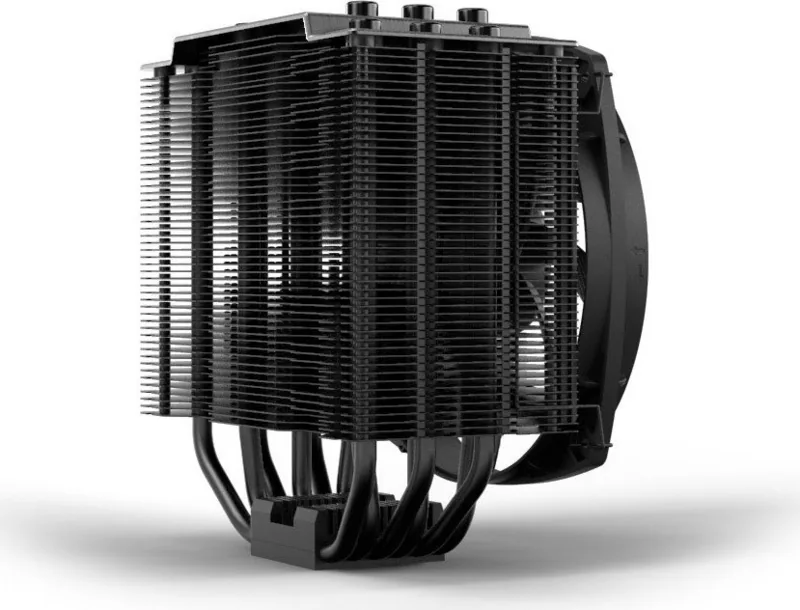
The be quiet! Dark Rock 4 Manual offers detailed instructions for achieving optimal cooling results. This high performance air cooler features a twin tower design that ensures efficient heat dissipation during heavy workloads. The installation process is straightforward when following the provided guidelines carefully without rushing the steps. You will need to apply thermal paste to the CPU surface before placing the unit. Ensure the protective plastic film is removed from the base first to guarantee proper contact. The kit includes a specific mounting bridge compatible with both Intel and AMD socket types. Heatpipe caps on top must be removed temporarily during screw tightening to allow access. This step allows proper tension for the baseplate against the processor surface evenly. Referencing the be quiet! Dark Rock 4 Manual ensures you do not miss critical steps.

Installation and Setup Details

The system includes a 120mm fan for the front section and a 135mm fan for the rear section. Both fans must be secured using the provided clamp brackets for stability. A Y cable connects the fans so you can control them from one motherboard header. This simplifies wiring and maintains tidy cable management inside the computer case for better airflow. The manual advises installing the cooler outside the case for better access. Use the cross screwdriver included in the package to tighten the screws evenly. Alternating the tightening pattern prevents warping of the mounting bracket. Always secure the backplate on the motherboard rear before final mounting. Intel and AMD users will find specific brackets for their respective platforms. The process requires removing the retention module on AMD boards beforehand. Ensuring proper alignment helps achieve maximum contact area between the heatpipes and the processor.

Warranty and Support Information

The product comes with a three year manufacturer warranty for original consumers. You must keep the proof of purchase from an authorized retailer. Modifications or opening the cooler voids the warranty completely. The warranty excludes accidental damage or normal wear and tear. be quiet! provides customer service support for compatibility questions via email. If the paste is ingested, drink water and seek medical help. Keep all items away from children to prevent accidental exposure. These safety notes ensure a smooth and secure experience for every user. Shipping damage claims must be filed with the carrier. Repairs must be made by authorized technicians only. Unauthorized repairs will not be covered under the terms.

Final Thoughts on Performance

This solution delivers excellent thermal regulation while maintaining low noise levels. It fits well within standard PC builds without obstructing memory modules. The build quality feels robust and promises longevity. Regular dust cleaning will help sustain peak efficiency over the years. Referencing the manual helps avoid common installation mistakes. Ultimately, this cooler is a solid choice for quiet gaming or professional workstations. The balance between price, performance, and acoustic output is very strong. Upgrading from stock cooling yields noticeable temperature reductions. Trust the detailed steps to get your system running at its best.

M: QW-35-FL

© Copyright 2026 Manual.ly