
Aqua Computer Hubby7 Manual
PDF manual · 1 Pages
English


Quick check
Incorrect answer, please try again.
Chat with your Aqua Computer Hubby7 manual using AI
Get instant AI answers from your Aqua Computer Hubby7 manual
Ask anything about the Aqua Computer Hubby7. Answers come from this manual, with the pages they are based on.
Ask a Question
Do you recommend Hubby7?
Yes No
Lena Schmidt
10 months ago
Will this USB hub work reliably with RGB controllers that need multiple internal headers, and does it require external power?

Manual.ly
10 months ago
Yes. Customers report that the hub is detected correctly and that RGB devices controlled through internal USB headers work without limitations when using this hub. If you tried a passive hub before, it may not control the RGB properly due to insufficient power. With this version (including its power supply), the devices are recognized and can be controlled as intended. Note that mounting can be a bit fiddly depending on your motherboard's hole spacing; some users fix it with the included fastening (for example, the adhesive/strips) or ensure it is screwed down so the base does not wobble.
Frequently Asked Questions
It is an internal USB 2.0 hub that adds seven USB ports inside a PC case. It is useful for connecting internal accessories, controllers, and other low-power devices without using external ports.
Is this answer helpful?
No. Modern operating systems usually detect it automatically and use standard drivers. In most cases, it works as a plug-and-play internal expansion hub.
Is this answer helpful?
It can be installed above the motherboard using spacers and screws, or attached with the included hook-and-loop strip for a simpler, more flexible setup.
Is this answer helpful?
It can be powered through the USB connection or by using a SATA power connector. The choice affects current limits and standby behavior.
Is this answer helpful?
USB power mode allows up to 500 mA total and may support standby power. SATA power mode increases the limit to 1000 mA total, split across port groups, but does not provide standby power.
Is this answer helpful?
First verify the jumper position, then check all cable connections. The red LED should light when voltage is reaching the hub, so an unlit LED usually points to a wiring or power issue.
Is this answer helpful?
Advantages and Disadvantages
Advantages

- Provides 7 internal USB 2.0 ports for expanding PC connectivity.
- Offers two mounting methods for flexible installation inside the case.
- Supports both USB and SATA power for different device needs.
- Works with generic drivers on current operating systems.
Disadvantages

- Requires careful pin alignment during motherboard connection.
- USB-only power is limited to 500 mA total across all ports.
- SATA power mode disables standby power to connected devices.
- Best for internal low-power devices, not demanding peripherals.
Product Specification
Type
Upgrade Kit
Connection
7x USB 2.0
USB Designation
Link
Product Description
Aqua Computer Hubby7 Internal USB 2.0 Hub Upgrade Kit
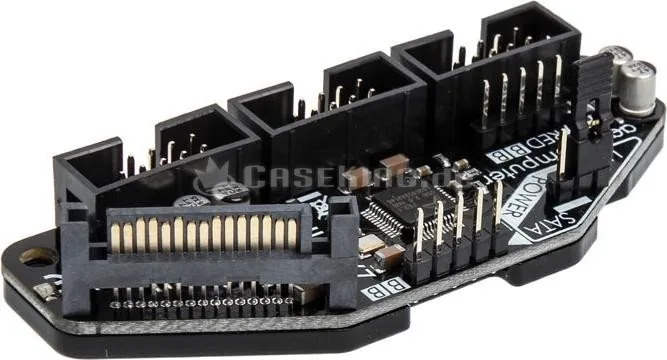
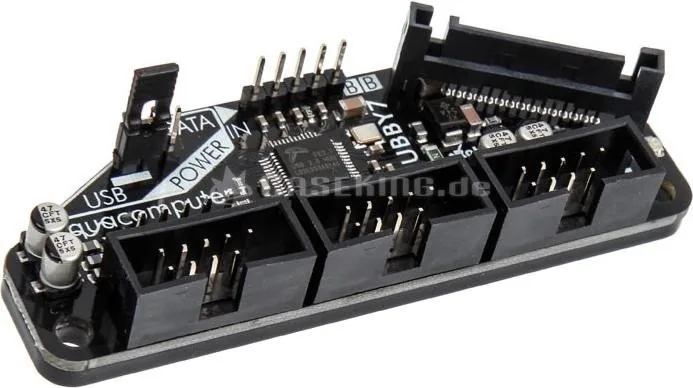
The Aqua Computer Hubby7 internal USB 2.0 hub upgrade kit is a practical way to expand the connectivity options inside a desktop PC without adding clutter to the outside of the case. Designed for internal use, it provides 7 USB 2.0 ports and is especially useful for systems that need multiple internal connections for controllers, monitoring tools, lighting accessories, or other low-power peripherals.
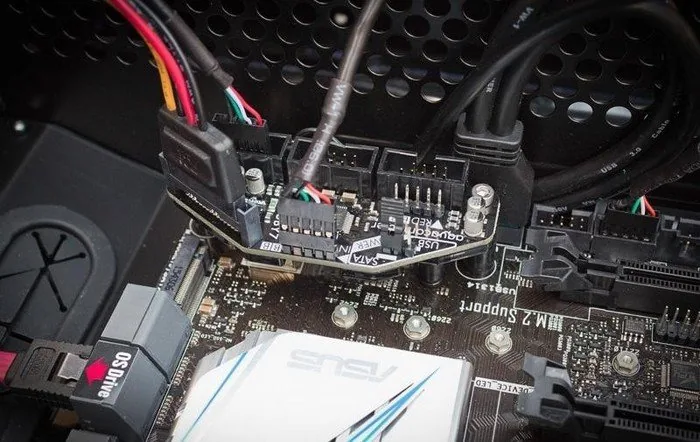
What makes the Hubby7 appealing is its flexible installation. It can be mounted above the motherboard using the included spacers and screws, or attached with the supplied hook-and-loop strip if you prefer a faster, less permanent setup. That makes it a good fit for custom builds, maintenance-friendly rigs, and compact cases where space management matters.
The Aqua Computer Hubby7 internal USB 2.0 hub upgrade kit Manual highlights a simple connection process: the hub links to an internal USB header on the motherboard, and the pin layout must be matched carefully to ensure correct operation. Once connected, the hub is typically recognized automatically by modern operating systems, so no special driver installation is needed.
Power options are another strong point. The hub can be powered directly through the USB connection or through a SATA power connector. When powered via USB, the total current across all ports is limited to 500 mA combined, which is suitable for lighter internal devices and may allow standby behavior depending on motherboard support. When connected through SATA power, the available current increases to 1000 mA combined, split across port groups for better device support.
A red POWER LED provides a quick visual check that the hub is receiving voltage, helping simplify troubleshooting during installation. If the light is off while the PC is running, the jumper position and cable connections should be checked first.
For builders who value tidy cable routing and dependable internal expansion, this hub is a sensible upgrade. It reduces dependence on external adapters, supports a wide range of internal USB accessories, and offers a straightforward way to organize a more advanced PC build.
Notes
- Best suited for internal USB 2.0 devices and accessories.
- Check jumper settings before relying on USB-only or SATA-powered operation.
- Make sure the motherboard header alignment is correct during installation.
Search for 67,706 Manuals online


Type-in Brand or Model
Sven Becker
8 months ago
Will this powered USB hub work reliably for RGB controllers, and do devices get recognized properly? Also, is mounting tricky if my motherboard header spacing does not fit?
Manual.ly
8 months ago
Yes. Reviewers report that with this hub, their RGB devices (for example, multiple Lighting Node Pro units and an AMD Wraith Prism) are detected correctly and can be controlled without limitations. A key point is that it has proper power, unlike an earlier unpowered hub where RGB control did not work. For installation, one reviewer noted the screw hole spacing on their motherboard did not match perfectly, so they used the included Velcro tape instead of fixing it by the screw location. Apart from that mounting variation, people describe the hub as fitting well and functioning without negative issues.