
Aqua Computer cuplex kryos NEXT with VISION AM4/3000/5000 Manual
PDF manual · 2 Pages
English



Quick check
Incorrect answer, please try again.
Chat with your Aqua Computer cuplex kryos NEXT with VISION AM4/3000/5000 manual using AI
Get instant AI answers from your Aqua Computer cuplex kryos NEXT with VISION AM4/3000/5000 manual
Ask anything about the Aqua Computer cuplex kryos NEXT with VISION AM4/3000/5000. Answers come from this manual, with the pages they are based on.
Ask a Question
Do you recommend cuplex kryos NEXT with VISION AM4/3000/5000?
Yes NoFrequently Asked Questions
This version is presented for AM4 systems, including AMD Ryzen 3000 and 5000 platform use. Confirm motherboard clearance, socket compatibility, and the exact mounting hardware included with the specific product package before installation.
Is this answer helpful?
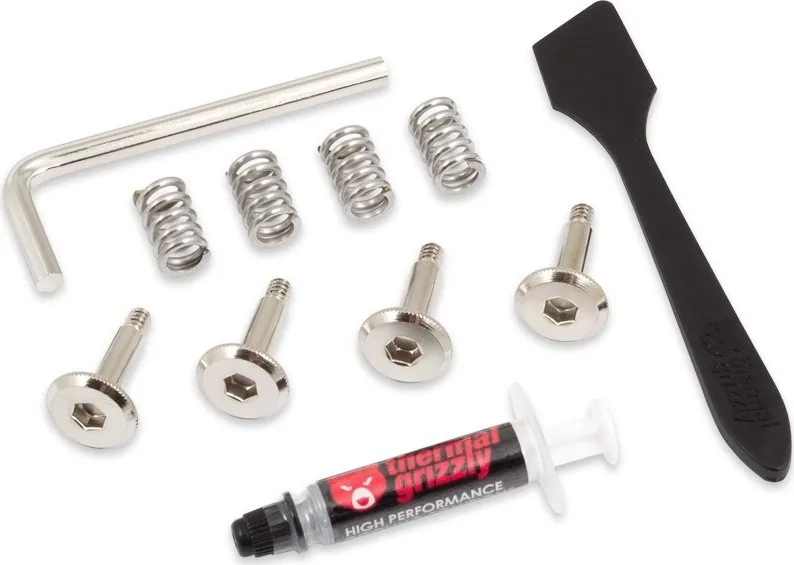
Clean old thermal compound from the CPU first. Apply a small drop of supplied paste, approximately 4 mm in diameter, at the center of the processor, or spread a thin, even layer using the included plastic spatula.
Is this answer helpful?
Coolant should enter through the central connection and exit through the outer connection. Using the ports in reverse order is possible in a loop layout, but it can lower cooling performance.
Is this answer helpful?
Start each fastener only a few turns, then alternately tighten diagonally opposite fasteners in small increments. Continue until all four are seated at their stops. This promotes even pressure across the CPU.
Is this answer helpful?
No. Start and test the water-cooling loop while the other PC components remain disconnected from power. Only operate the computer after leaks have been ruled out and any moisture has been fully removed.
Is this answer helpful?
The VISION module provides integration with Aqua Computer's aquasuite software for configuring, monitoring, and evaluating supported Aqua Computer USB devices. It is intended for users who want cooling hardware connected to a broader monitoring setup.
Is this answer helpful?
Advantages and Disadvantages
Advantages

- Supports AM4 mounting and uses a spring-loaded fastening method for balanced CPU contact.
- Integrated VISION module supports monitoring and configuration through Aqua Computer aquasuite software.
- Central inlet and outer outlet provide a defined flow path for optimized cooling performance.
- Knurled mounting hardware can simplify installation, with tool assistance available where needed.
Disadvantages

- Requires a complete custom water-cooling loop with sufficient flow and cooling capacity.
- Incorrect coolant flow direction can reduce cooling performance.
- Leak testing is essential before powering other PC components.
- Specified operation requires Double Protect Ultra coolant.
Product Specification
Type
CPU
Compatibility
AM4
Connections
G1/4"
Dimensions (L x W x H)
4.37 x 2.95 x 0.87 in
Features
Temperature sensor, display, USB, aquabus
Product Description
Aqua Computer cuplex kryos NEXT with VISION AM4/3000/5000 - Read, Download & Print Free
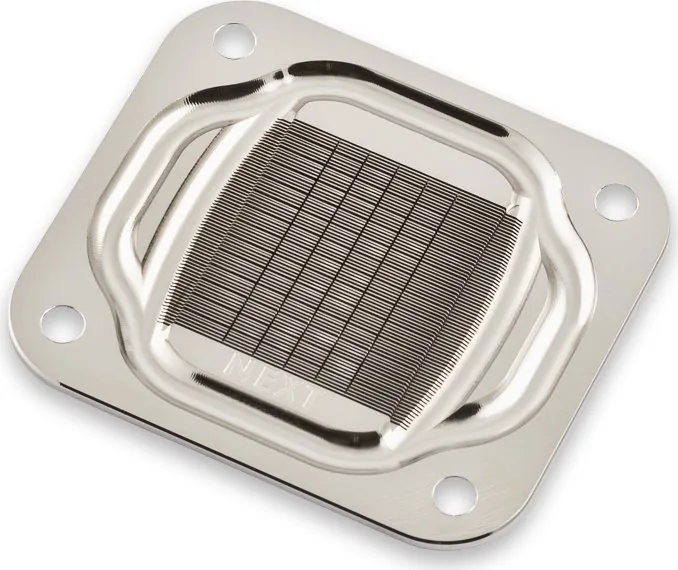
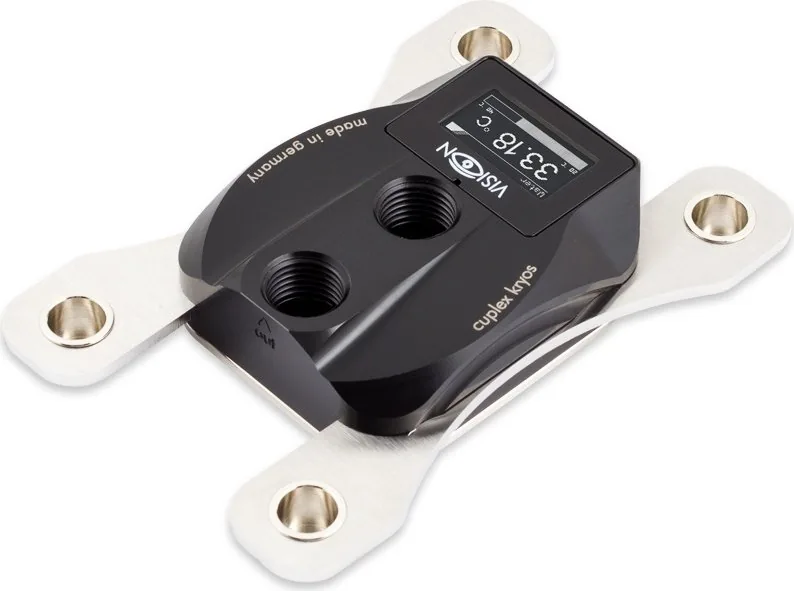
The Aqua Computer cuplex kryos NEXT with VISION AM4/3000/5000 is a CPU water block designed for builders who want a carefully integrated liquid-cooling setup for compatible AMD systems. It combines the cuplex kryos NEXT cooling hardware with an integrated VISION module, making it suitable for users who value both thermal management and monitoring options in a custom loop.
Designed for custom water cooling
This cooler is intended to be installed directly on the processor with thermal compound applied at the center of the CPU. Correct mounting pressure is achieved with springs and knurled fasteners, tightened gradually in a diagonal pattern. This approach helps create even contact between the cold plate and processor surface, an important part of reliable cooling performance.
The supplied mounting concept supports AM4 and is also part of a broader socket-compatible design family. Installation requires attention to component orientation, clean CPU surfaces, and the proper use of insulating hardware where a backplate is required. Builders upgrading an existing system should remove old thermal paste before fitting the cooler.
Flow direction matters
For the strongest cooling result, coolant should enter through the central port and leave through the outer port. Reversing this direction can reduce cooling performance. This makes loop planning especially important when choosing tube routes, fittings, pumps, radiators, and reservoir placement.
Before powering the rest of the computer, the cooling loop should be tested for leaks. The cooler must operate in a loop with adequate coolant flow and sufficient heat-dissipation capacity. The stated coolant requirement is Double Protect Ultra, helping users align their maintenance routine with the product's operating guidance.
VISION monitoring integration
The integrated VISION module expands the product beyond its mechanical cooling role. It works with Aqua Computer's aquasuite software environment for configuration, monitoring, and evaluation of supported USB devices. For enthusiasts building a monitored system, this offers a convenient way to incorporate device data into a broader Aqua Computer ecosystem.
Notes
- Disconnect the PC from mains power and protect components from electrostatic discharge before installation.
- Confirm that all fittings and connections are dry and leak-free before starting the computer.
- Tighten mounting hardware evenly and avoid forcing fasteners beyond their intended stop.
- Plan tubing so the central connection receives incoming coolant for optimal performance.
Search for 67,706 Manuals online


Type-in Brand or Model