
AOC 24P2Q Manual
PDF manual · 33 Pages
English



Quick check
Incorrect answer, please try again.
Chat with your AOC 24P2Q manual using AI
Get instant AI answers from your AOC 24P2Q manual
Ask anything about the AOC 24P2Q. Answers come from this manual, with the pages they are based on.
Ask a Question
Do you recommend 24P2Q?
Yes NoFrequently Asked Questions
Connect the power cord to the display firmly and plug it into a grounded outlet. Turn off your computer, then connect the display signal cable to the video connector on your PC. Plug the power cords into a nearby outlet and turn on both devices. If no image appears, check the cable connections and try rebooting the computer.
Is this answer helpful?
Yes, the Adaptive-Sync function works with DisplayPort and HDMI connections. Compatible graphics cards include AMD Radeon RX 480, 470, 460, R9 300 Series, and R9 200 Series models. You can enable this feature in the Game Setting menu of the On Screen Display.
Is this answer helpful?
No. When the HDR Mode is set to non-off in the Luminance section, items under Color Setup including RGB adjustments cannot be modified. You must turn off HDR Mode first to change color temperature and gain settings manually.
Is this answer helpful?
The optimal preset resolution is 1920x1080 at 60Hz. It can also support 1920x1080 at 75Hz via HDMI or DP depending on the specific model. This Full HD resolution ensures clear visibility for text and images on the 23.8 inch panel.
Is this answer helpful?
Clean the cabinet regularly with a soft cloth using a soft-detergent to wipe out stains. Do not use strong detergents that cauterize the product cabinet. Ensure no detergent leaks into the product. Disconnect the power cord before cleaning the product to ensure safety and prevent accidental damage.
Is this answer helpful?
You can attach the monitor to a wall mounting arm by removing the base. Line up the holes of the arm with the holes in the back of the monitor. Insert the screws and tighten them. Refer to the official department of AOC to verify VESA mounting holes are available for your specific model before purchase.
Is this answer helpful?
Go to the Extra menu within the OSD settings. Select Reset and confirm the action. This restores the menu to default settings including energy configurations. You can also press the button combo for Auto Config to adjust the picture to default settings if using a D-Sub connection.
Is this answer helpful?
Advantages and Disadvantages
Advantages

- Includes multiple connection ports like HDMI, DP, DVI, and VGA for versatile device compatibility
- Features Adaptive-Sync technology to reduce screen tearing during gaming sessions
- Offers Low Blue Mode settings to reduce eye strain during extended use periods
- Provides USB 3.2 ports for convenient charging and data transfer without extra hubs
Disadvantages

- HDR Mode settings prevent adjustment of contrast and brightness controls simultaneously
- VESA wall mounting requires purchasing an optional arm separately from the package
- Some specific connectivity options like DP may not be available on all regional model variations
- Clear Vision feature is an additional enhancement that might not be needed for all users
Product Specification
Function
Monitor (stationary)
Diagonal
23.82 Inches (60.5 cm)
Resolution
1920x1080 (FHD), 16:9, 93 ppi
Panel
IPS
Backlight
LED, Blue Light Filter, flicker-free
Brightness
250 cd/m^2 (typical)
Contrast
1,000:1 (static), 50,000,000:1 (dynamic)
Response Time
4ms (GtG)
Refresh Rate
75Hz (1920x1080)
Signal Frequency
30-85kHz (H) / 48-75Hz (V)
Ports
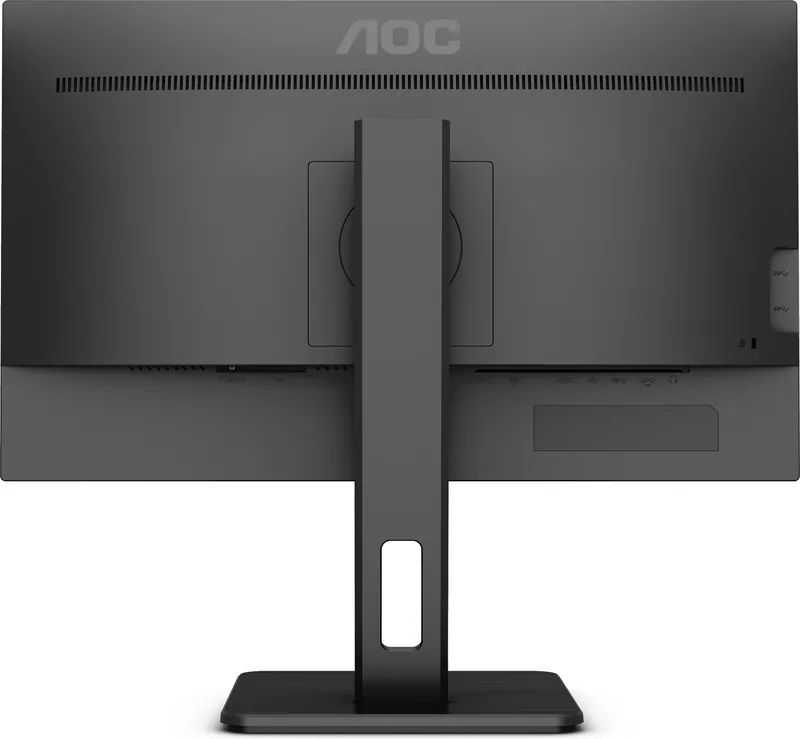
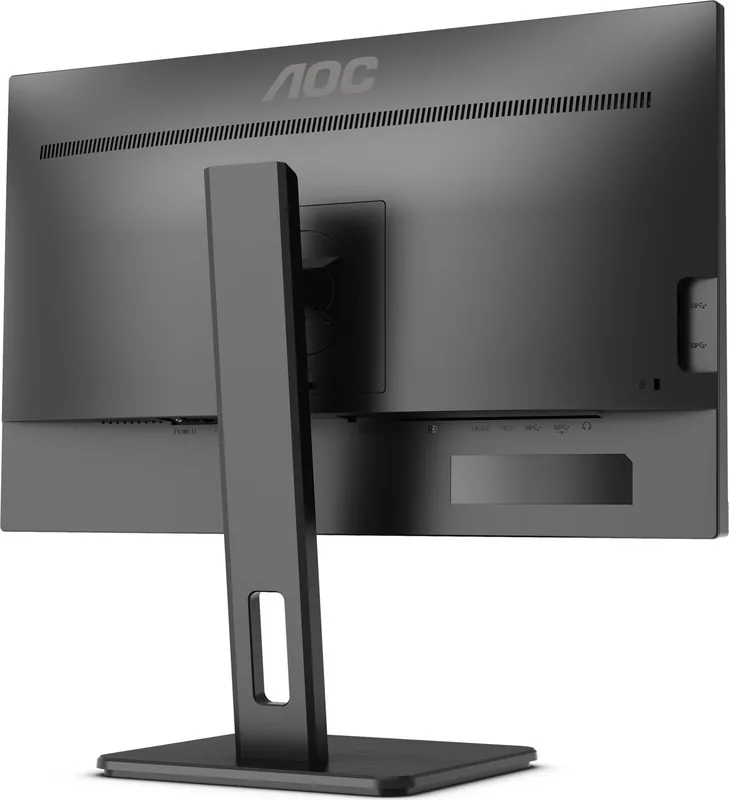
1x VGA, 1x HDMI 1.4, 1x DisplayPort 1.2, 1x DVI, 1x USB-B 3.0 (Upstream, 5Gb/s), 4x USB-A 3.0 (Downstream, 5Gb/s), 1x 3.5mm Jack (Line-Out), 1x 3.5mm Jack (Line-In), 1x AC-In C13 (Power Inlet)
Shape
Flat
Viewing Angles
178deg/178deg
Coating
non-glare (matte), Hardness 3H
Color Depth
8bit (16.7M Colors)
FRC
Unknown
sRGB
107%
Adobe RGB
79%
DCI-P3
79%
Certifications/Standards
TCO 9
Speakers
Speakers (2x 2W)
Controls
Mechanical Buttons
Ergonomics
with Base, height-adjustable (5.91 Inches), Pivot (+90deg), Swivel (+/-180deg), Tilt (+35deg/-5deg)
VESA
3.94 x 3.94 Inches (Mounting)
Power Consumption
20W (typical), 0.3W (Standby), 22W (Energy Label A+++ to G)
Energy Efficiency SDR (A to G)
17kWh/1000h (E)
Energy Efficiency Old (A+++ to G)
32.1kWh (A)
Features
Security Lock (Kensington Security Slot), Slim Bezel
Screen-to-Body Ratio
88.70% (Calculated)
Dimensions
21.26 x 20.20 x 7.87 Inches (WxDxH) with stand compressed, 21.26 x 12.83 x 2.01 Inches (WxDxH) without stand
Color
black (display frame), black (lower bezel), black (base), black (rear)
Weight
10.21 lbs (with stand)
Power Supply
Internal
Warranty
3 Years
USB Marking
Left
Product Description
Discover the AOC 24P2Q 23.8 Inch Monitor Experience
Perfect Clarity for Modern Workspaces
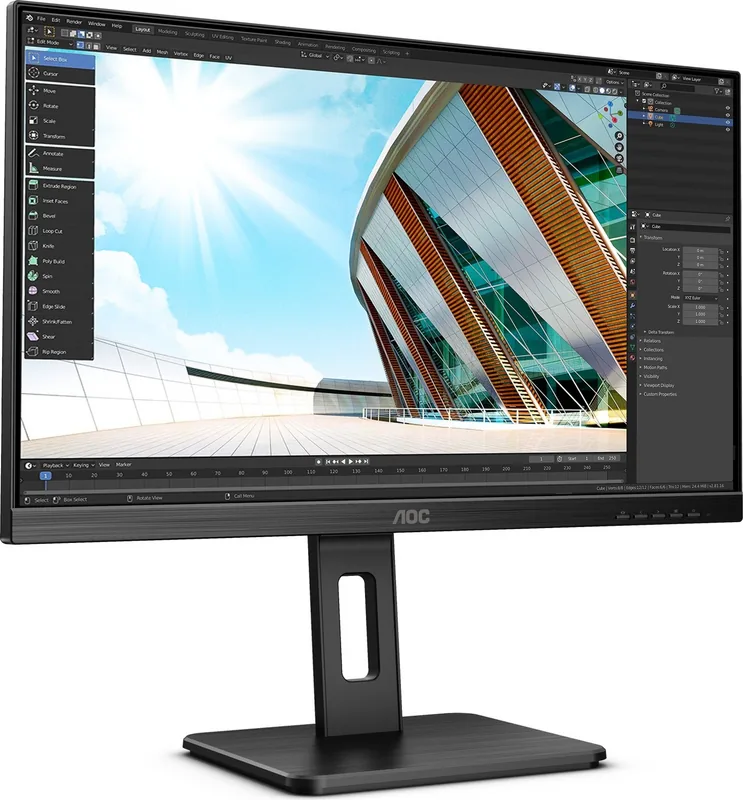
When you look up the AOC 24P2Q, 23.8 Manual, you find a display designed for professionals who need precision without clutter. This monitor brings a crisp Full HD resolution of 1920 by 1080 to your desk, ensuring every document and image appears sharp. The 23.8 inch screen size offers ample space for multitasking while fitting comfortably on smaller desktops. Users appreciate the thin bezels and the sleek design that integrates well into any office or home setup. The contrast ratio and brightness levels are tuned for clear visibility even under bright office lighting conditions.
Versatile Connectivity Options
One standout feature is the variety of connections available for your daily needs. You can link via DisplayPort, HDMI, DVI, or VGA depending on your computer type and budget. The inclusion of USB 3.2 ports allows for convenient device charging and data transfer without needing extra hubs nearby. Audio in and earphone out jacks ensure you can plug in your headphones directly to the screen for private listening sessions. This flexibility makes it an excellent choice for mixed setups where the source device might vary frequently.
Gaming Performance and Adjustments
Gamers will find value in the specialized game settings available through the On Screen Display interface. The system supports Adaptive-Sync technology to reduce frame tearing and stuttering during fast action sequences. You can enable Low Blue Mode to reduce eye strain during late-night sessions. Shadow Control helps illuminate dark corners in video game environments so you do not miss important details in shadowy areas. You can also customize the frame counter to track performance metrics easily while playing competitive titles.
Installation and Setup Process
Setting up the hardware is straightforward with the provided base and stand. You simply attach the base to the monitor stand and secure it firmly before plugging in cables. Ensure ventilation spaces are clear around the unit to prevent overheating during long use sessions. Wall mounting is also an option for those preferring cable-free desks using a VESA compatible arm purchased separately. Connecting the power cord securely is vital to maintain the three prong grounding safety feature.
Maintenance and Safety Guidelines
Proper care ensures longevity and consistent performance over many years of usage. Cleaning should be done with a soft cloth and mild detergent, avoiding harsh chemicals that damage the screen coating permanently. Never place the monitor on unstable surfaces to prevent tipping or physical damage to internal components. During storms, unplug the unit to protect against power surges that might fry the internal circuits unexpectedly. The documentation provides detailed troubleshooting steps if issues arise with image quality or power indicators.
Overall, this device represents a solid investment for productivity and entertainment alike. Its reliable performance and user-friendly interface keep operations smooth without unnecessary delays or interruptions. Whether you are editing photos, coding software, or watching movies, the color accuracy remains consistent across all workloads efficiently. Enjoy a stable visual environment with this reliable hardware solution for your computer needs today.
Search for 67,706 Manuals online


Type-in Brand or Model