
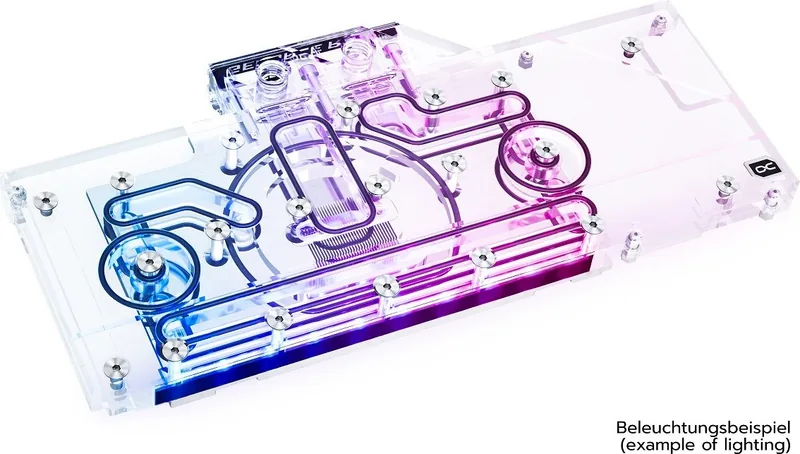
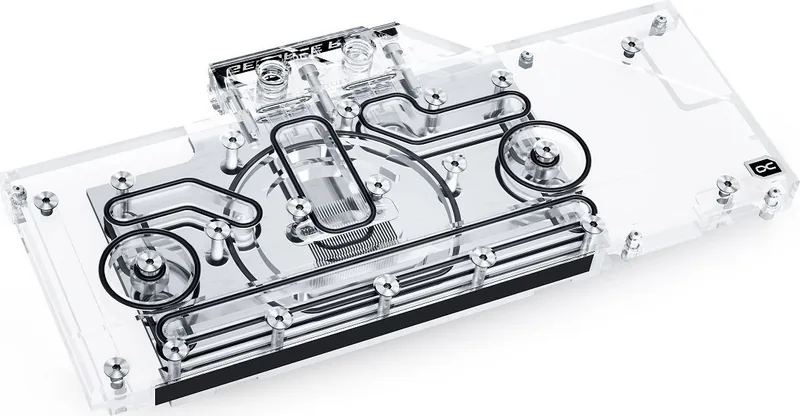
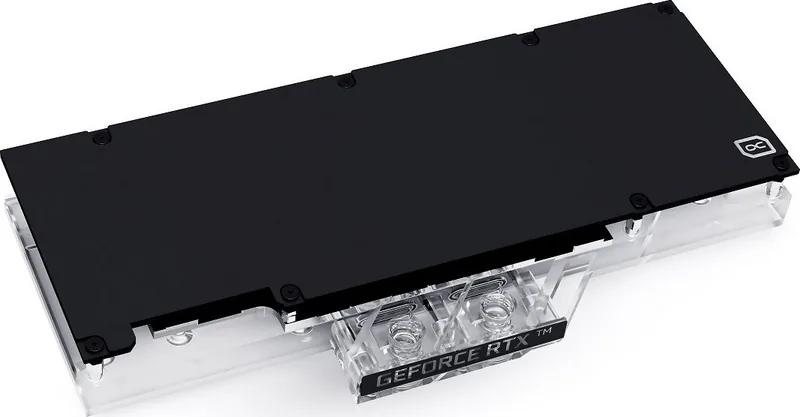
Alphacool Iceblock Aurora GPX-N RTX 3080 / 3090 / 3090 TI Manual
PDF manual · 4 Pages
English



Quick check
Incorrect answer, please try again.
Chat with your Alphacool Iceblock Aurora GPX-N RTX 3080 / 3090 / 3090 TI manual using AI
Get instant AI answers from your Alphacool Iceblock Aurora GPX-N RTX 3080 / 3090 / 3090 TI manual
Ask anything about the Alphacool Iceblock Aurora GPX-N RTX 3080 / 3090 / 3090 TI. Answers come from this manual, with the pages they are based on.
Ask a Question
Do you recommend Iceblock Aurora GPX-N RTX 3080 / 3090 / 3090 TI?
Yes NoFrequently Asked Questions
Yes, the Alphacool Iceblock Aurora series includes a matching backplate in the box to fully encase your graphics card.
Is this answer helpful?
You need the included digital-RGB adapter and a compatible external controller. The controller itself is not included in the package.
Is this answer helpful?
Visit the Alphacool configurator website and select your graphics card model. Verify the specific PCB number if possible for accuracy.
Is this answer helpful?
The kit includes M2x5 screws with washers, M3x5 screws, and M2x11 screws for the backplate. M3 nuts are also included.
Is this answer helpful?
Yes, thoroughly clean all thermal paste residues with isopropanol alcohol to ensure proper contact and adhesion of pads.
Is this answer helpful?
No, the manufacturer is not liable for assembly errors occurring due to negligence or incompatible part selection.
Is this answer helpful?
Advantages and Disadvantages
Advantages

- Includes comprehensive accessory kit with screws and thermal grease
- Backplate is included as part of the standard kit for protection
- Supports digital RGB lighting for custom aesthetic effects
- Detailed compatibility configurator available online for fitment verification
- High-quality copper block for superior thermal transfer efficiency
Disadvantages

- Requires strict PCB layout matching which varies by manufacturer
- Installation liability disclaimer exists for negligence or errors
- Tighter parts require careful handling to avoid damage
- Thermal paste application must be precise to avoid contamination
- RGB controller sold separately from the water block unit
Product Specification
Type
GPU
Connectors
G1/4"
Features
Cooled voltage regulator (GPU), including Backplate
Product Description
Unleash Performance With the Alphacool Iceblock Aurora
Upgrading your computer cooling solution often involves significant effort and risk without proper knowledge. However, the Alphacool Iceblock Aurora series stands out as a top-tier choice for demanding gamers and professionals seeking better thermal efficiency. This custom water block replaces factory cooling systems completely to deliver superior thermal performance and aesthetics. It is designed specifically for Nvidia RTX 3080 and RTX 3090 series graphics cards. Many users rely on the Alphacool Iceblock Aurora GPX-N RTX 3080 / 3090 / 3090 TI Manual for detailed guidance during this complex process. Following the steps ensures safety and optimal function for your expensive hardware without voiding warranties.
Critical Compatibility Checks
Before you begin any physical work, compatibility checks are absolutely mandatory for success. Graphics card manufacturers occasionally revise their printed circuit board layouts slightly. These changes can significantly impact how a third-party cooler fits onto the card structure. You must visit the official configurator website online to verify fitment first. Compare your specific PCB number against the online database carefully. This step prevents potential damage or incompatibility issues before you start. Alphacool explicitly states they are not liable for negligence regarding part selection. Ensure all taller components have sufficient clearance space around them.
Detailed Installation Steps
Start by placing the hardware on an antistatic mat to prevent damage. This prevents electrostatic discharge that could permanently damage sensitive electronics inside. Remove the stock cooler by unscrewing fans and carefully unhooking connectors. If thermal glue was used, apply gentle force to avoid breaking parts off. Clean all old thermal paste or pad residues using isopropanol alcohol effectively. Ensure surfaces are completely clean and dry before proceeding with assembly. Apply thermal paste evenly on the GPU surface itself. Keep the layer thinner than one millimeter to maintain electrical safety and contact.
Mounting and Backplate Integration
Align the graphics card onto the copper block carefully to avoid misalignment. Secure it using eight M2x5 screws with washers included in the box. Tighten them crosswise by hand to ensure even pressure distribution across the board. Remove foil layers from thermal pads completely before placement. Position them correctly on the copper block and the rear of the PCB. Attach the slot cover with small M3 screws provided. Secure the backplate using longer M2x11 screws tightly. This completes the physical assembly process securely and rigidly.
Digital RGB Configuration
The unit supports digital RGB lighting for extensive customization options. Connect the provided adapter to the three-pin female connector immediately. Link this to a compatible digital-RGB controller for vivid color effects on demand. Multiple LED strips can be added via the remaining connector easily. This enhances the visual aesthetics of your internal case lighting significantly. Close unused inlets with the included screw plugs tightly. This maintains fluid integrity if you connect tubing later for water cooling loop.
Important Note
Always prioritize safety during installation steps. Negligence in assembly voids potential support claims from the manufacturer. Verify all tools are ready before starting the process.
Search for 67,706 Manuals online


Type-in Brand or Model