
Alphacool ES NV A100 80GB Manual
PDF manual · 4 Pages
English



Quick check
Incorrect answer, please try again.
Chat with your Alphacool ES NV A100 80GB manual using AI
Get instant AI answers from your Alphacool ES NV A100 80GB manual
Ask anything about the Alphacool ES NV A100 80GB. Answers come from this manual, with the pages they are based on.
Ask a Question
Do you recommend ES NV A100 80GB?
Yes NoFrequently Asked Questions
Visit the official configurator at https://www.hwconfig.com and search for your graphics card model. Compare your PCB layout with the pictures provided. You can also compare the PCB number for definitive identification, as manufacturers may revise designs slightly.
Is this answer helpful?
The kit contains various thermal pads (sizes A, B, C, D), thermal grease, a putty tool, M2x5mm and M2x11mm screws, and a PCIe bracket. Ensure you have an antistatic mat before opening.
Is this answer helpful?
Yes, the GPU bracket is typically supplied by the original graphics card manufacturer and should remain on the card to maintain structural integrity during the cooler installation process.
Is this answer helpful?
Alphacool International GmbH is not liable for assembly errors occurring due to negligence. Damaging parts from incorrect removal of the original cooler voids potential claims, so extreme care is required.
Is this answer helpful?
Original thermal paste or pad residues must be removed with isopropanol alcohol to ensure a perfect thermal seal. Any dust or debris will significantly reduce cooling efficiency on the GPU die.
Is this answer helpful?
The cooler was designed for a special PCB layout. Occasionally, graphics card manufacturers may revise the design, causing the cooler not to fit on later models. Verification is essential.
Is this answer helpful?
The package includes M2 screws and a putty tool. You only need basic screwdrivers and an antistatic mat. Solvent like isopropanol is required separately for cleaning the board.
Is this answer helpful?
Advantages and Disadvantages
Advantages

- Comprehensive thermal interface kit with various pads and grease
- Includes specific M2 screws and a PCIe mounting bracket
- Compatible with specific enterprise A100 configurations
- Thermal grease tool provided for precise application
- Reduces temperature significantly without active fan noise
Disadvantages

- Risk of incompatibility if PCB revision changes occur
- Removal of original glue cooler requires extreme care
- Liability not covered for negligence during assembly
- Installation requires cleaning with dangerous solvents
- Tall components on PCB might interfere with assembly
Product Specification
Type
GPU
Material
Copper (chromed), Aluminum, Carbon
Compatibility
PNY NVIDIA A100
Connectors
G1/4"
Dimensions (LxWxH)
10.00x3.76x1.57in
Features
Voltage regulator cooled (GPU), incl. Backplate
Product Description
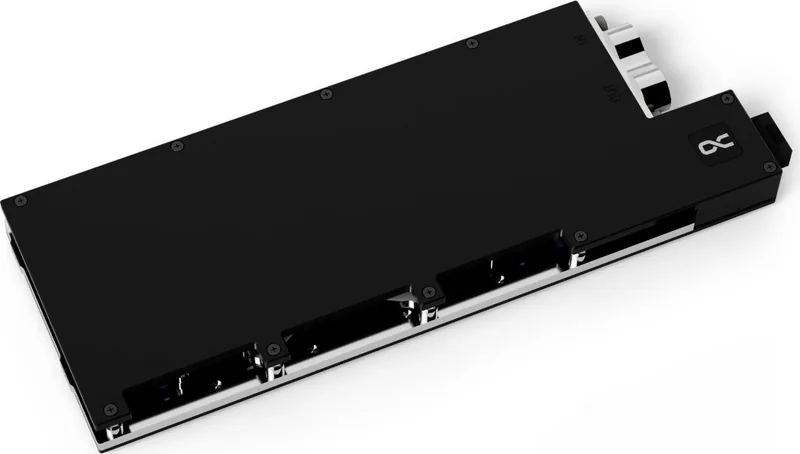
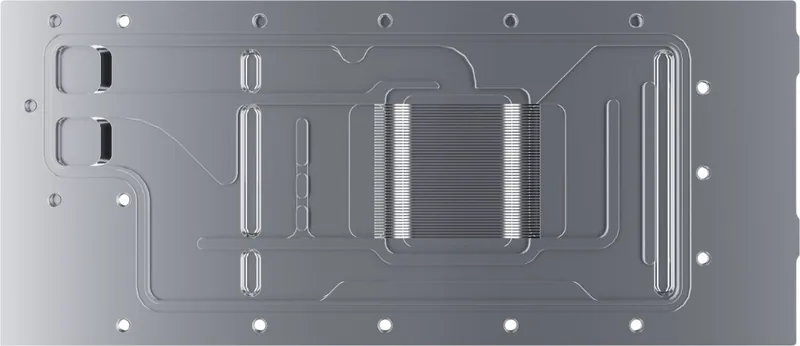
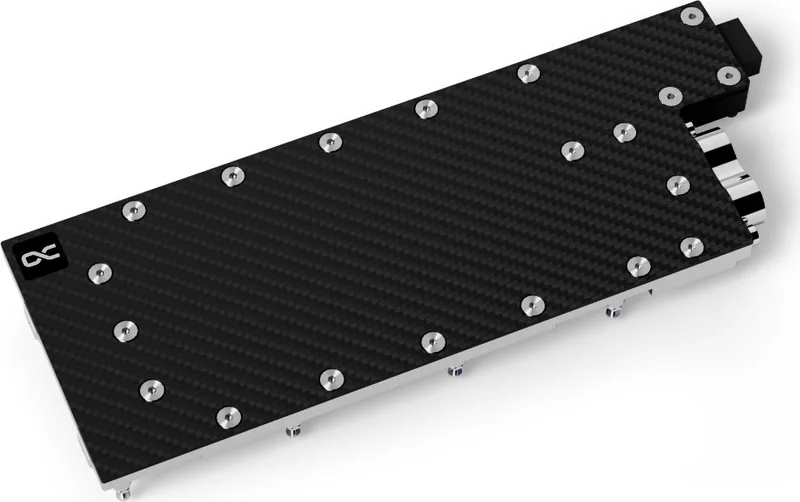
Alphacool Enterprise ES NV A100 80GB PCIe Cooling System Overview
Maintaining optimal performance in high-end computing requires efficient thermal management strategies. The NVIDIA A100 80GB PCIe GPU is a powerhouse designed for demanding data centers and complex AI workloads. To ensure sustained peak performance, the Alphacool Enterprise ES NV A100 80GB PCIe provides robust thermal dissipation tailored specifically for enterprise environments. This solution replaces standard stock cooling solutions to maximize heat dissipation efficiency during intensive compute cycles.
Installation begins with verifying strict hardware compatibility requirements before proceeding. Graphics card manufacturers often update PCB layouts periodically, making verification essential before purchase or assembly. Users should consult online configurators to match the cooler against specific hardware versions. This step prevents physical damage during assembly and ensures the unit fits without interference with surrounding components. Once compatibility is confirmed, the original cooling solution must be removed carefully to avoid detaching delicate chips.
Cleaning the GPU die and memory chips is critical before applying new thermal materials for optimal performance. Residues from original thermal pads or paste need complete removal using solvent like isopropanol alcohol to ensure a perfect thermal seal. The kit includes a comprehensive array of thermal interfaces, including various sizes of thermal pads and high-conductivity thermal grease. Specific pads are provided for memory chips to handle heat evenly. Correct placement ensures direct contact between the components and the cooler block. A thermal grease tool helps spread compound evenly on the GPU core. It is vital to wear gloves when handling the GPU to prevent oil contamination on the die. Any dust or debris must be brushed away before applying new materials.
Assembly involves mounting the backplate and PCIe bracket securely into place. The GPU bracket typically remains from the original manufacturer to maintain structural integrity on the card itself. The cooling block is then aligned precisely, and the backplate is fastened using screws provided in the package. Attention must be paid to ensure tall capacitors or components on the PCB do not interfere with the cooler assembly height or clearance. Negligence during this phase can void warranties or cause permanent hardware failure due to broken traces or solder joints.
Regarding the included accessories, a putty tool is supplied to assist with thermal grease application. Different pad thicknesses are provided to accommodate various board configurations accurately. The instructions warn that liability is not covered for assembly errors resulting from negligence. This emphasizes the importance of careful handling during the procedure. Users are advised to keep all original screws in case reassembly is needed later.
In conclusion, this cooling unit enhances thermal reliability for critical workloads without requiring active fans. Adhering to safety instructions protects both the user and the expensive hardware from unnecessary risk during installation. The package includes all necessary hardware for a standard installation including tools, screws, and paste. Proper handling guarantees the A100 operates within safe temperature limits under heavy computational loads.
Search for 67,706 Manuals online


Type-in Brand or Model