
Alphacool Eiswolf 2 AiO RTX 4000 Series Manual
PDF manual · 4 Pages
English



Quick check
Incorrect answer, please try again.
Chat with your Alphacool Eiswolf 2 AiO RTX 4000 Series manual using AI
Get instant AI answers from your Alphacool Eiswolf 2 AiO RTX 4000 Series manual
Ask anything about the Alphacool Eiswolf 2 AiO RTX 4000 Series. Answers come from this manual, with the pages they are based on.
Ask a Question
Do you recommend Eiswolf 2 AiO RTX 4000 Series?
Yes NoFrequently Asked Questions
Yes, dismantling the original cooler is required before installing the new unit. Carefully remove screws and unhook fan connectors depending on the structure.
Is this answer helpful?
Visit the official online configurator and search for your graphics card or cooler model. You can also compare the PCB number for definitive identification.
Is this answer helpful?
Use isopropanol alcohol to clean residues of thermal glue or pads. This solvent effectively removes paste without damaging electronic parts.
Is this answer helpful?
Yes, an ARGB adapter is included in the package to connect the lighting system. This allows users to sync the cooler's illumination with their motherboard.
Is this answer helpful?
Multiple sizes of thermal pads are provided, including options like 50x15mm or 40x15mm for different heat sources such as VRMs and VRAM.
Is this answer helpful?
Care must be taken when removing glued components or handling screws. Following the provided safety instructions ensures a smooth installation process.
Is this answer helpful?
Alphacool is not liable for assembly errors occurring due to negligence, such as choosing an incompatible cooler for your specific card model.
Is this answer helpful?
Advantages and Disadvantages
Advantages

- High precision thermal pads included for VRM and memory protection
- Designed for specific PCB layouts ensuring optimal fit and heat transfer
- Integrated ARGB adapter allows for seamless lighting customization
- Includes necessary tools like plugs and screwdrivers for assembly
- Durable backplate adds structural support and aesthetic appeal
Disadvantages

- Strict compatibility requirements may limit use with newer card revisions
- Complex installation process requires attention to detail and patience
- Risk of component damage if removing glued factory coolers incorrectly
- Cleaning agents required must be used carefully to avoid corrosion
- Manufacturer liability is limited if assembly errors occur due to negligence
Product Specification
Type
Internal (Open System)
Radiator
14.17 inches (Size), 1.18 inches (Thickness), Copper
Fan
3x 4.72x4.72 inches, 0-2500rpm, 70.5 CFM, 0.12 inH2O
Reservoir
N/A
Pump
6-13.5V, 19.02 GPH, 3.28 feet
Connectors
G1/4", Alphacool Quick Disconnect
Lighting
LED (RGB)
Features
GPU-Backplate
Product Description
Overview of Advanced Cooling Solutions
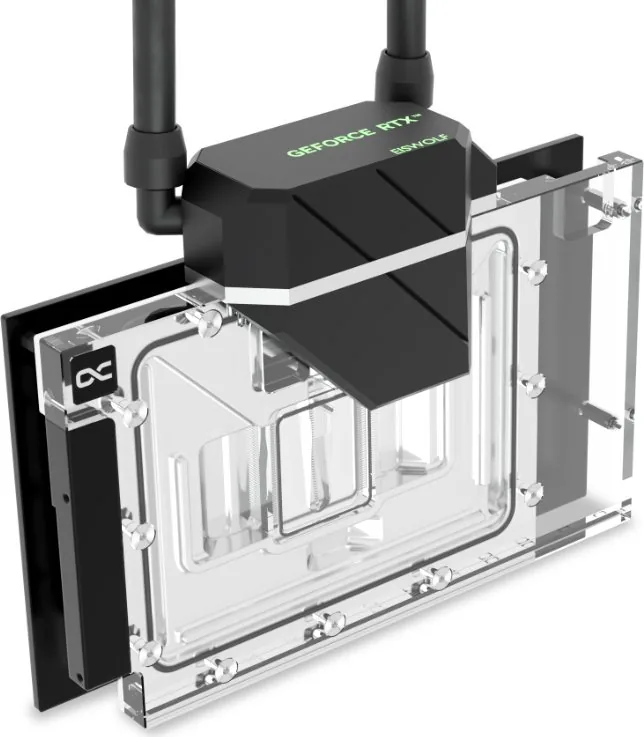
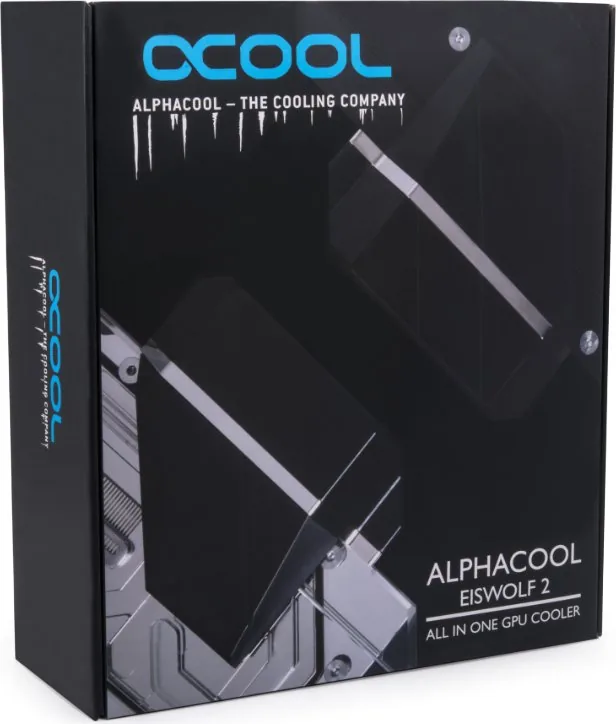
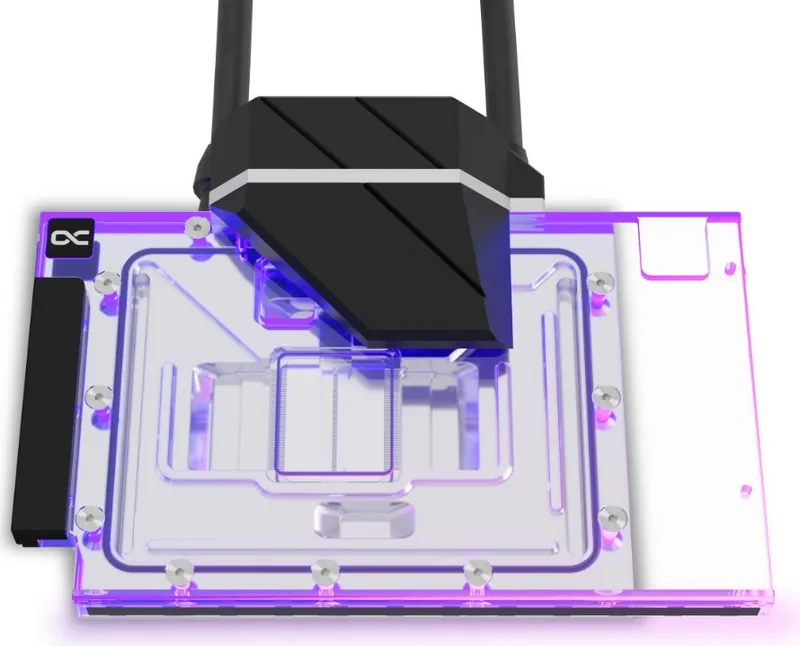
Maintaining peak performance in modern gaming setups requires superior thermal management. The Alphacool Ice Wolf 2 AIO RTX 4000 Series stands out as a premier choice for high-end enthusiasts. This liquid cooling unit is engineered to handle the heat output of the latest generation graphics processing units. By combining efficient water blocks with integrated pumping systems, it ensures longevity and silence during operation. The Alphacool Ice Wolf 2 AIO RTX 4000 Series Manual provides essential guidance for installation.
Preparing for Installation
Before beginning the assembly process, it is critical to verify compatibility with your specific hardware. The design accommodates a special PCB layout commonly found in flagship models. Occasionally, manufacturers revise their card designs slightly, which may affect the fit of the cooler. To confirm readiness, use the official online configurator provided by the manufacturer. This allows for precise identification based on the PCB number. Always place the hardware on an anti-static mat when working on the card to prevent static discharge damage.
Assembly and Setup
The process involves removing the original factory cooler safely. Depending on the structure, removing screws or unhooking connectors is necessary. Special care must be taken with glued coolers as parts could be damaged during removal. Clean all thermal paste or pad residues using a solvent such as Isopropanol alcohol. You are advised to apply the provided thermal pads onto the cooling block precisely. Additionally, place pads on the PCB backside where VRMs and memory chips reside.
Multiple pads like those sized 50x15mm or 40x15mm are supplied to ensure full coverage across the GPU. This attention to detail protects sensitive electronic traces from overheating during stress tests or overclocking sessions. Mount the PCI slot bracket and the heavy-duty backplate securely to maintain structural integrity. Connect the included ARGB adapter to synchronize lighting with your motherboard. Use the specific tool provided to screw in plugs and secure the unit tightly. Taller components must have enough space to avoid contact with the cooling block. The included kit contains various pad sizes to cover different heat sources adequately.
Final Thoughts
Successful installation requires patience and adherence to safety instructions. Alphacool International GmbH is not liable for errors due to negligence or incompatible selections. By following these steps, users can achieve optimal temperatures and aesthetic integration within their system. This comprehensive approach ensures your investment remains cool and efficient for years to come. Proper maintenance of your Alphacool Ice Wolf 2 AIO RTX 4000 Series is key to reliability.
Search for 67,706 Manuals online


Type-in Brand or Model