
Alphacool Eisblock HDX-3 Manual
PDF manual · 4 Pages
English



Quick check
Incorrect answer, please try again.
Chat with your Alphacool Eisblock HDX-3 manual using AI
Get instant AI answers from your Alphacool Eisblock HDX-3 manual
Ask anything about the Alphacool Eisblock HDX-3. Answers come from this manual, with the pages they are based on.
Ask a Question
Do you recommend Eisblock HDX-3?
Yes NoFrequently Asked Questions
It is used to mount an M.2 SSD on a PCIe 3.0 x4 adapter while cooling it with a water block. The goal is to improve thermal control during heavy or sustained SSD workloads.
Is this answer helpful?
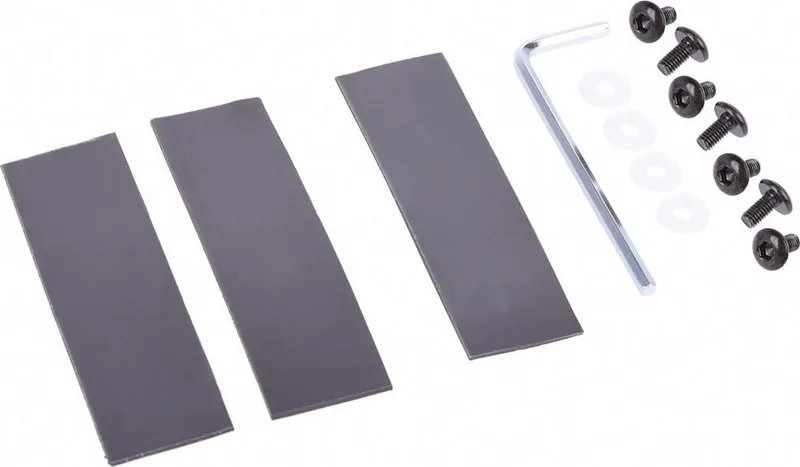
The package includes the adapter card, cooling block, thermal pads, screws, and washers. You still need to match the pad thickness correctly to your SSD layout for the best fit.
Is this answer helpful?
Different M.2 SSDs have different component heights and layouts. The included pad options help ensure proper contact whether the drive has chips on one side or both sides.
Is this answer helpful?
The SSD is inserted into the M.2 slot on the adapter card and secured with the included M3x5 screw. A thermal pad is then placed to help transfer heat to the cooler block.
Is this answer helpful?
The process is straightforward but requires care. You need to choose the correct pad thickness, align the block properly, and tighten the screws gently and evenly in a cross pattern.
Is this answer helpful?
It is most useful for users with custom water-cooling systems who want lower SSD temperatures, consistent performance, and a cleaner integrated cooling solution for their M.2 drive.
Is this answer helpful?
Advantages and Disadvantages
Advantages

- Water cooling helps manage M.2 SSD temperatures under sustained load.
- Included thermal pads support different SSD component layouts.
- PCIe 3.0 x4 adapter design integrates the drive into a performance build.
- Crosswise screw mounting encourages even pressure and stable contact.
Disadvantages

- Installation requires careful handling and attention to pad thickness.
- Water cooling adds complexity compared with a simple passive heatsink.
- Compatibility depends on the SSD’s physical layout and component placement.
- Best suited for custom-loop users, not for ultra-simple upgrades.
Product Specification
Conversion
PCIe -> M.2 PCIe
Host
1x PCIe 3.0 x4 (male)
Target
1x M.2/M-Key (PCIe 3.0 x4, 2280, female)
Additional Power Supply
N/A
Form Factor
Add-In Card (full size)
Dimensions
4.72x3.23x0.79 in
Features
Water Heatsink, Copper, POM (black)
Product Description
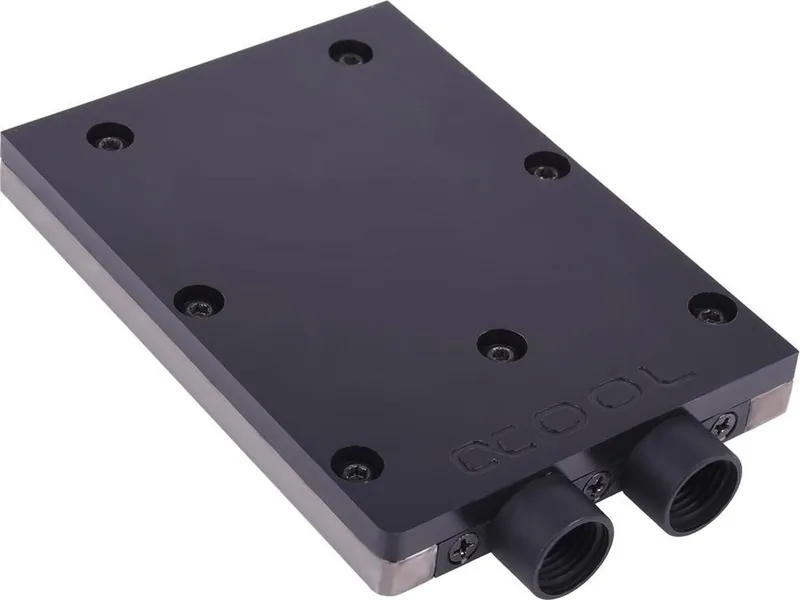
Alphacool Eisblock HDX-3: Water-Cooled M.2 Expansion for PCIe 3.0 x4
The Alphacool Eisblock HDX-3 is designed for users who want to give an M.2 SSD a more advanced thermal solution than a standard heatsink. Built around a PCIe 3.0 x4 adapter card, it combines storage expansion with active water cooling, making it a compelling option for compact systems, performance builds, and high-load workflows where SSD temperatures can become a limiting factor.
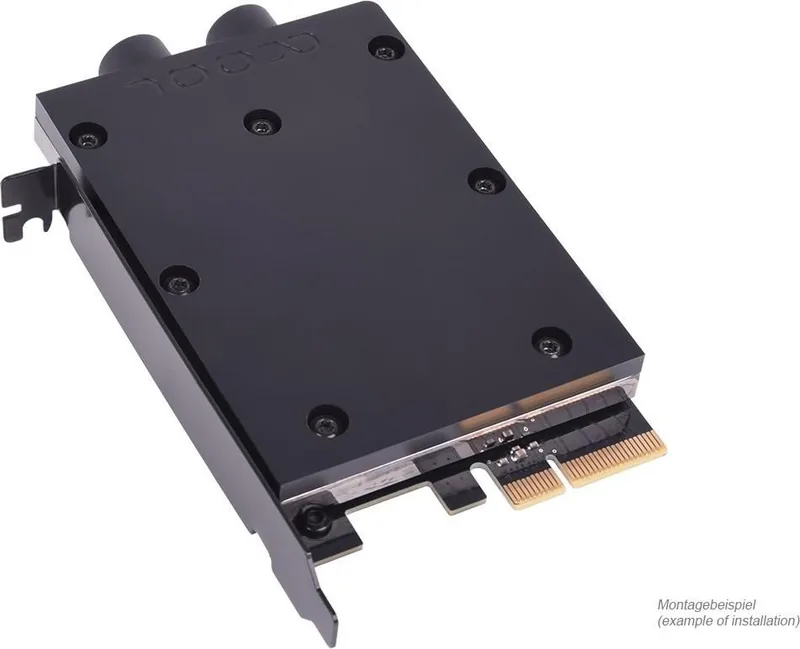
At the core of the design is a simple but thoughtful mounting concept. The M.2 drive is installed directly onto the adapter card, then paired with thermal pads and the cooling block to transfer heat efficiently. The package includes multiple pad thicknesses, which helps accommodate SSDs with components on both sides as well as models with chips only on one side. That flexibility matters because M.2 drives are not all built the same, and proper thermal contact is essential for consistent cooling.
Installation is clearly structured and follows a step-by-step approach. The drive is first secured with the included screw, then a thermal pad is placed on top before the block is mounted. After the card is turned over, washers are positioned and the block is tightened down with M3x6 screws in a crosswise pattern. This careful assembly method is intended to ensure even pressure across the SSD and cooler, reducing the risk of poor contact or uneven heat transfer.
What makes the Eisblock HDX-3 especially interesting is its focus on thermal management for storage rather than graphics or CPU cooling. For users pushing large transfers, cache-heavy workloads, or sustained read and write operations, keeping an SSD cool can help maintain stable performance. The adapter also offers a neat integration into custom-loop systems, where it can become part of a unified cooling setup instead of relying on passive airflow alone.
Key Takeaways
- PCIe 3.0 x4 adapter design adds M.2 support with water-cooled thermal control.
- Included thermal pads help fit different SSD layouts and component heights.
- Assembly uses screws, washers, and cross-tightening for balanced pressure.
- Best suited for builds where SSD temperatures and sustained performance matter.
- A practical choice for custom water-cooling enthusiasts seeking a refined storage solution.
Notes
- Check SSD component layout before choosing pad thickness.
- Tighten screws gently to avoid damaging the drive or adapter.
- Ensure the cooler sits evenly for optimal heat transfer.
Search for 67,706 Manuals online


Type-in Brand or Model
nostrum78
9 months ago
I plan to use the NVMe water block. How reliable are the seals, and what should I check during installation to avoid leaks or poor contact? Also, can the block cool the M.2 too much?
Manual.ly
9 months ago
The seals are usually fine, but reviews show they can be sensitive to assembly. Before mounting, check the O-rings/gaskets for correct seating and even compression. Tighten the screws evenly (cross pattern) and do not overtighten. After installation but before final cable management, do a short leak check: run the loop and inspect all water-line connections for any moisture, bubbles, or weeping (a paper towel at the fittings helps). For temperature, the block can lower SSD temps a lot, but you should avoid extreme overcooling where condensation risk increases. Monitor SSD temperature and keep coolant temperature roughly in line with room conditions; if your area is humid, consider basic condensation prevention and stay within your SSD manufacturer temperature specs.