
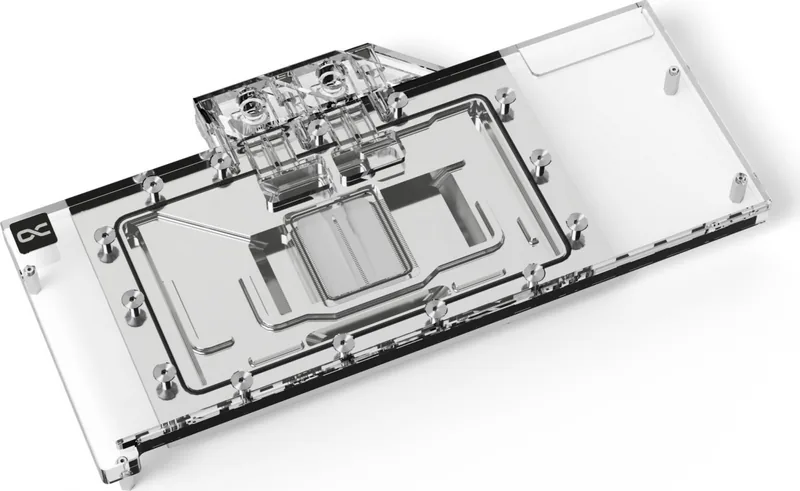
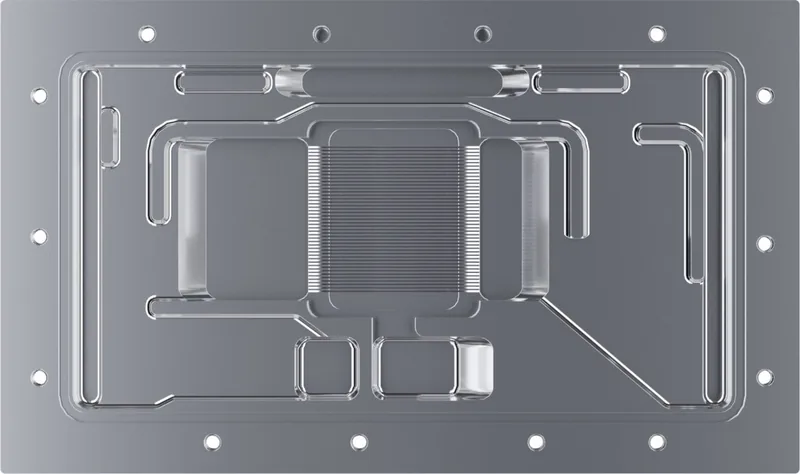
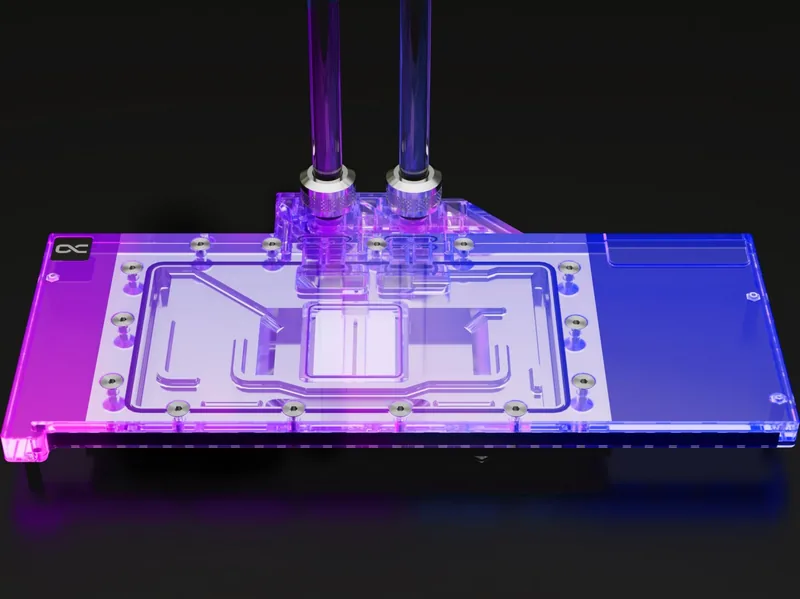
Alphacool Eisblock Aurora Acrylic RX 7900XTX/XT Manual
PDF manual · 4 Pages
English



Quick check
Incorrect answer, please try again.
Chat with your Alphacool Eisblock Aurora Acrylic RX 7900XTX/XT manual using AI
Get instant AI answers from your Alphacool Eisblock Aurora Acrylic RX 7900XTX/XT manual
Ask anything about the Alphacool Eisblock Aurora Acrylic RX 7900XTX/XT. Answers come from this manual, with the pages they are based on.
Ask a Question
Do you recommend Eisblock Aurora Acrylic RX 7900XTX/XT?
Yes NoFrequently Asked Questions
Visits the online configurator and search for your graphics card model. Verify the PCB layout matches the cooler design to ensure specific fitment.
Is this answer helpful?
The package includes a putty tool and plugs. You will also need a screwdriver for mounting and cleaning solvents like isopropanol for the surface.
Is this answer helpful?
Yes, you must dismantle the original cooler using an antistatic mat. Remove screws carefully and disconnect connectors before mounting the new block.
Is this answer helpful?
The block includes an ARGB adaptor. Check your motherboard headers to ensure the 50mm connector matches your specific system lighting configuration.
Is this answer helpful?
Alphacool is not liable for assembly errors. Ensure compatibility via the configurator before purchasing to avoid fitment issues with later revisions.
Is this answer helpful?
Clean with a solvent like isopropanol alcohol. Ensure all residues are removed from the top of the card and the block surface.
Is this answer helpful?
No, liability rests on the installer for negligence. Follow the guide carefully to ensure safety and functionality without voiding warranties unnecessarily.
Is this answer helpful?
Advantages and Disadvantages
Advantages

- Acrylic design allows for better light transmission and visual appeal.
- Includes comprehensive accessory kit for secure mounting.
- Compatible with ARGB lighting systems for added flair.
- Thermal paste and pads included for efficient heat transfer.
- Clear instructions help minimize installation errors.
Disadvantages

- Compatibility depends on specific PCB revisions from manufacturers.
- Installation requires careful handling to avoid component damage.
- Liability rests with installer for negligence or errors.
- Requires cleaning of old thermal paste before installation.
- Fitting issues may occur if card models change.
Product Specification
Type
GPU
Material
Copper (nickel-plated), PMMA
Connections
G1/4"
Lighting
LED (RGB)
Features
Voltage converter (GPU cooled), incl. Backplate
Product Description
Introduction to High Performance Cooling
Building a high performance PC requires more than just powerful components. You need effective cooling systems to handle the heat generated by top-tier hardware. The Alphacool Ice Block Aurora Acrylic AMD Radeon RX 7900XTX/XT Manual serves as a comprehensive guide for enthusiasts aiming to upgrade their visual rendering capabilities. This water block transforms the standard cooling solution into something far more efficient and aesthetically pleasing.
A Design for Aesthetics and Performance
Acrylic materials offer a distinct look compared to standard metal blocks. They allow for light transmission, which complements the RGB lighting systems found in modern cases. Integrating this component into your build ensures your GPU stays within safe temperature limits even during intensive gaming or rendering tasks. The process involves careful preparation of the graphics card surface.
Ensuring Compatibility and Preparation
Users must verify compatibility before installation. Checking the PCB layout is crucial because manufacturing revisions can occur unexpectedly. The guide helps you identify if your specific card shares the necessary design patterns. Failure to do so might result in fitment issues. Once confirmed, the old cooler must be removed and the surface thoroughly cleaned. Cleaning must be done with solvents like isopropanol alcohol to remove all residues from pads or paste.
Installation and Maintenance
Thermal management is key. Proper application of thermal paste and pads ensures heat transfers efficiently to the liquid cooling loop. The package includes various screws and pads to suit different configurations. Connecting the ARGB lines adds that extra flair to the interior of your machine. Following the steps ensures safety and functionality without voiding warranties unnecessarily. This level of attention to detail separates casual builders from dedicated hobbyists. With the right tools and adherence to the provided procedures, you can achieve a system that runs cool and looks stunning. The design supports the demanding nature of the RX 7900XTX series effectively. Liability rests on the installer for negligence, so caution is advised. The included accessory kit facilitates assembly while ensuring secure mounting of the backplate and PCI bracket. Every step requires patience and precision to avoid damaging sensitive electronics. Ultimately, the goal is stability and longevity for your expensive graphics hardware. Always work on an antistatic mat to protect components from static discharge during the assembly process. Consult the online configurator if you have specific questions regarding your hardware setup. Proper installation leads to optimal thermal transfer and quieter operation overall.
Final Tips
You should also ensure that the radiator lines fit your case dimensions before assembly. Regular maintenance checks help prevent dust buildup on heat exchangers. Using high-quality water ensures the longevity of the cooling loop components. Be sure to tighten all fittings securely to prevent leaks inside the case. The product code listed helps identify the exact fit for your specific GPU model. This concludes the essential steps for installing the cooling unit. Enjoy your improved cooling performance and enhanced visual appeal.
Search for 67,706 Manuals online


Type-in Brand or Model